
The Ultimate Havasupai Guide: Permits, Waterfalls & How to Actually Plan Your Trip (2026)
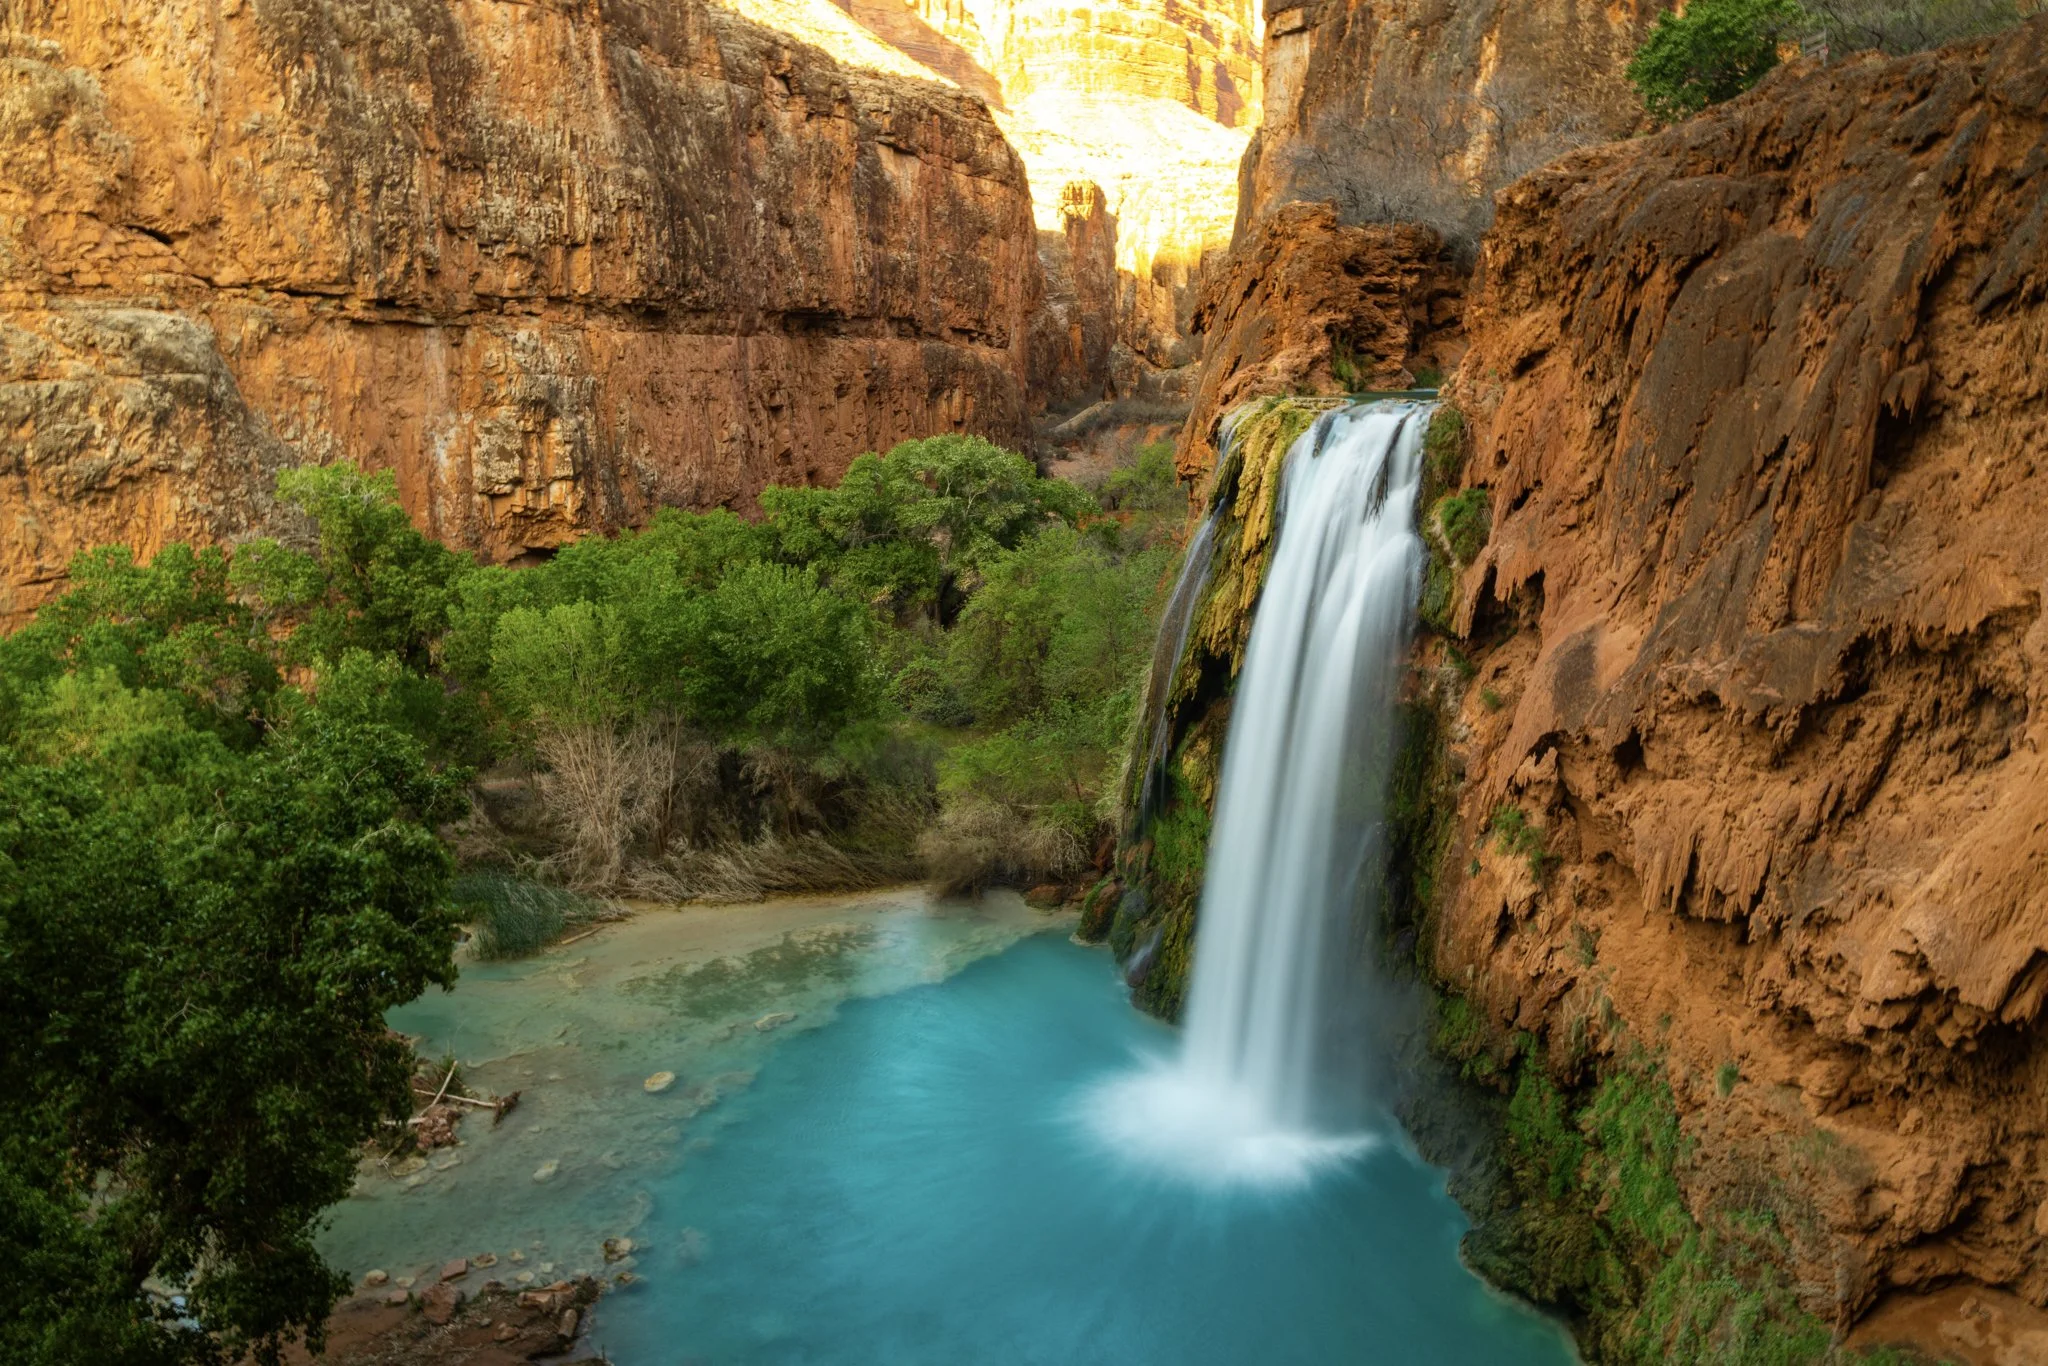
Havasu Falls, one of the most iconic waterfalls in the Havasupai region of the Grand Canyon ©Thomasformanjr
Whether you’re a seasoned backpacker or someone who keeps thinking about your first big hike, the hike into Havasupai should be high on your bucket list. This guide walks you through everything from Havasupai permits and travel logistics to trail distances, waterfall hikes, and real tips from our own April adventure so you can plan with confidence.
Table of Contents
Why Havasupai Is One of the Most Epic Backpacking Trips in the U.S.
Weather & Seasons — How Conditions Change Throughout the Year
Havasupai Permits 2026: Exact Rules, Costs & How to Secure One
Travel Logistics — Fly, Drive, Where to Stay Before the Hike
Havasupai Trail Breakdown — Distance, Terrain & What to Expect
Why Havasupai Is One of the Most Epic Backpacking Trips in the U.S.
Havasupai is unlike any other canyon I have ever experienced. It is a true destination in every sense of the word. You spend hours hiking through barren desert terrain with no water in sight, surrounded by dust, rock, and silence. Then, almost unexpectedly, the trail opens up to a river of turquoise blue water flowing through the canyon, feeding massive waterfalls that plunge into emerald pools and continue toward the Colorado River deep within the Grand Canyon.
The canyon walls explode with color, shifting with the light, and every turn feels like another postcard moment. The trail weaves through a landscape that is part of the greater Grand Canyon ecosystem, yet it feels entirely its own. Visiting Havasupai feels like stepping into another world. You do not simply walk into the canyon — you immerse yourself in it.
The beauty of the trail paired with its remoteness is what makes Havasupai legendary. You earn every waterfall. You feel every mile. And without question, it is worth it.
Weather & Seasons — How Conditions Change Throughout the Year
Havasupai is typically open from February through November, though closures can occur due to weather, trail conditions, or tribal decisions.
Spring (March–May)
Cool mornings, warm midday temperatures
Minimal rainfall and excellent hiking conditions
Personal Note: Most of our hike in early April started cool, warmed to shorts-and-t-shirt weather by midday, and cooled again at night. The days were sunny, and Beaver Falls felt refreshing in the heat, especially with midday sun illuminating the pools.
Summer (June–August — Monsoon Season)
Temperatures frequently in the 80s–100s°F
Sudden storms + flash-flood risk
Higher chance of muddy trails, more creek flow, dramatic summer skies
Fall (September–November)
Comfortable hiking temperatures
Water levels can remain high from rain earlier in the season
Rain & Safety
Flash floods are possible if rainfall is heavy up the canyon. Always check the weather forecast before hiking, especially during summer months.
Havasupai Permits 2026: Exact Rules, Costs & How to Secure One

A Screenshot from the Official Havasupai Reservation Website
Permit Season TL;DR
Havasupai permits are first-come, first-served and not guaranteed.
You must book specific dates and there is very little flexibility once reserved.
Early Access runs January 21–31, 2026 (8:00 a.m.–5:00 p.m. AZ time), followed by the general on-sale February 1, 2026 (8:00 a.m. AZ time).
Pricing and policies can change, always confirm details through the official reservation site and your confirmation email.
Permits are mandatory and non-negotiable. There is no public access to Havasupai without a valid permit issued by the Havasupai Tribe.
Reservation Timing & Availability
Reservations open early in the season and are issued on a first-come, first-served basis. Securing a permit is not guaranteed, even if you are logged in when sales open.
If you do secure a reservation, you will be assigned specific dates that must be strictly followed. Flexibility with your schedule significantly increases your chances of success.
Permit Windows
Early Access: January 21–31, 2026 (8:00 a.m.–5:00 p.m. AZ time)
Campground Permit: $455 + $40 early access fee per person (3 nights)
Lodge Permit: $2,277 + $160 early access fee (up to 4 people)
Regular On-Sale: February 1, 2026 (8:00 a.m. AZ time)
Same pricing without early access fees
Cancellation Policy
Cancel 90+ days before start date → 50% refund (early access fee excluded)
Cancel within 90 days → no refund
Each permit must be canceled individually
Potential Alternative Trip Leader (PATL)
Adding a PATL at the time of booking allows another group member to check in if you cannot attend. This is extremely useful if plans change and the best way to ensure that the permits for the rest of the group are protected.
Important Disclaimer:
Permit availability, pricing, and policies are accurate at the time of writing. Always confirm current details through the official reservation website and any documentation provided in your confirmation email.
Travel Logistics — Fly, Drive, Where to Stay Before the Hike
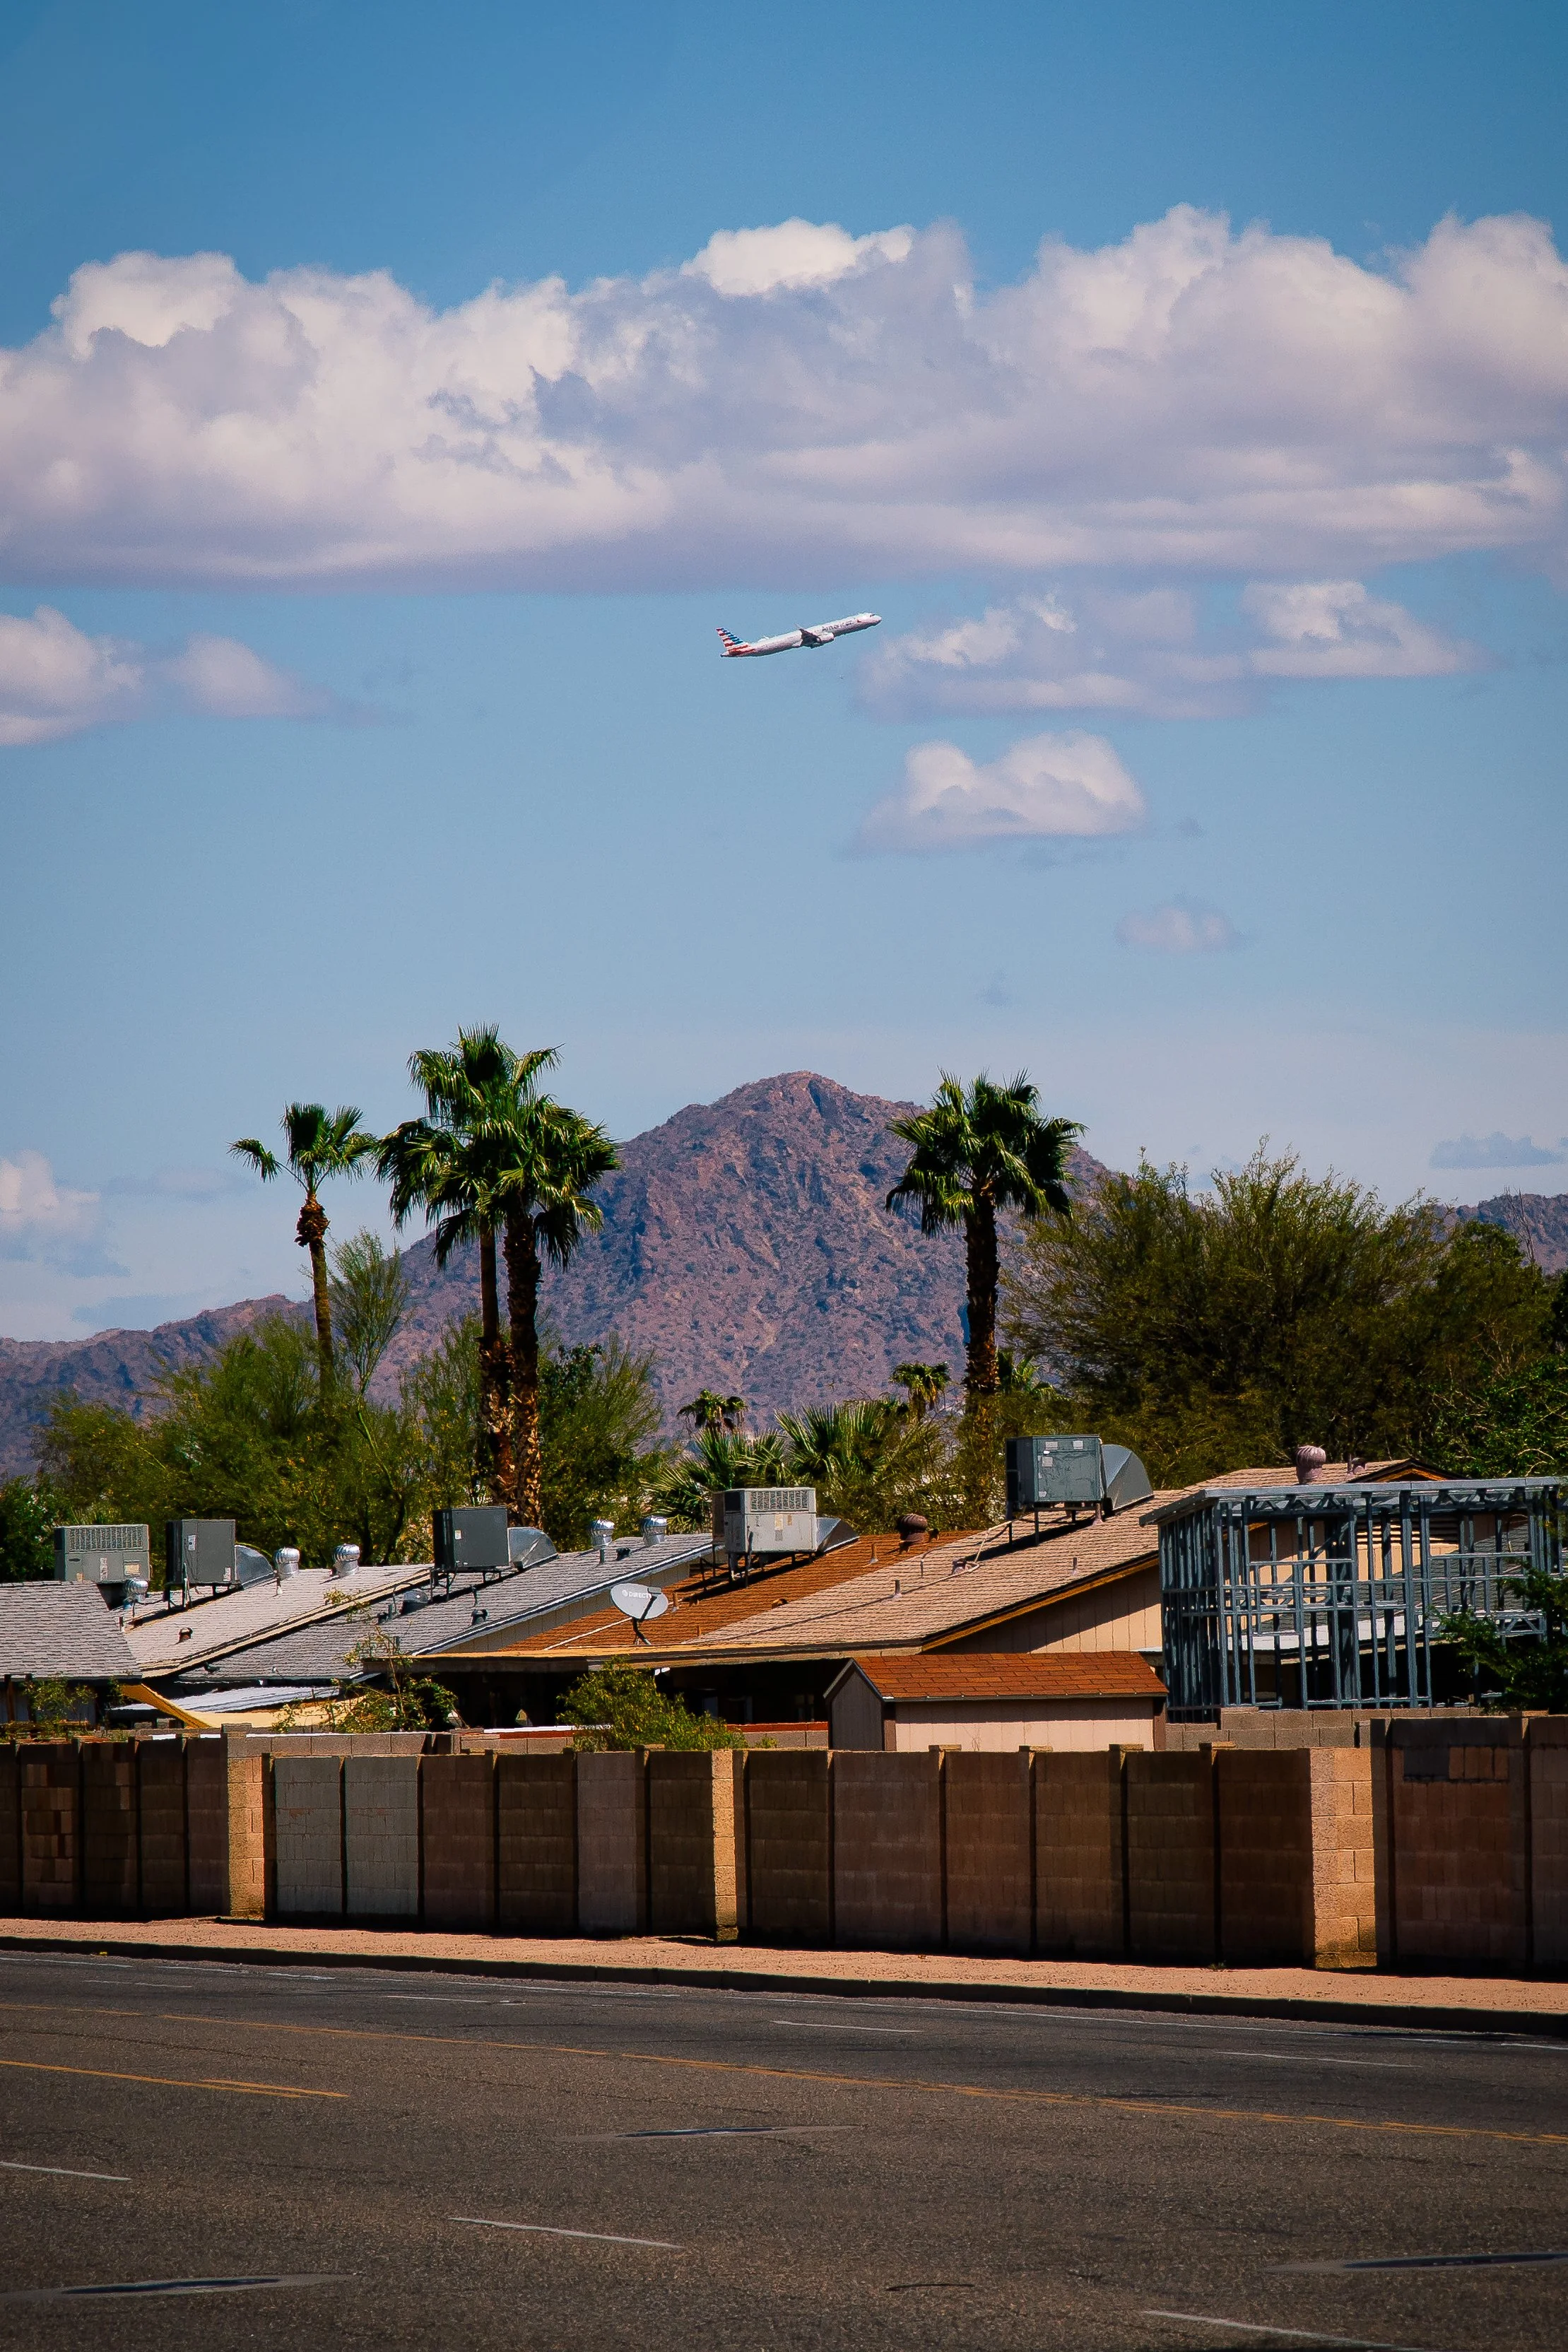
American Airlines plane flies over Phoenix, Arizona ©Thomasformanjr
Best Airports
Phoenix Sky Harbor (PHX): Most common, best flight options
Las Vegas McCarran (LAS): Alternative, longer drive
Flagstaff Pulliam (FLG): Small airport, limited flights
Drive Times
Phoenix → Hualapai Hilltop: ~4.5–5 hours
Las Vegas → Hualapai Hilltop: ~6–7 hours
Flagstaff → Hualapai Hilltop: ~2.5–3 hours
Where to Stay Before the Hike

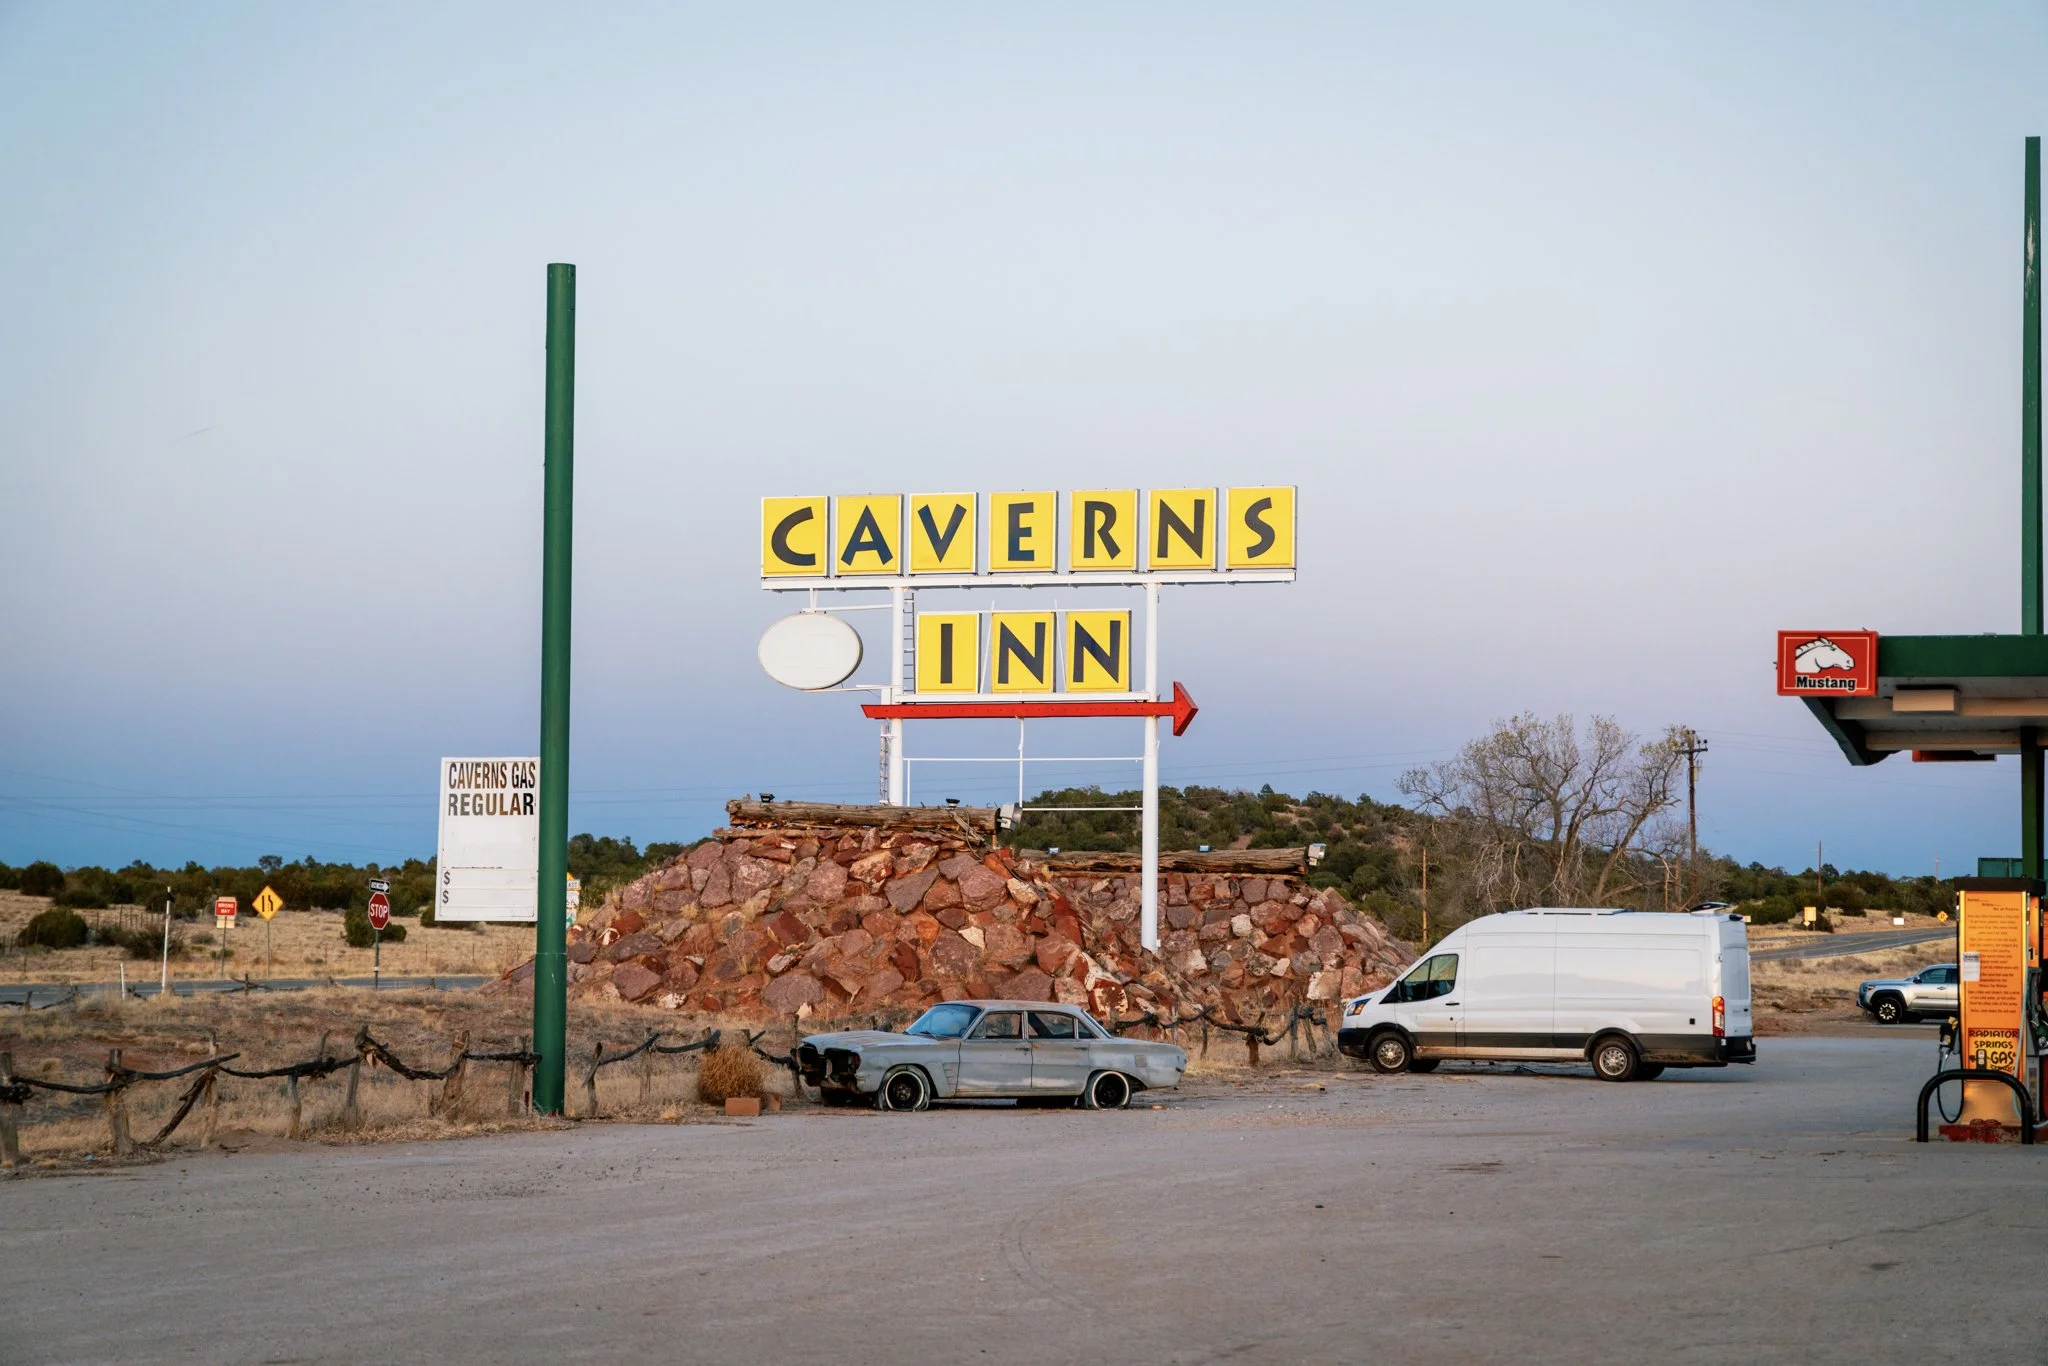
Grand Canyon Caverns Inn Signage ©Thomasformanjr
You have three main options for stays before your trip, they are:
Hualapai Lodge
Grand Canyon Caverns Inn (permit pickup location)
Motels or camping in nearby towns (Peach Springs is ~65 miles away)
Parking at the trailhead is free but remote, with no cell service.
Personal Note: We originally planned to camp near the permit pickup location the night before our hike. After being warned about recent mountain lion activity in the area, we decided to book a room at the Grand Canyon Caverns Inn instead. It ended up being the right call and gave us a better night of rest before an early start.
Sedona, Flagstaff & Historic Route 66 — Worthwhile Stops
On the way from Phoenix to Flagstaff (and ultimately the trailhead), there are scenic and cultural stops worth making.
Sedona
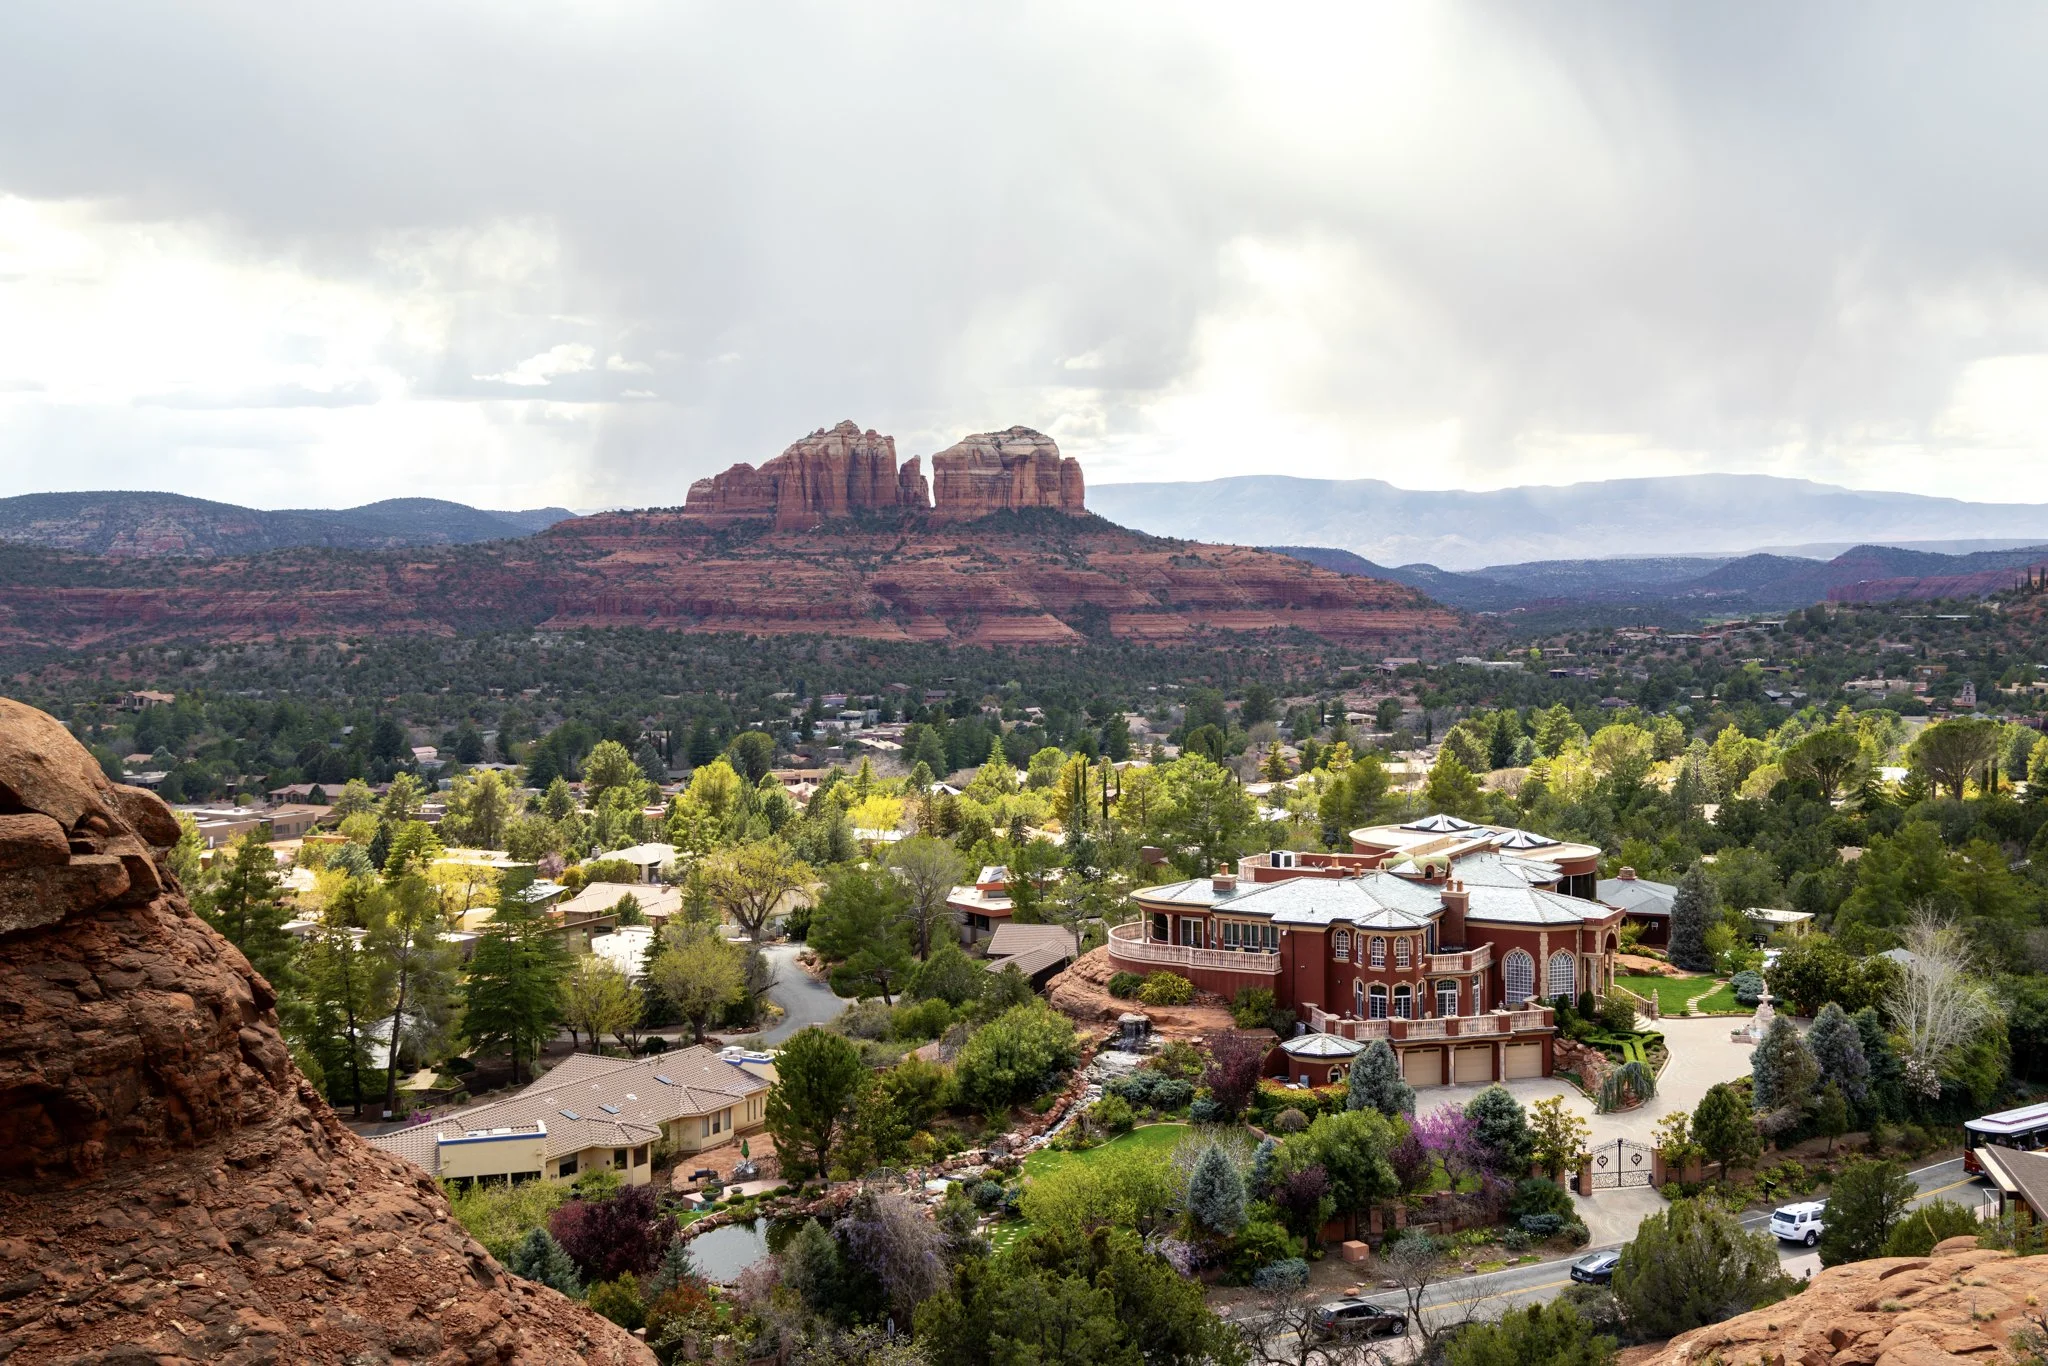
Sedona’s red rock scenery and famous “vortex points” make it worth the detour. We stopped at:
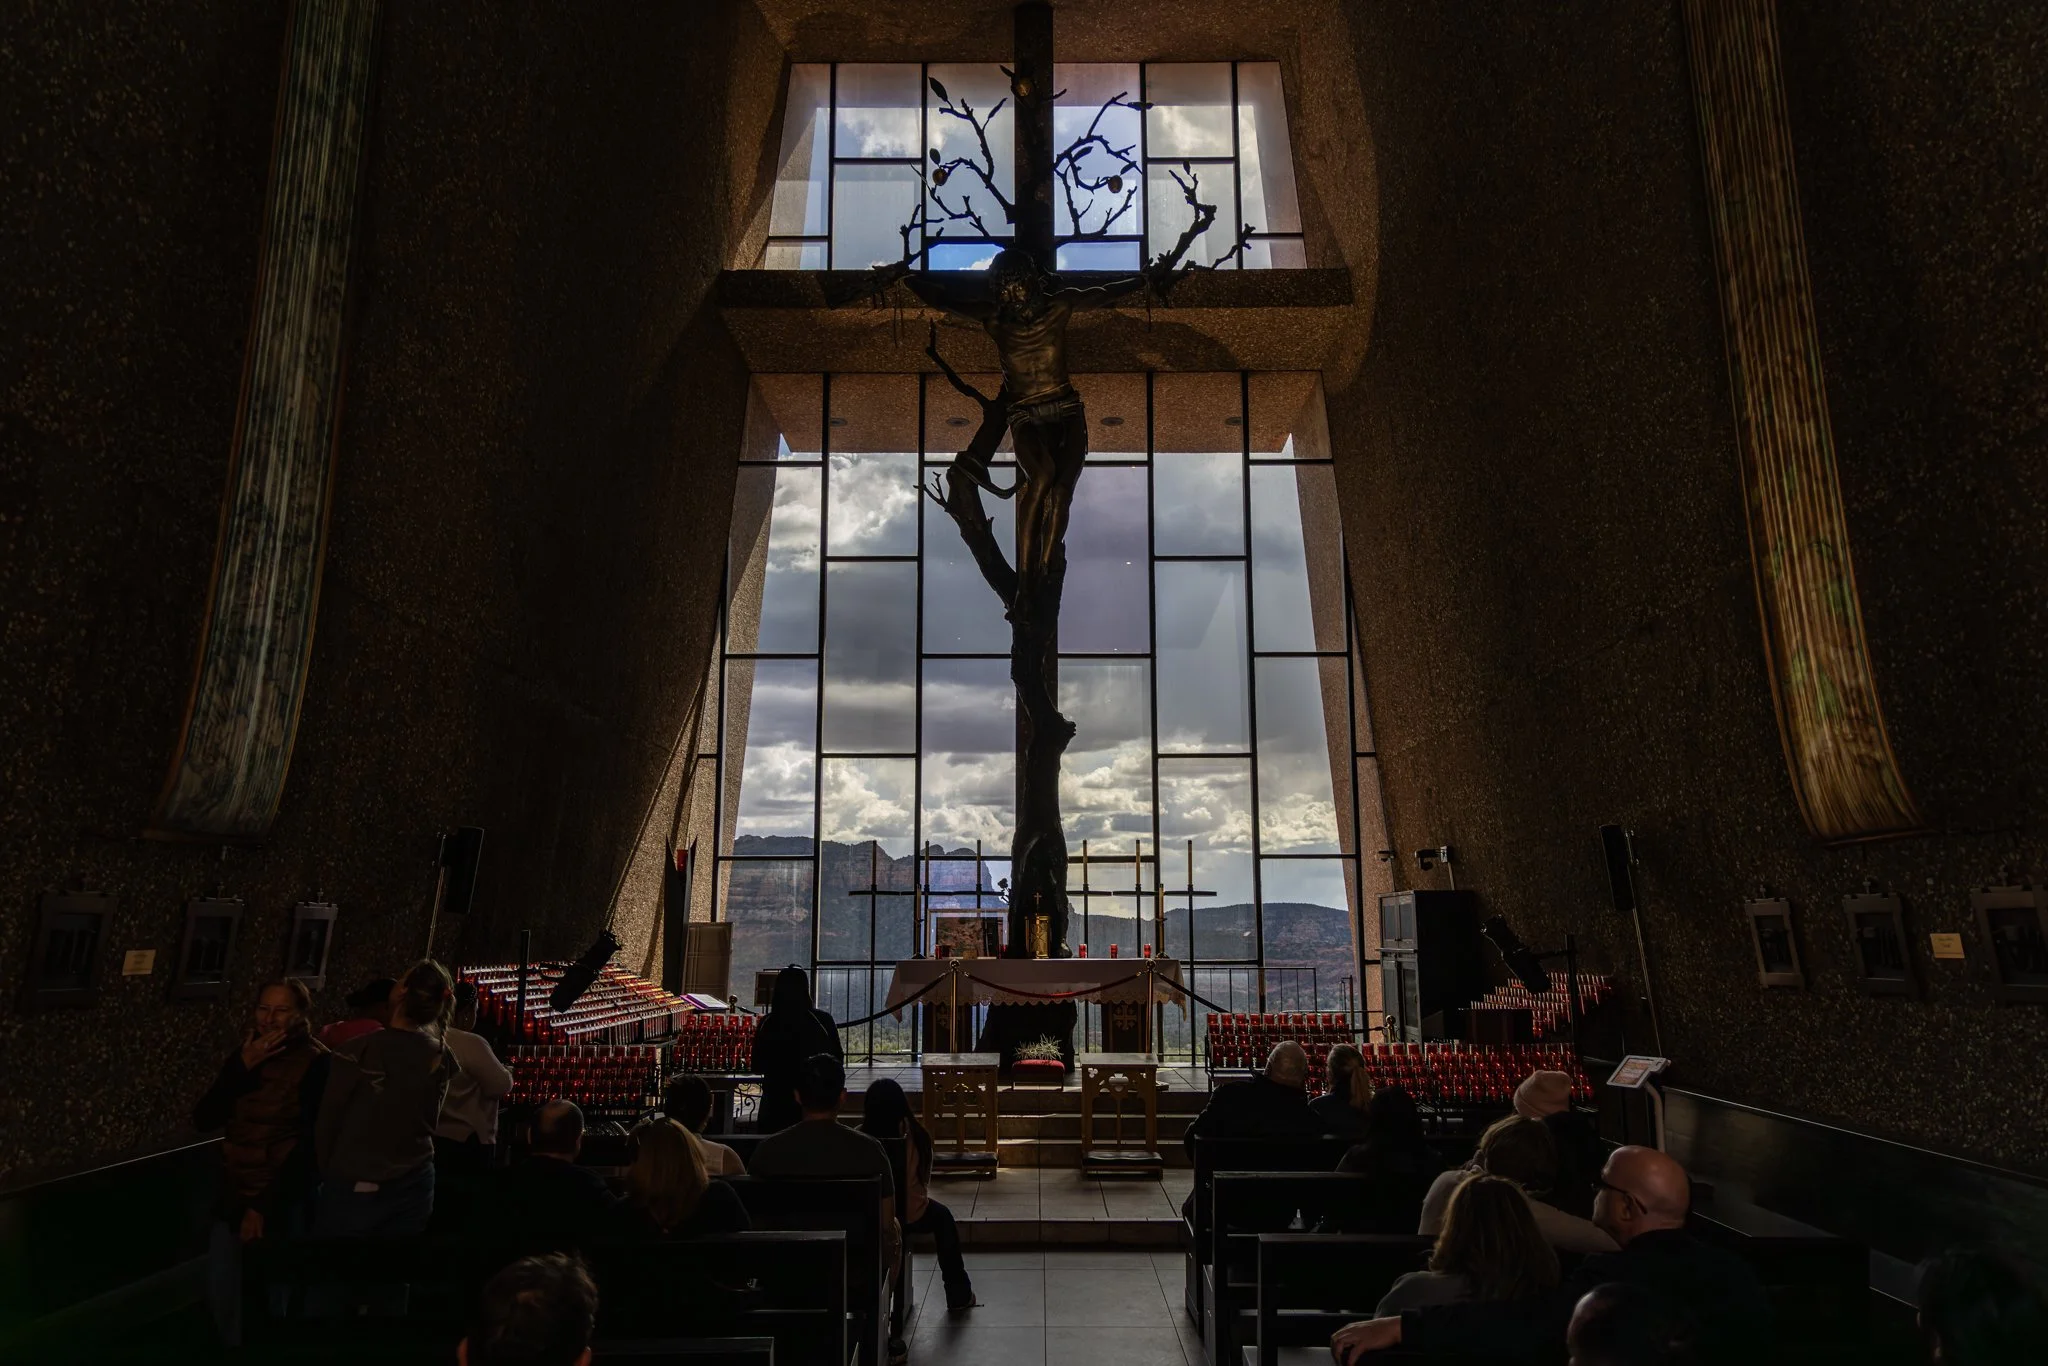
Chapel of the Holy Cross — striking architecture with red rock backdrop. The perfect photos to send to Mom & Dad
Vortex trails — locally believed energy spots that offer gorgeous views and a great warm‑up hike
We ate lunch downtown and squeezed in a short hike before heading to Flagstaff. Sedona deserves at least a half‑day on its own.
Flagstaff
Flagstaff is a great last town before heading into remote territory. It has:
Grocery stores and outdoor shops
Restaurants and breweries
Comfortable lodging before the trail
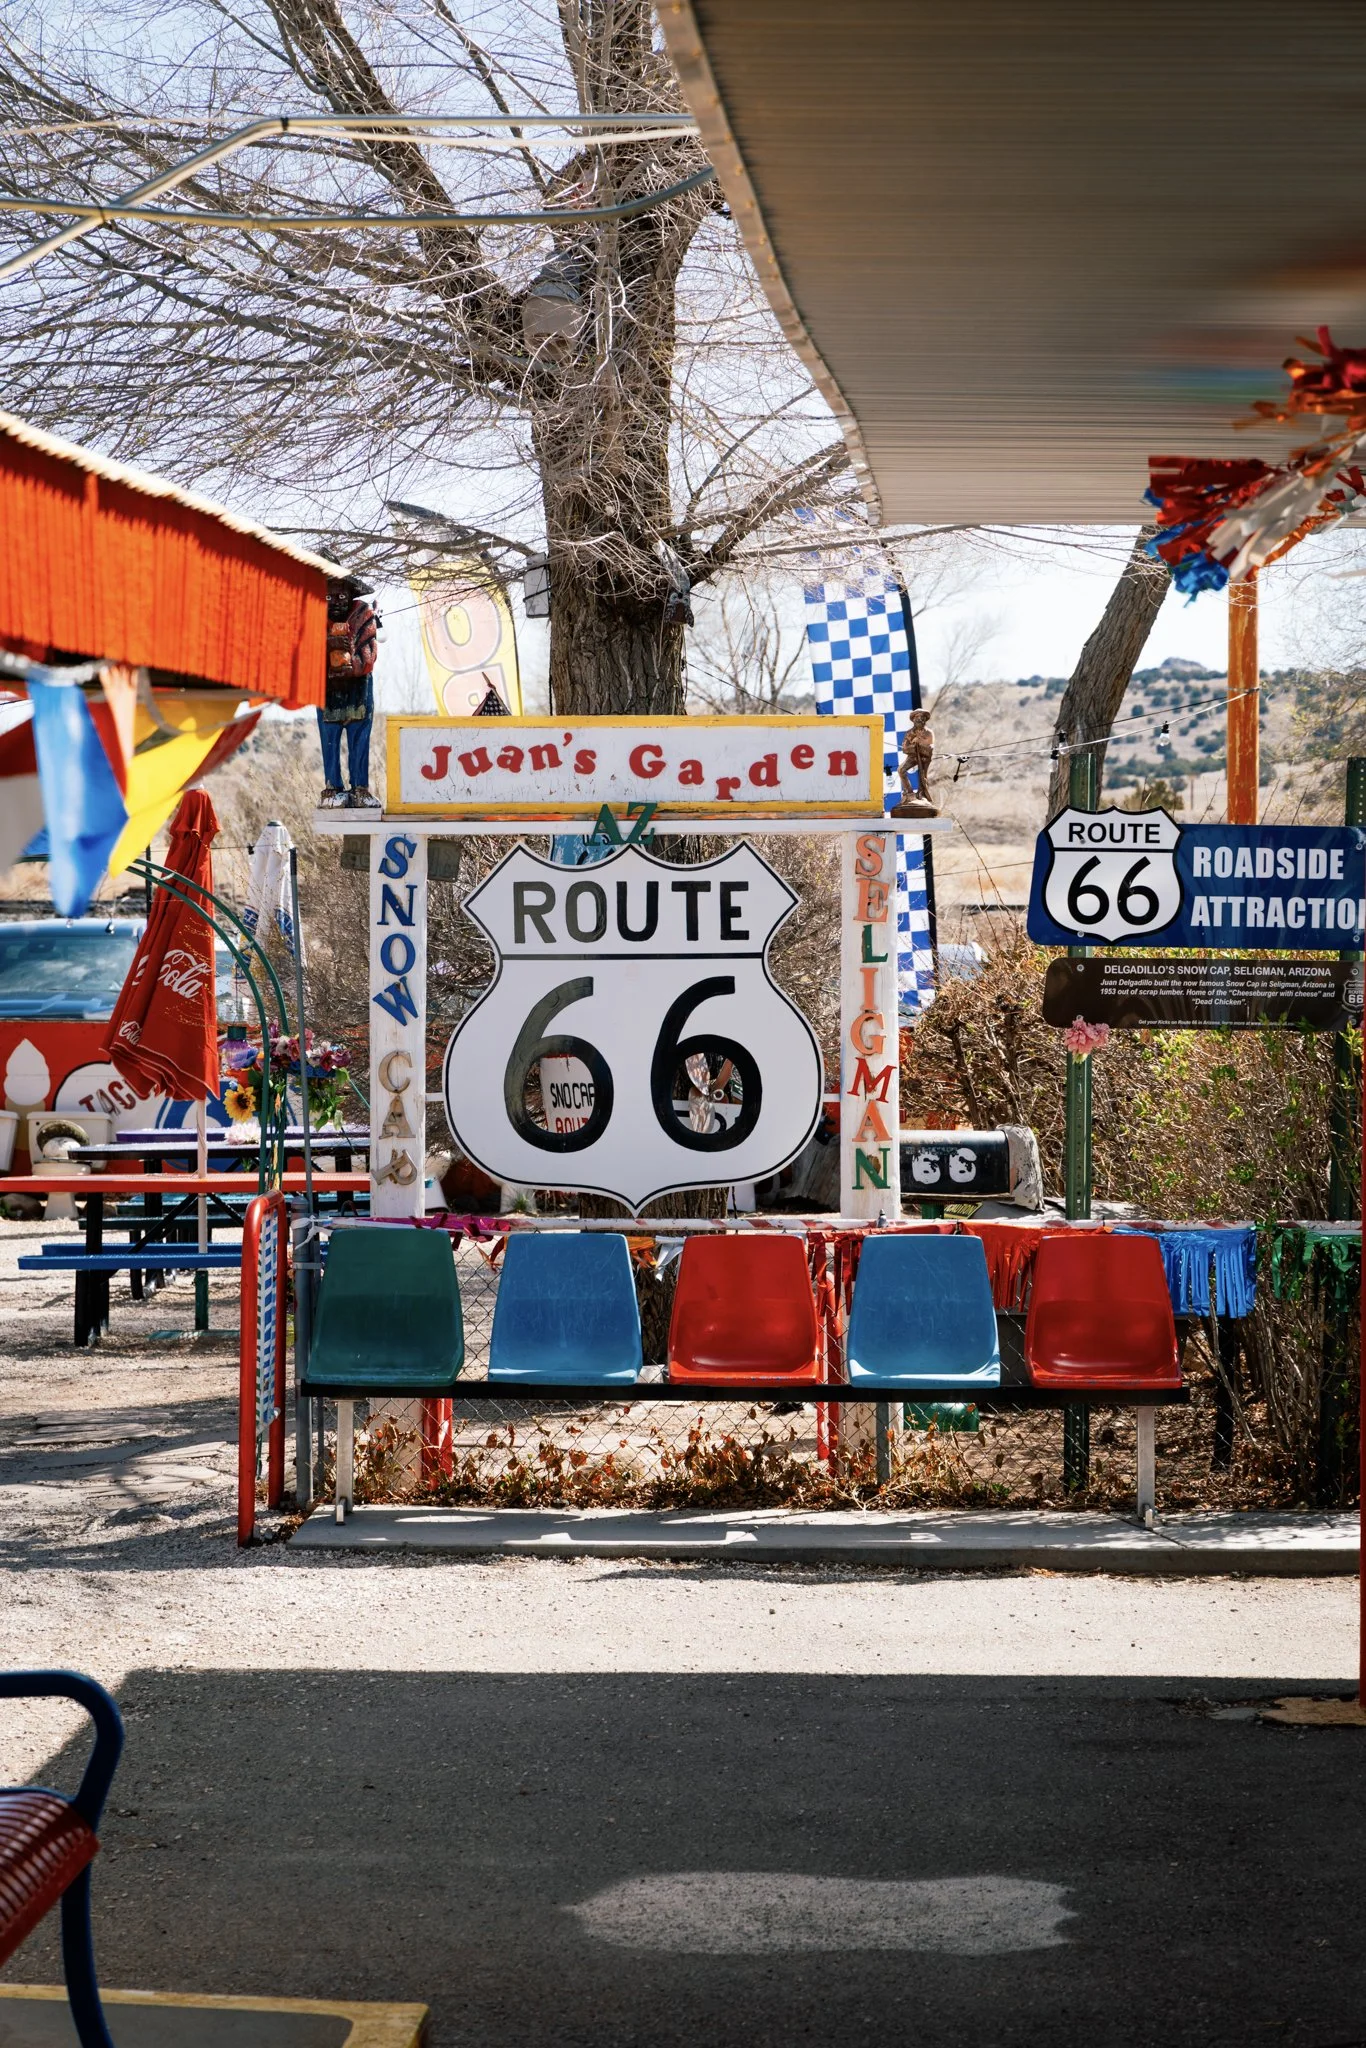
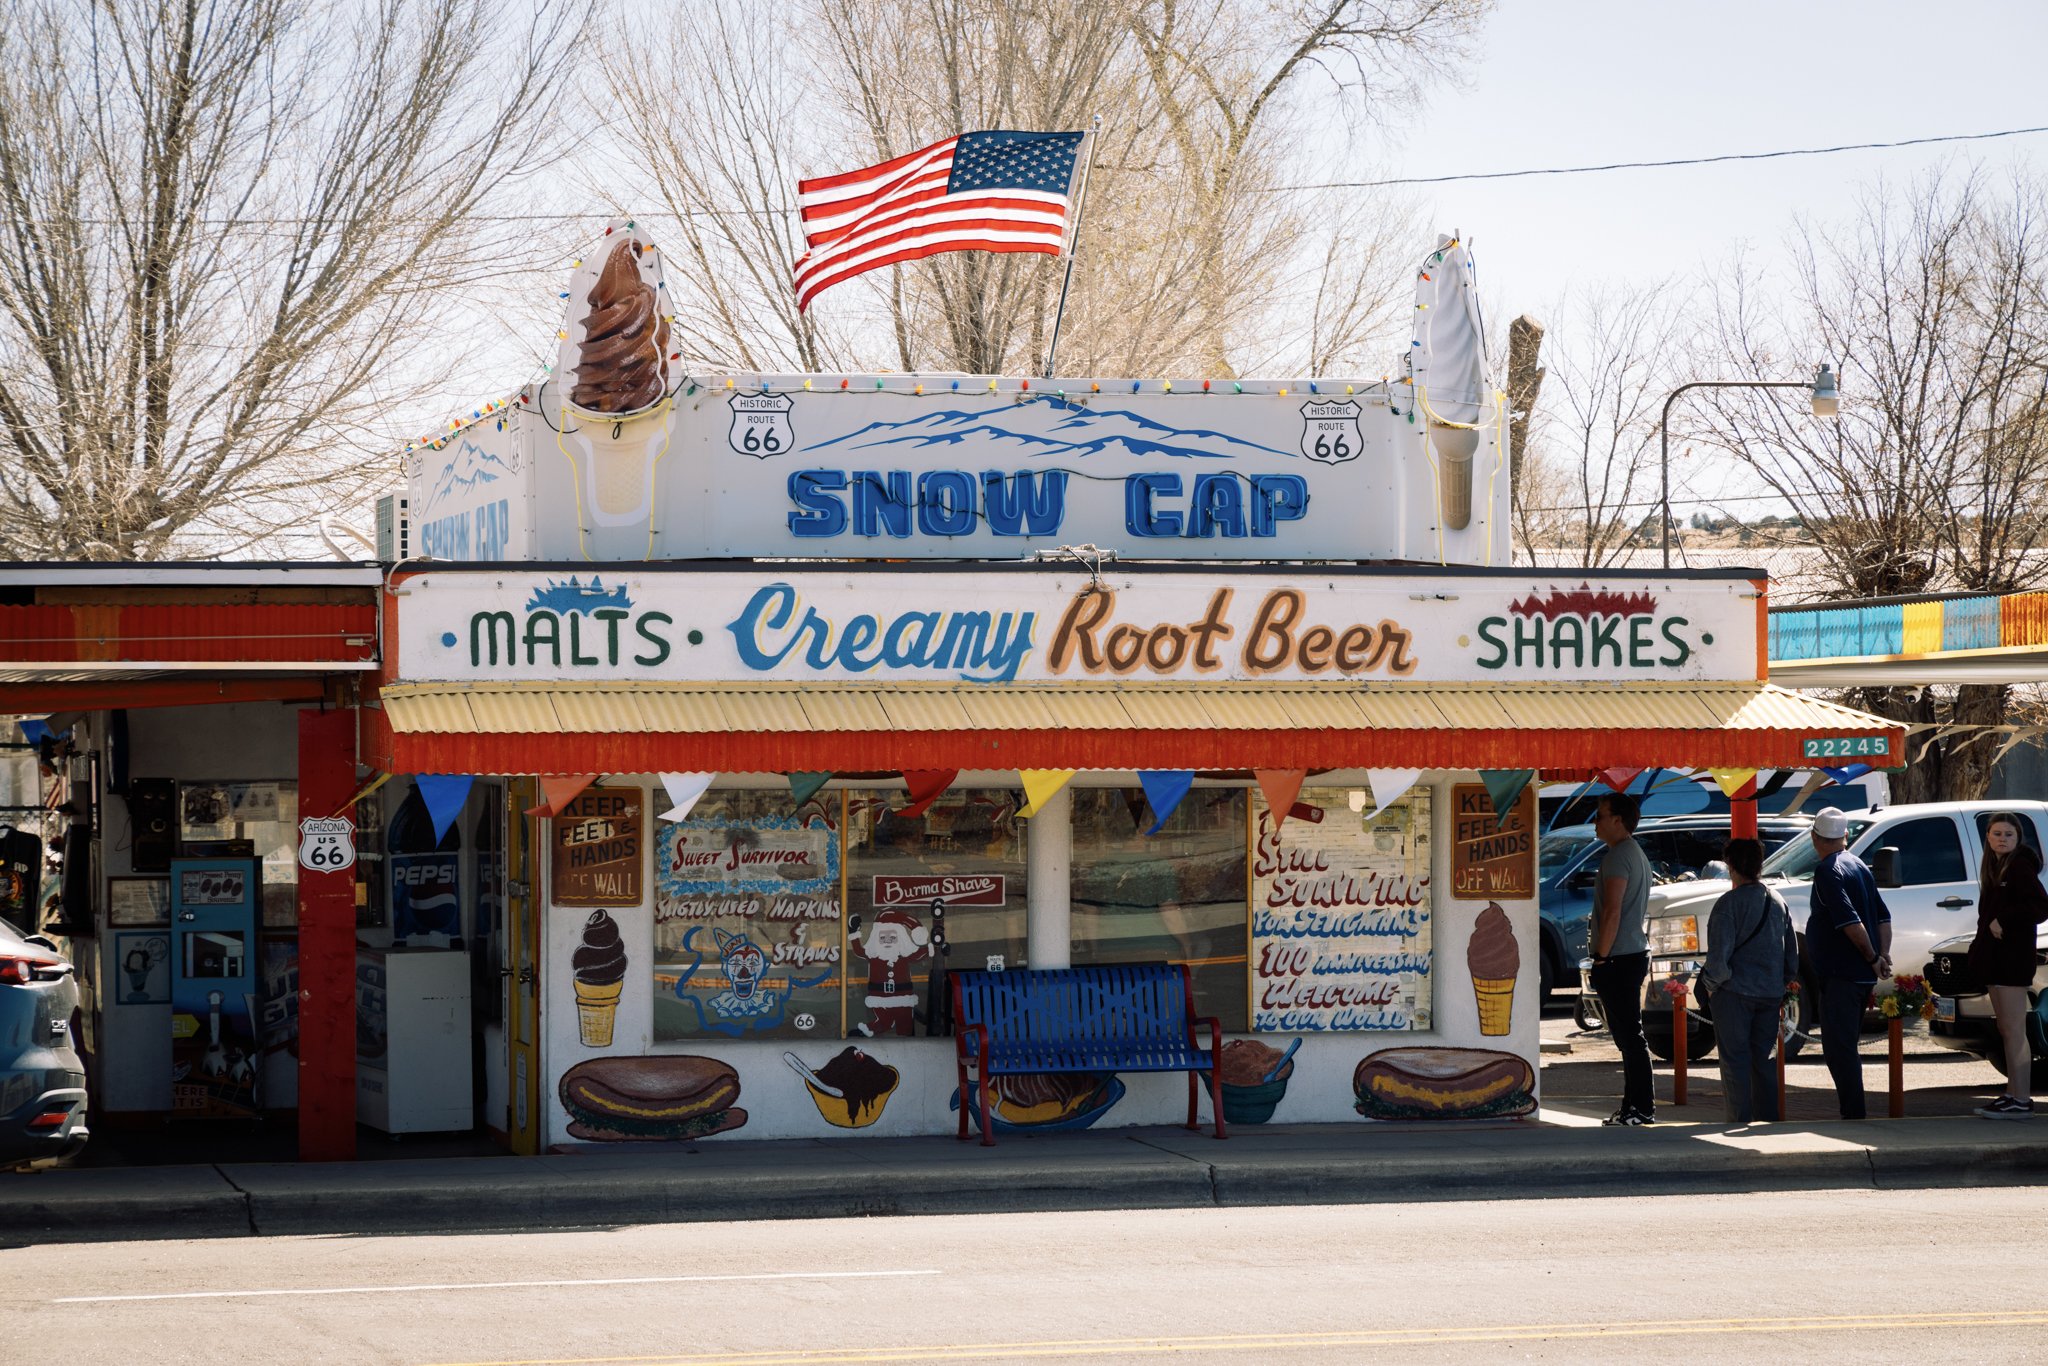
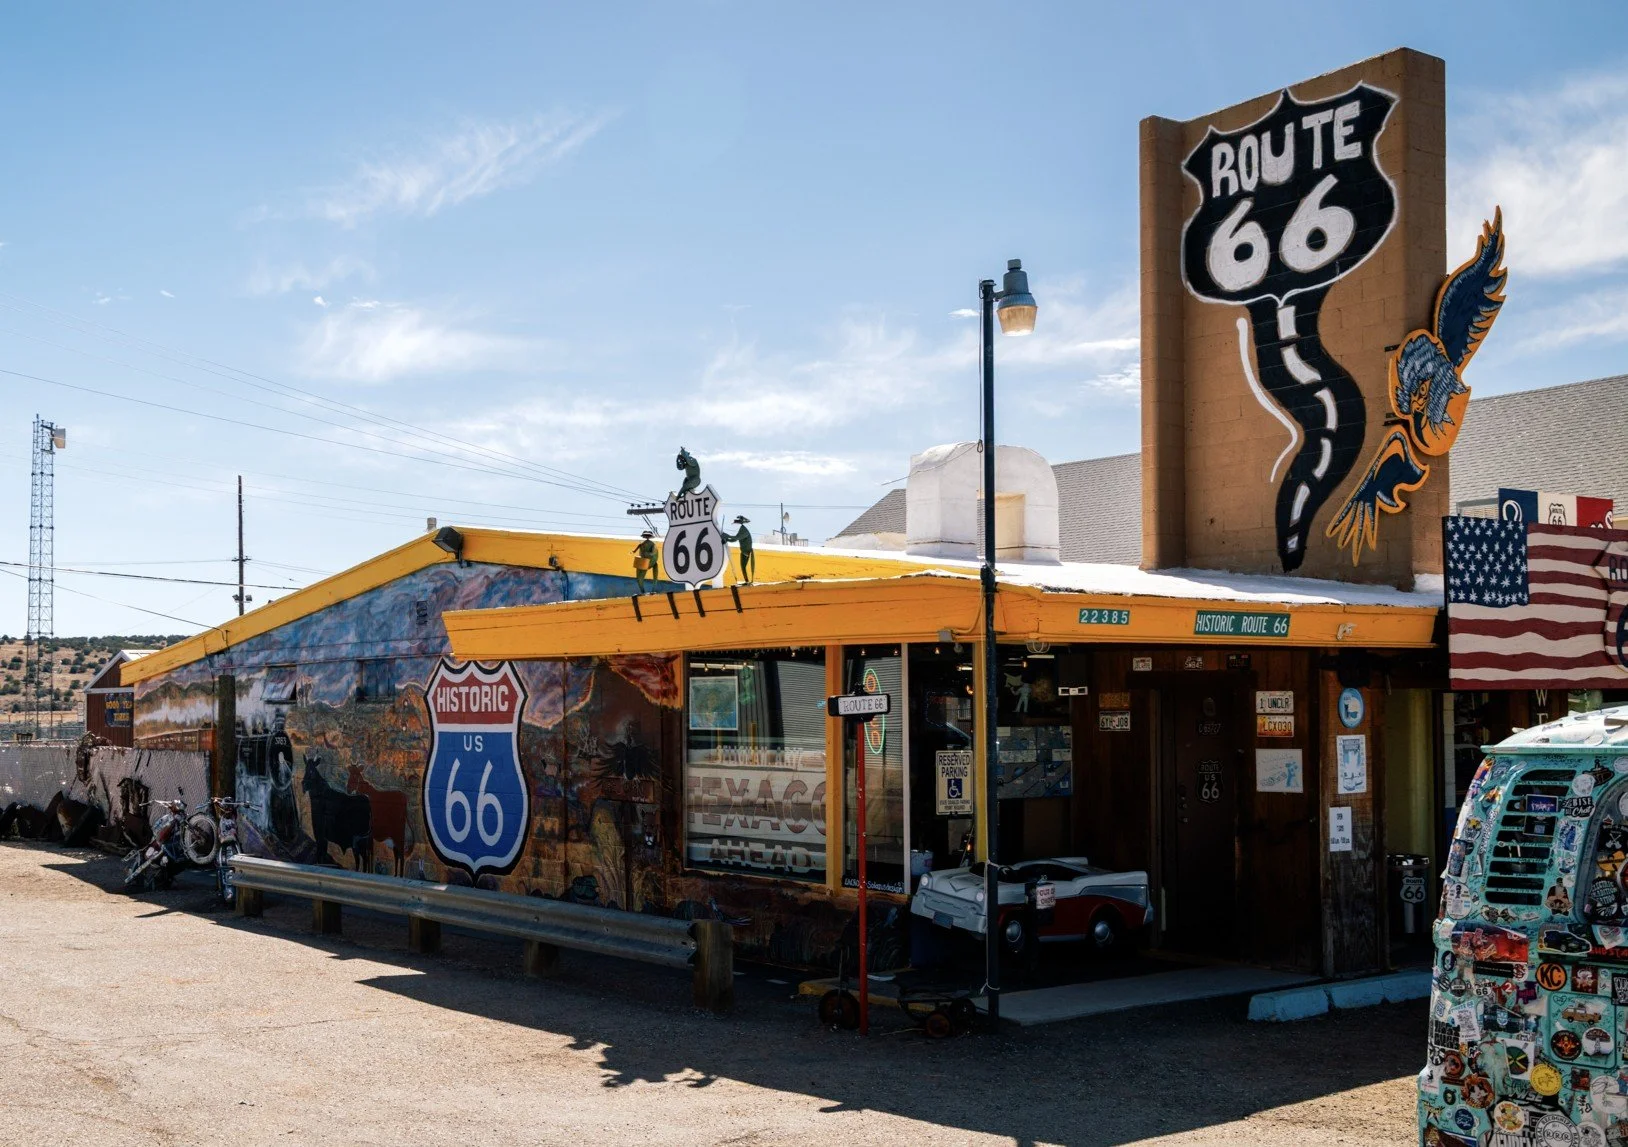
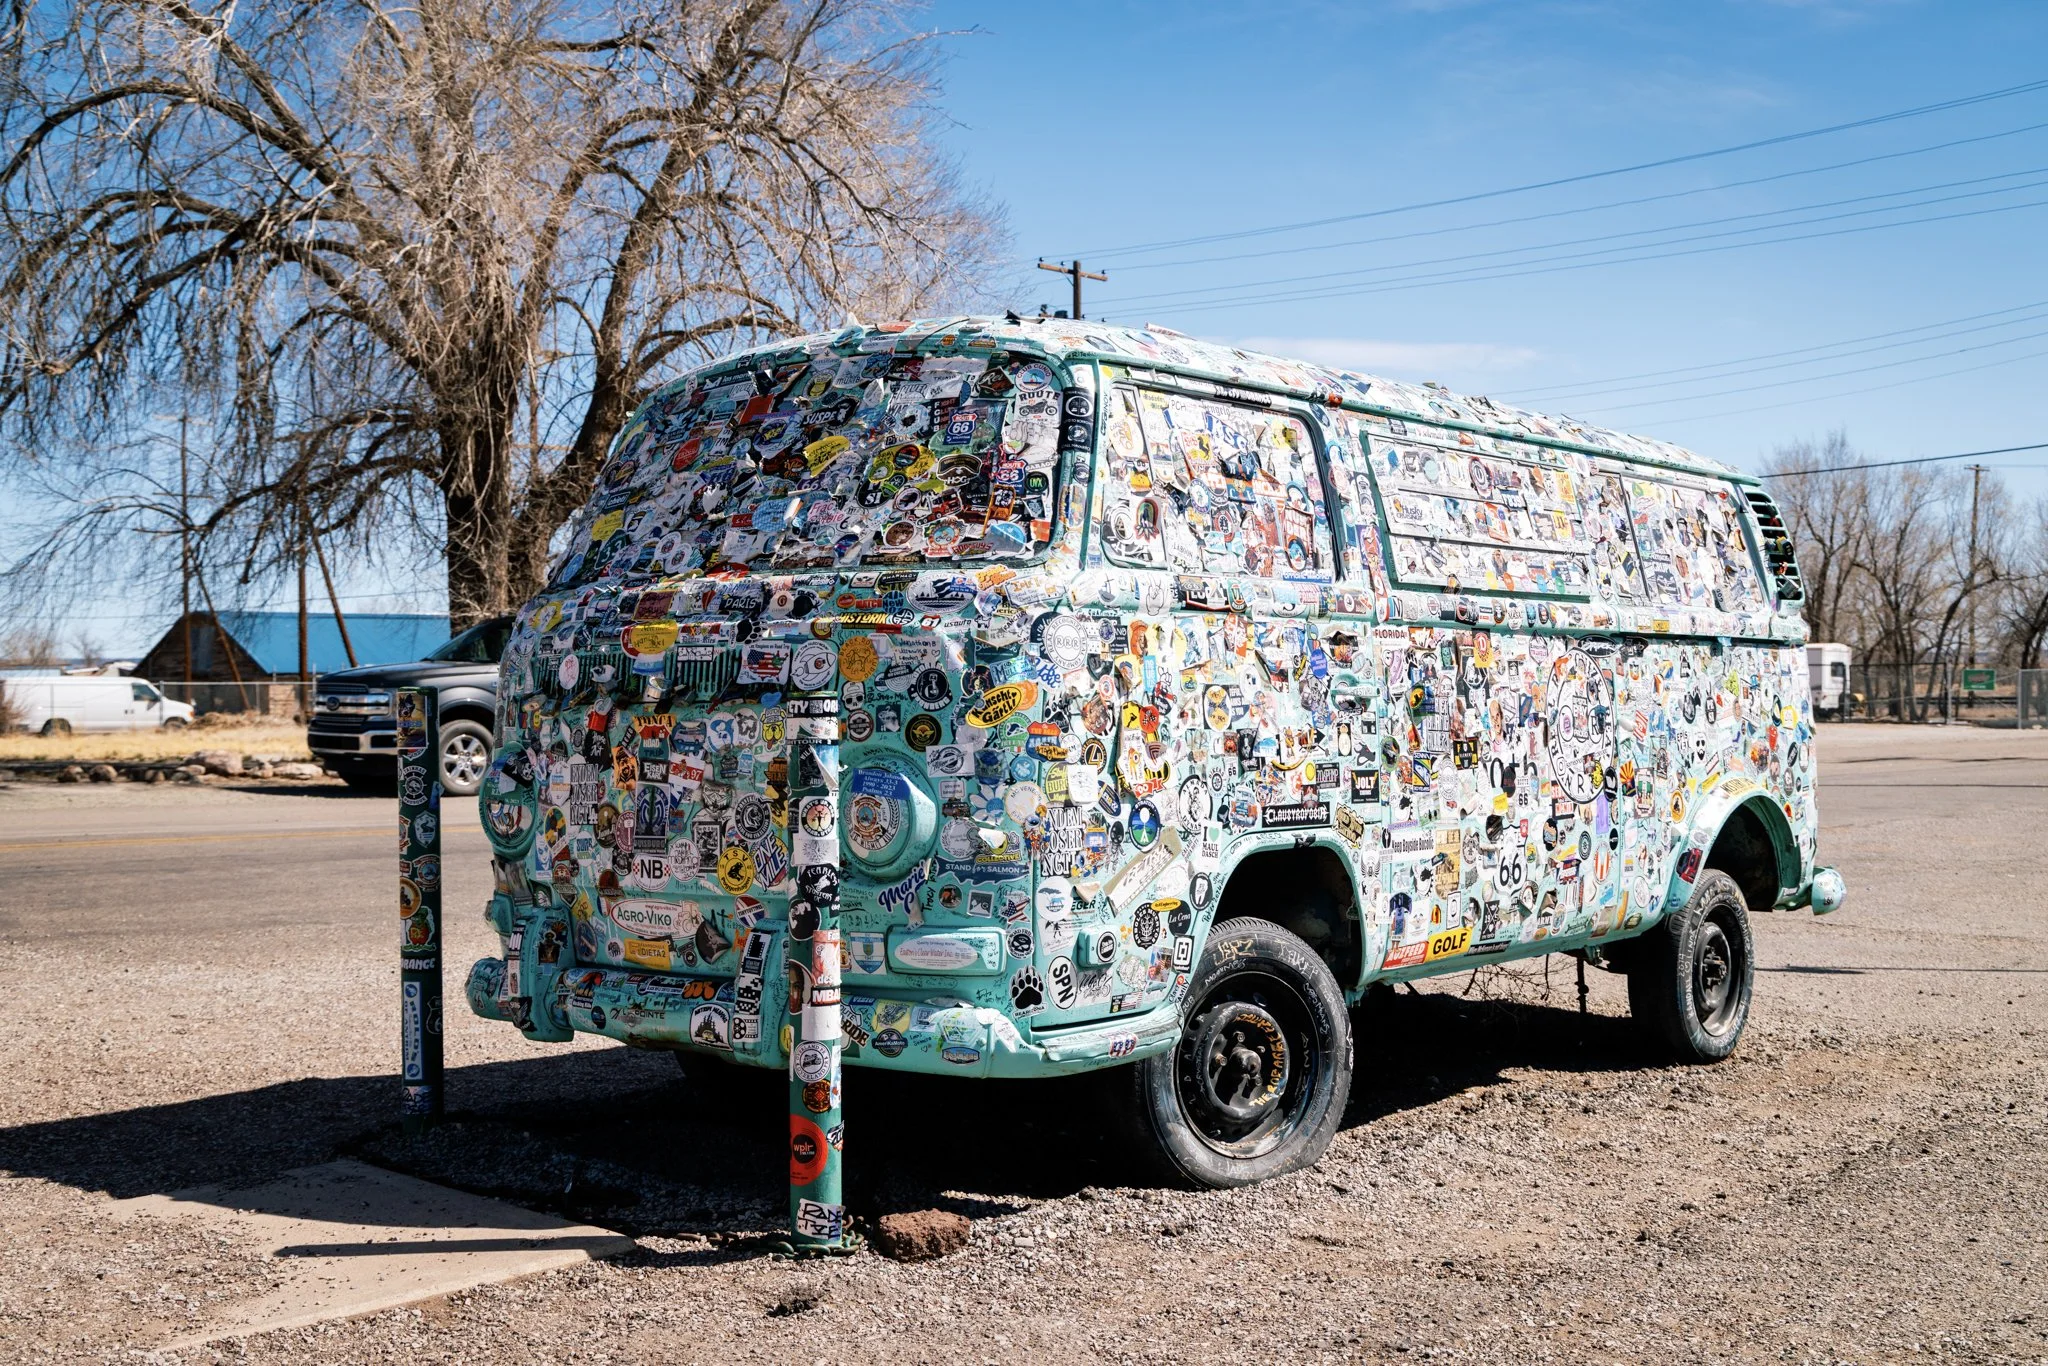
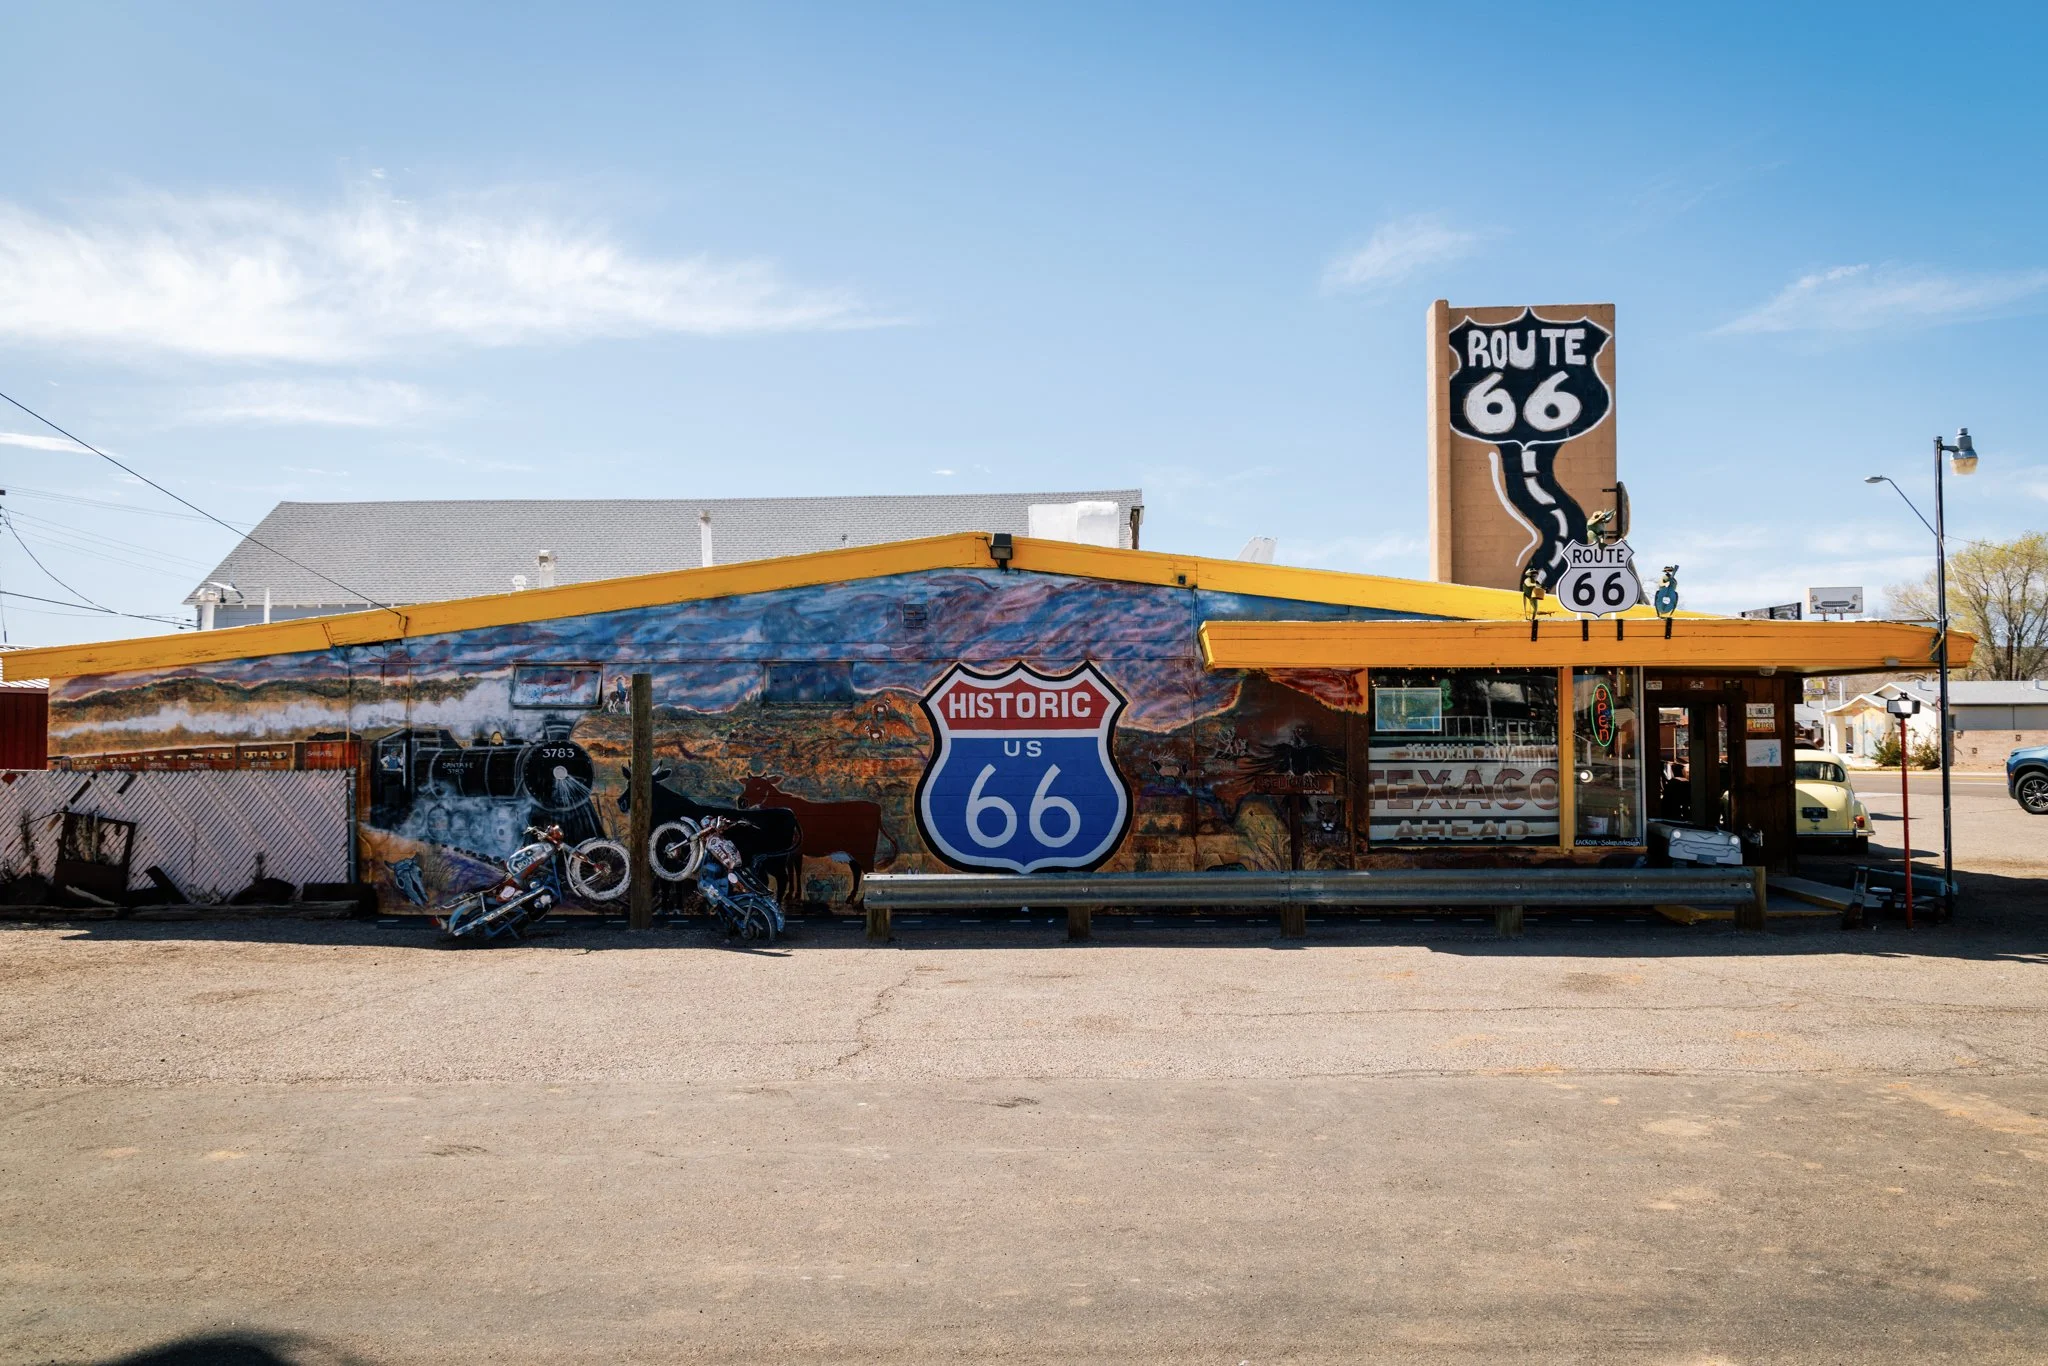
Historic Route 66 & Seligman
Route 66 vintage town Seligman makes for a fun stop with nostalgic photo spots, classic diners, and Americana vibes before continuing north.
Havasupai Check-In: What to Know Before You Go
View from parking lot of the Grand Canyon Caverns Inn ©Thomasformanjr
Before heading down to the trailhead, you will need to check in to receive your permit which must be carried with you at all times.
All permit check-ins happen at the Grand Canyon Caverns Inn, located at mile marker 115 on Route 66 near Seligman, Arizona. Check-in hours are 6:00 AM–7:00 PM.
One person must check in for the entire group. The trip leader handles this for everyone.
You can check in as early as the day before your permit start date, and anytime through the end of your permit.
The trip leader will need a photo ID to receive all permits, wristbands, and the official entrance form.
Hold onto that entrance form—you’ll need to show it at the Havasupai Reservation checkpoint, located about 5 miles before the Hilltop Trailhead.
Once that’s done, you’re good to head toward the trail and start the adventure.
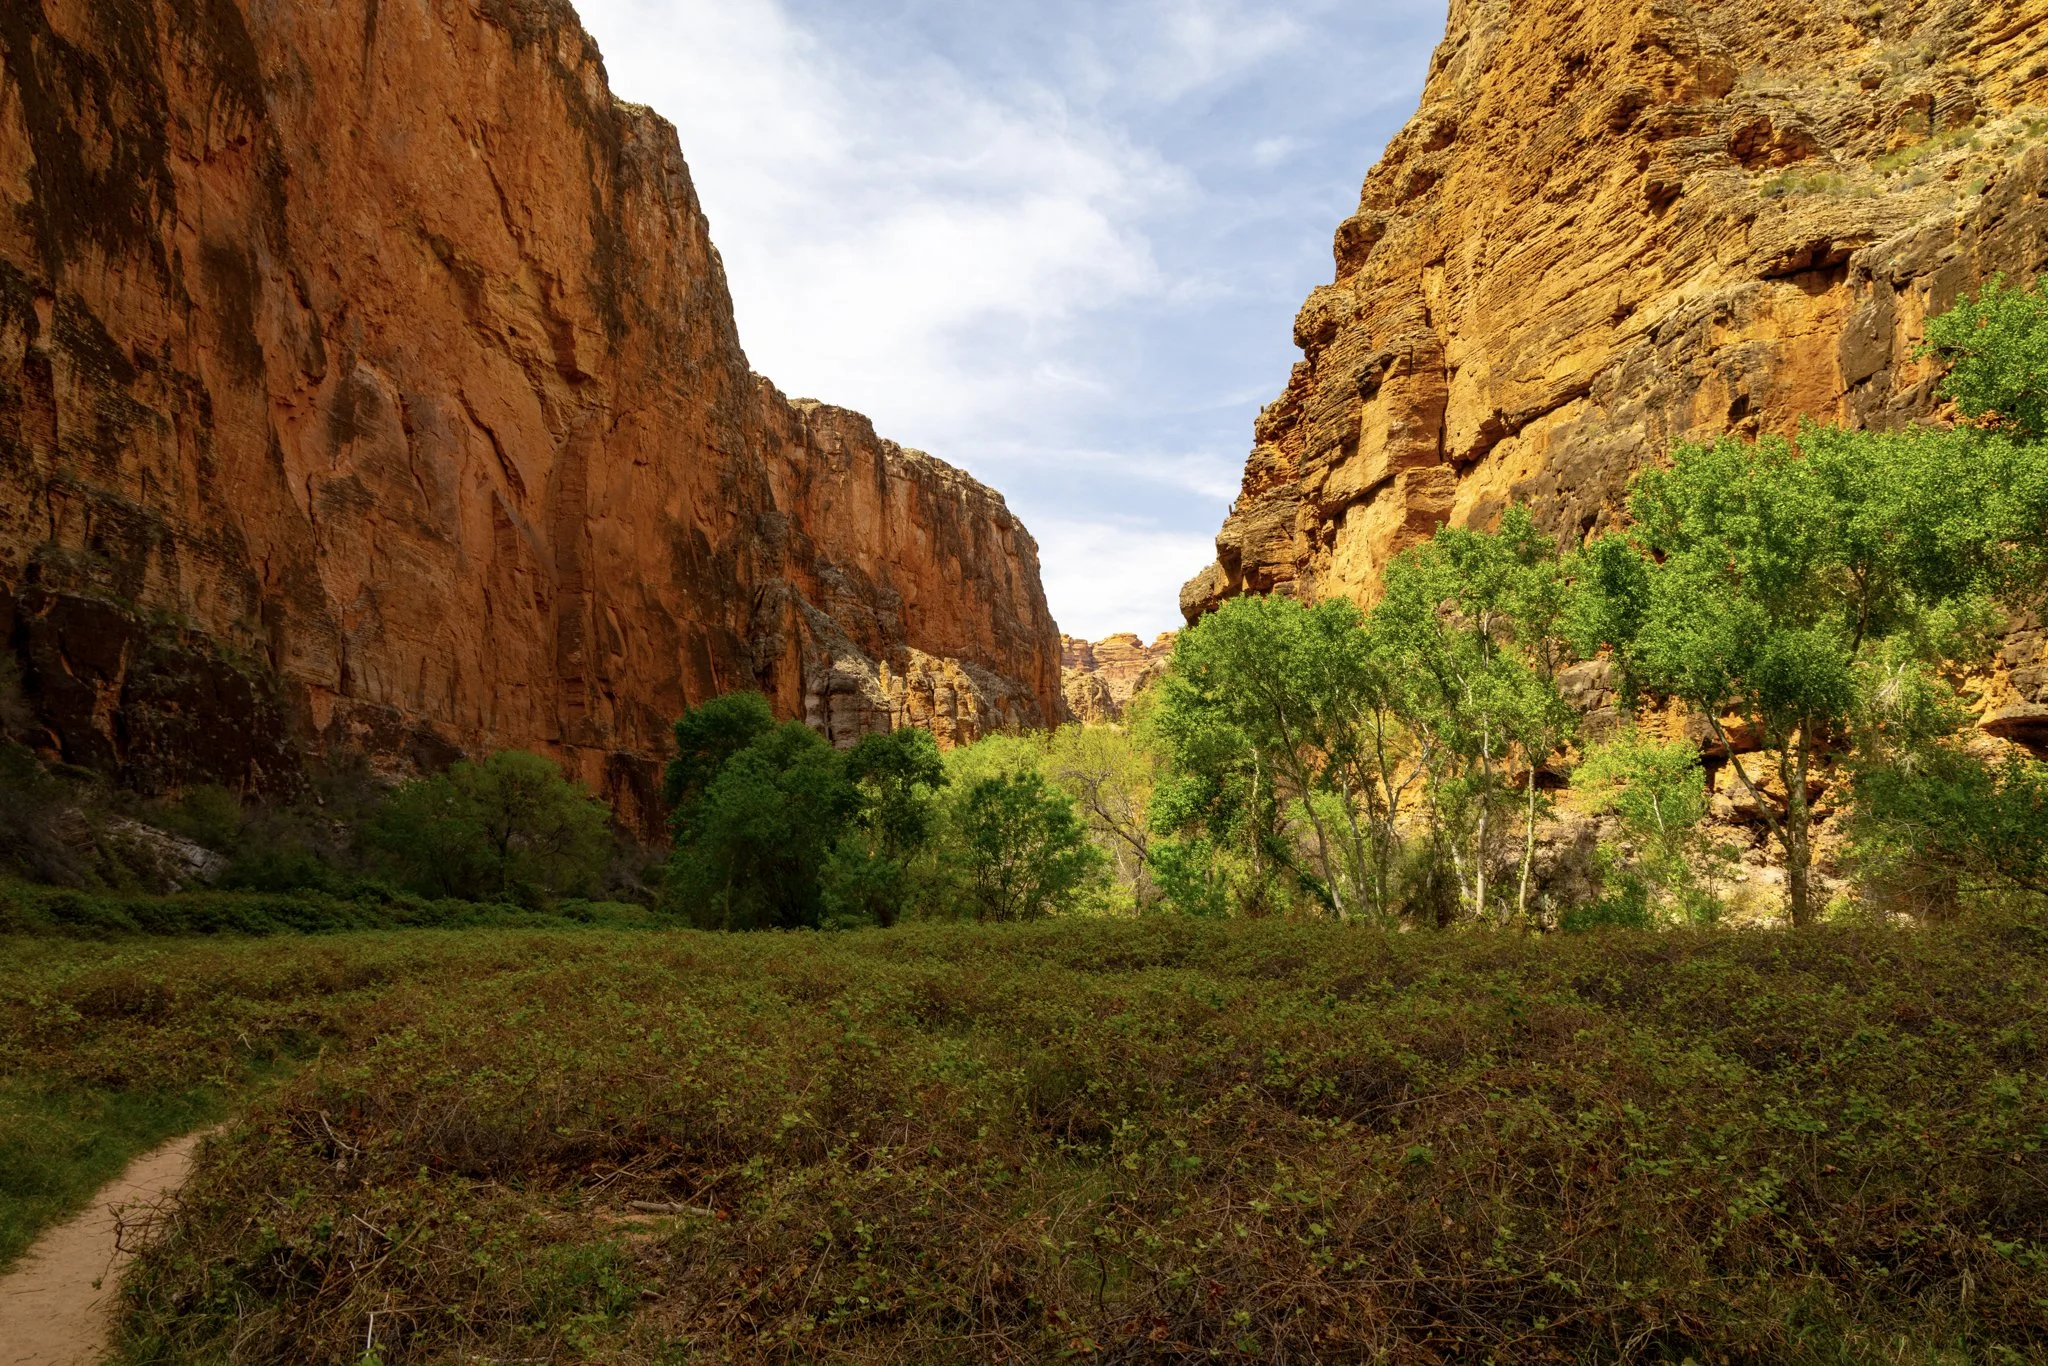
Havasupai Trail Breakdown — Distance, Terrain & What to Expect
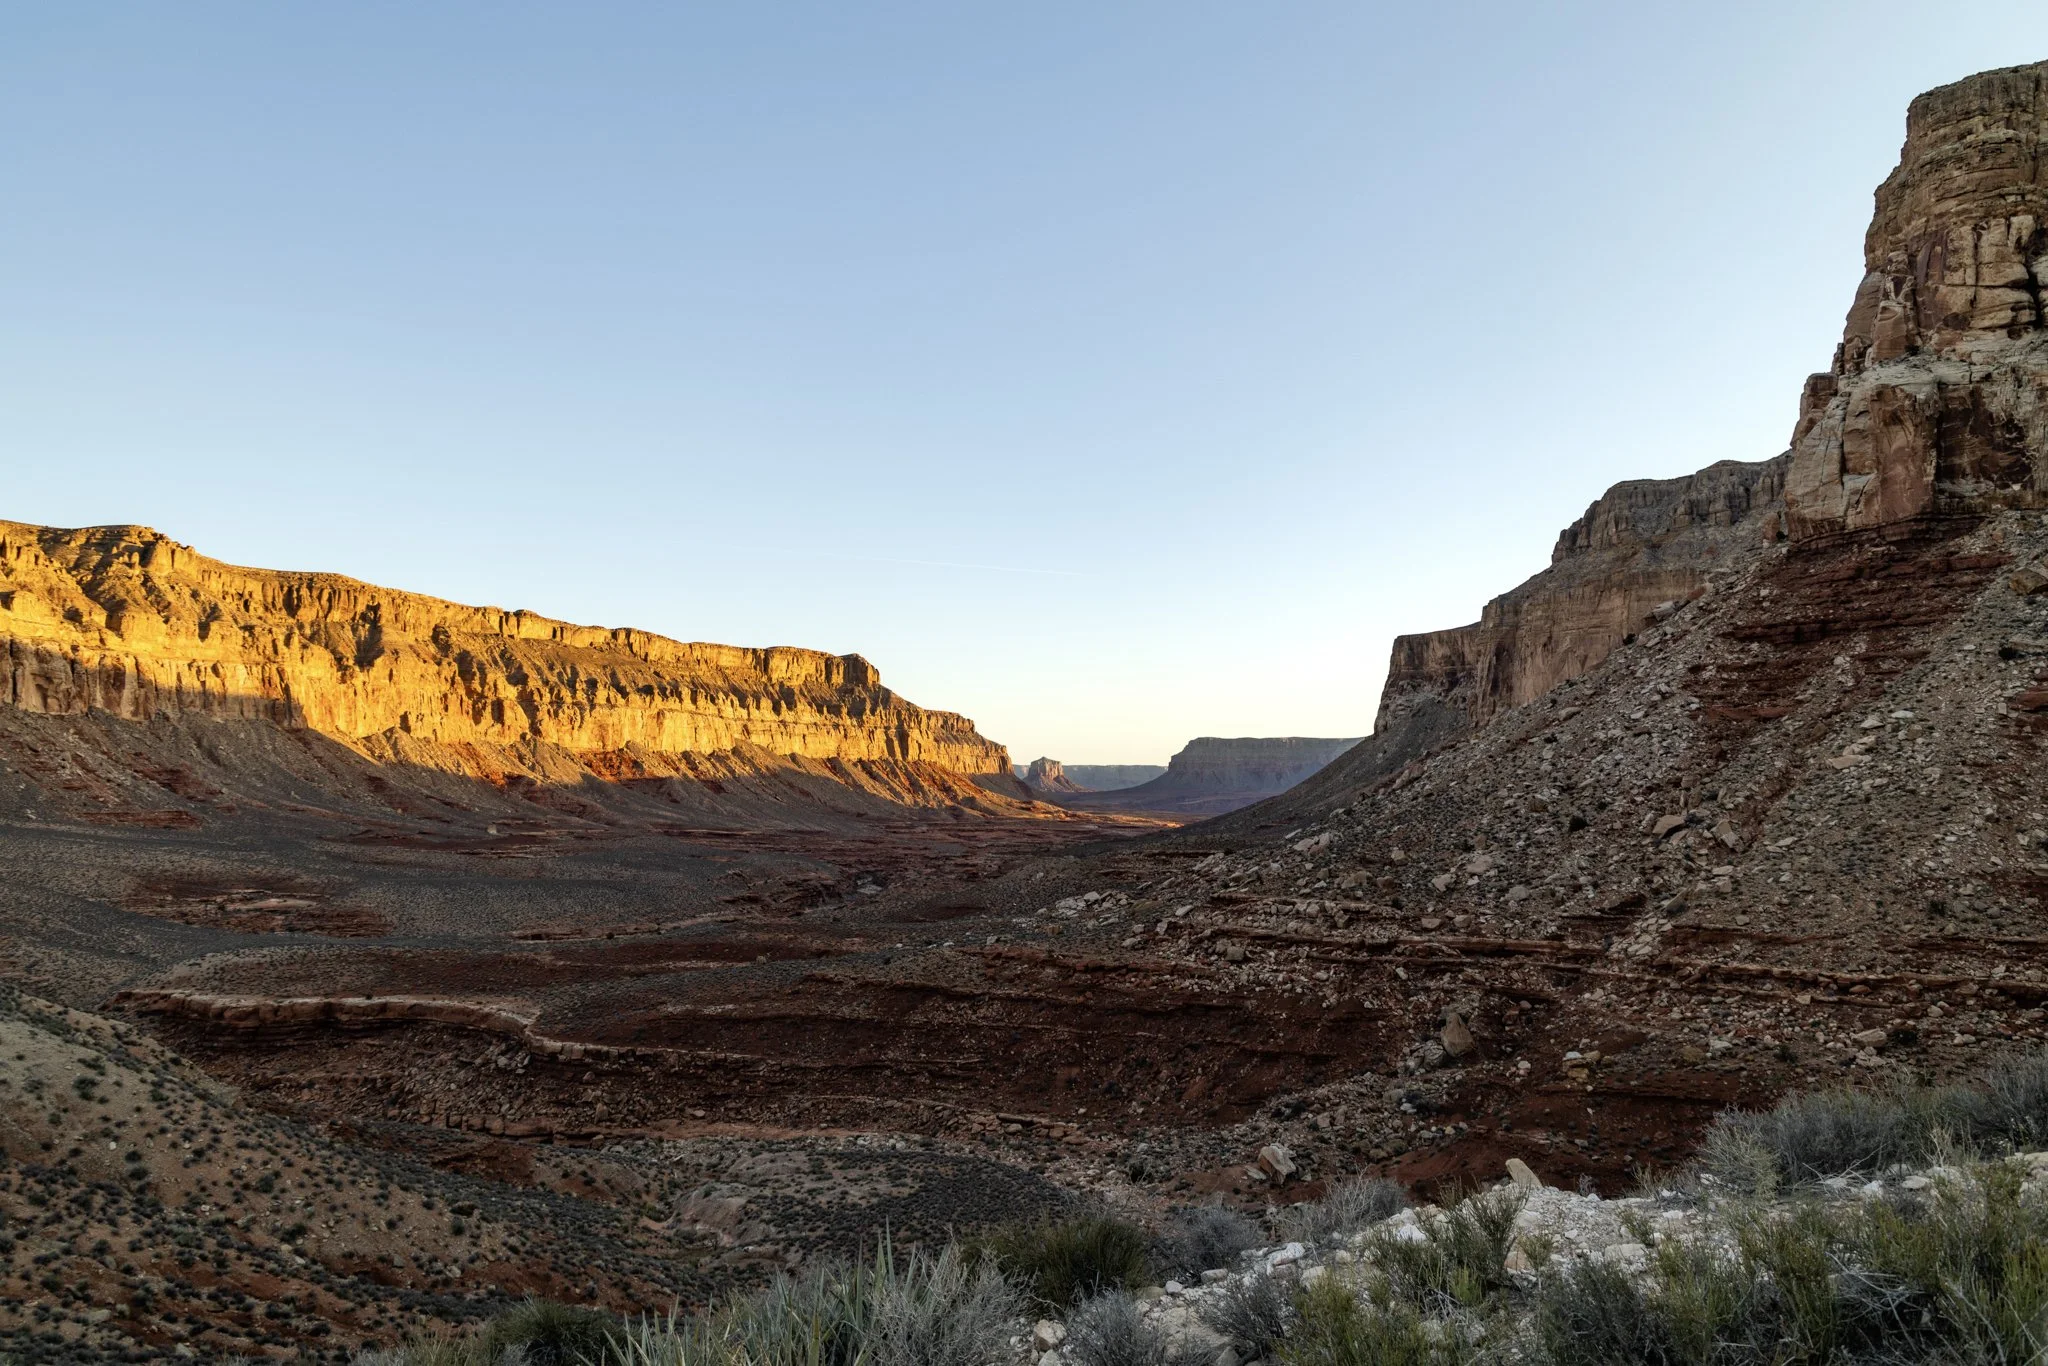
View from the top of the canyon from the Hualapai Hilltop Trailhead ©Thomasformanjr
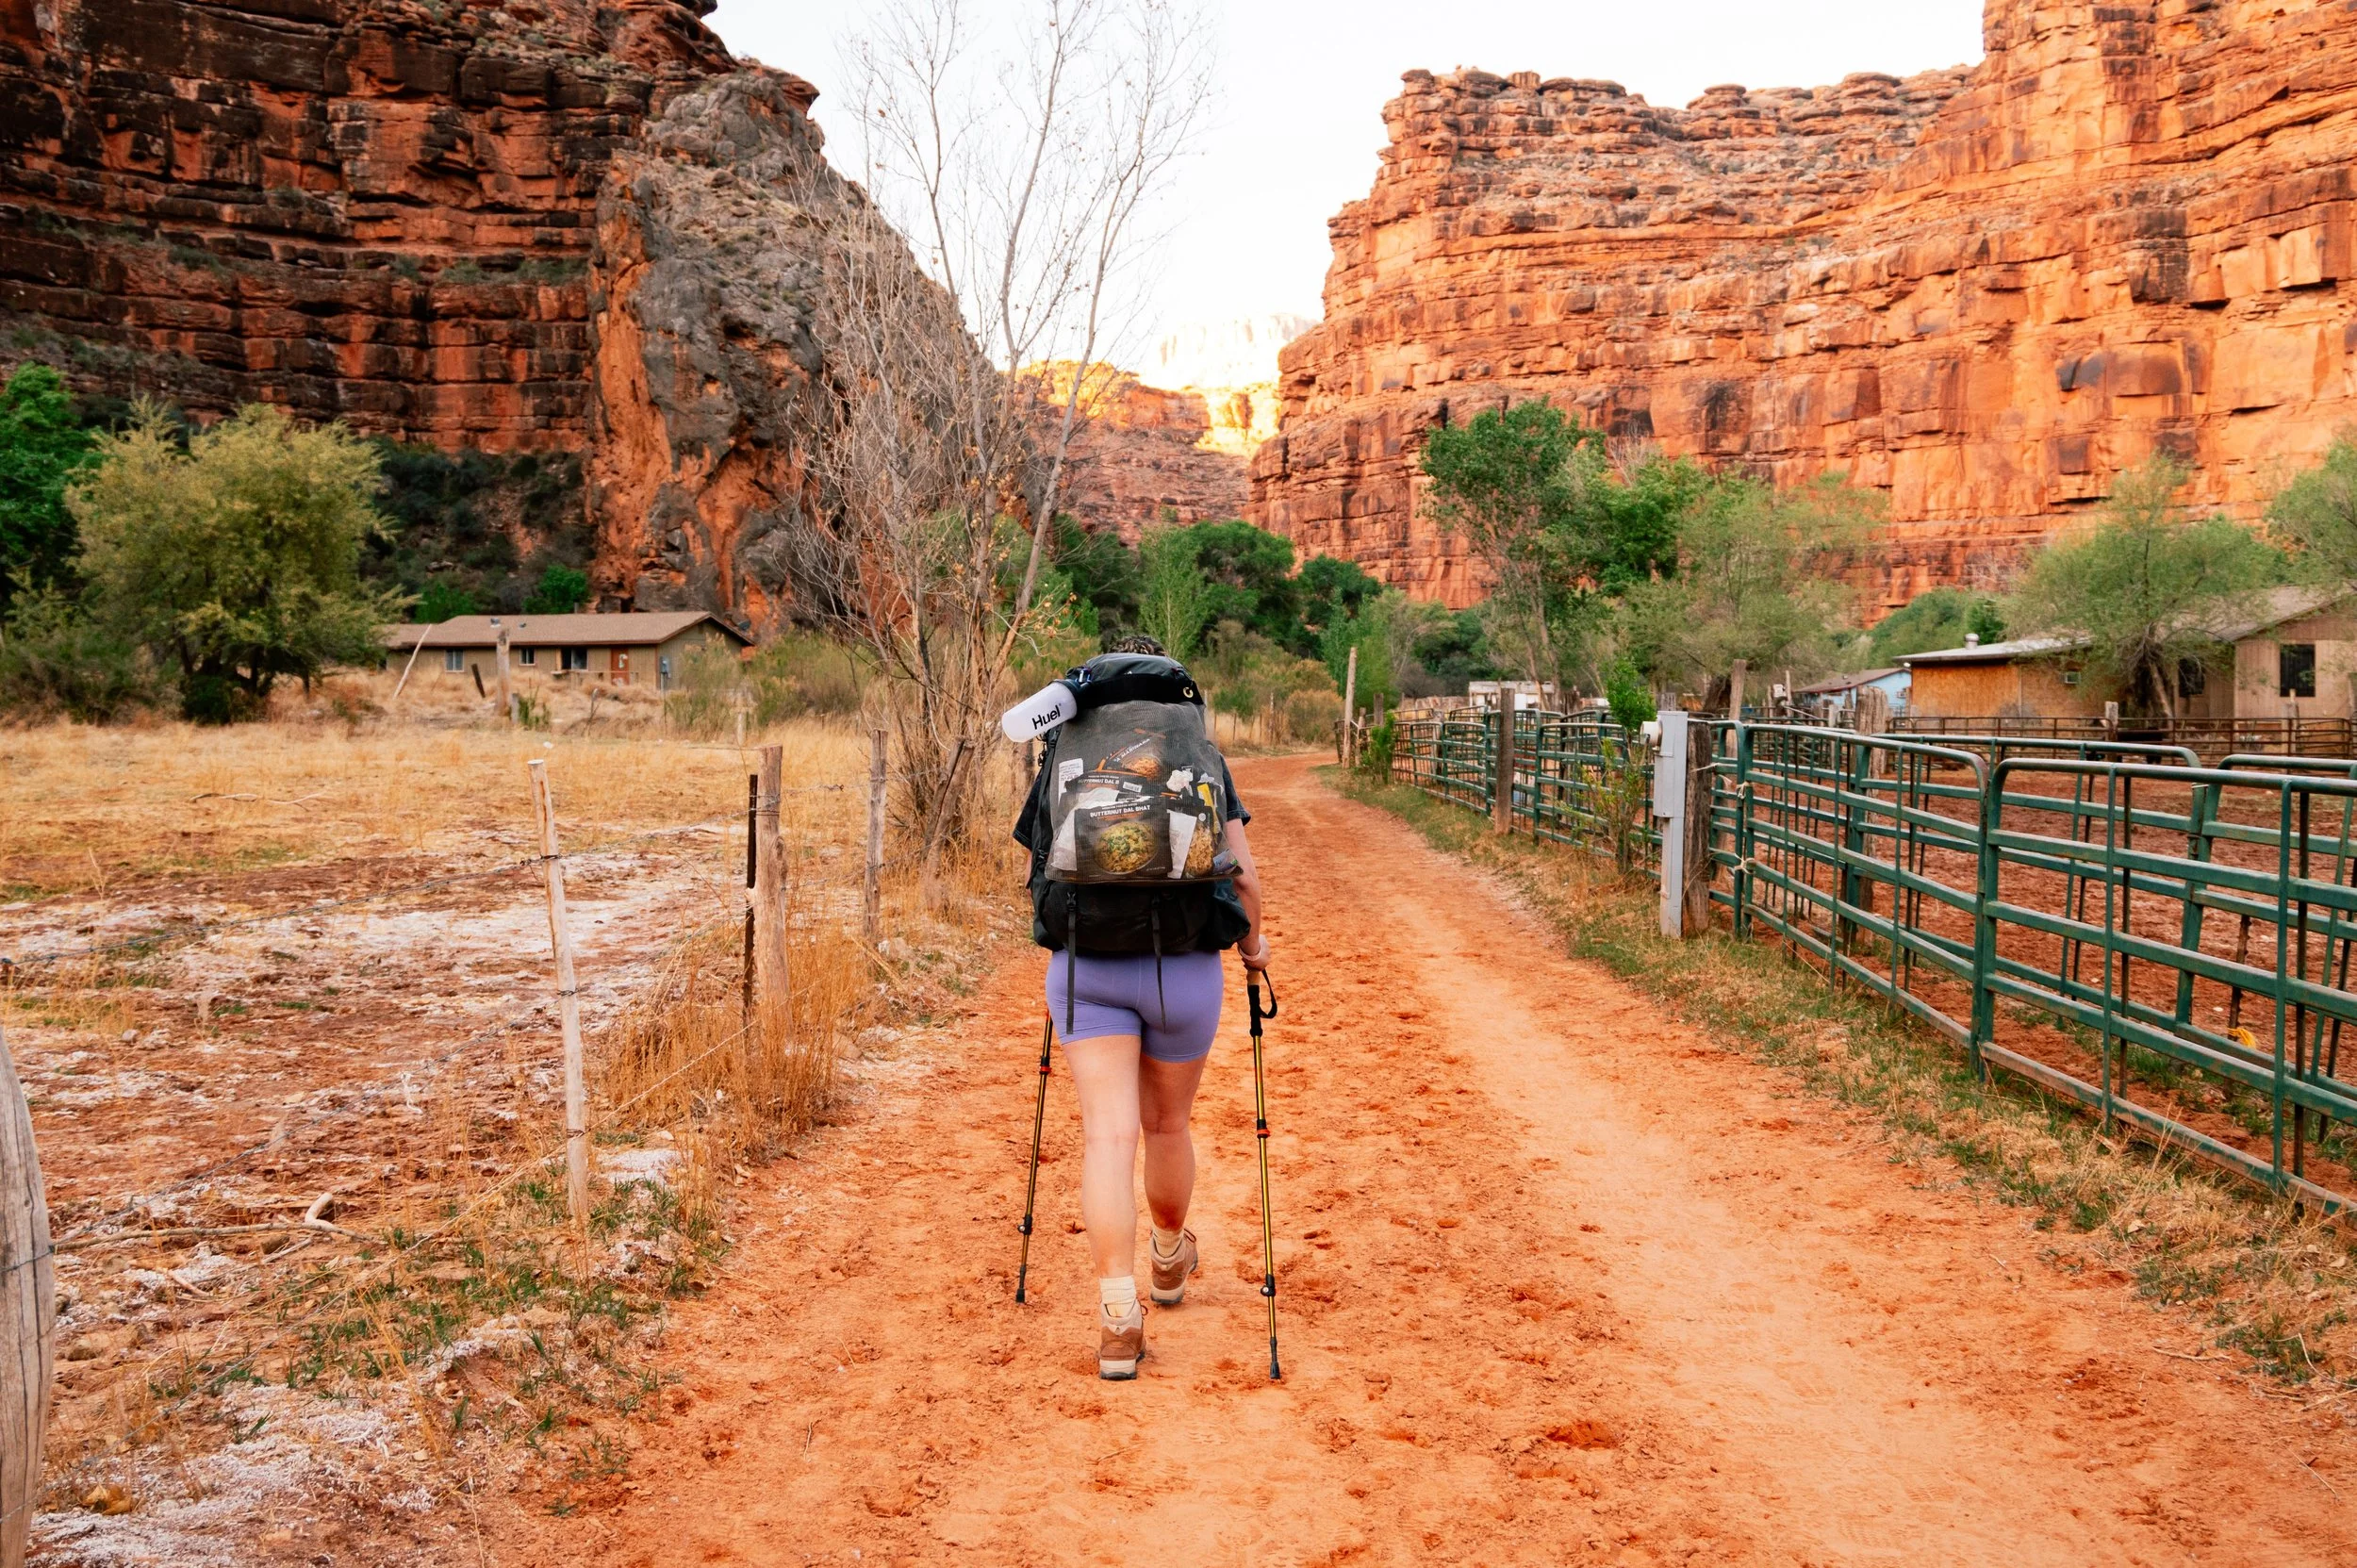
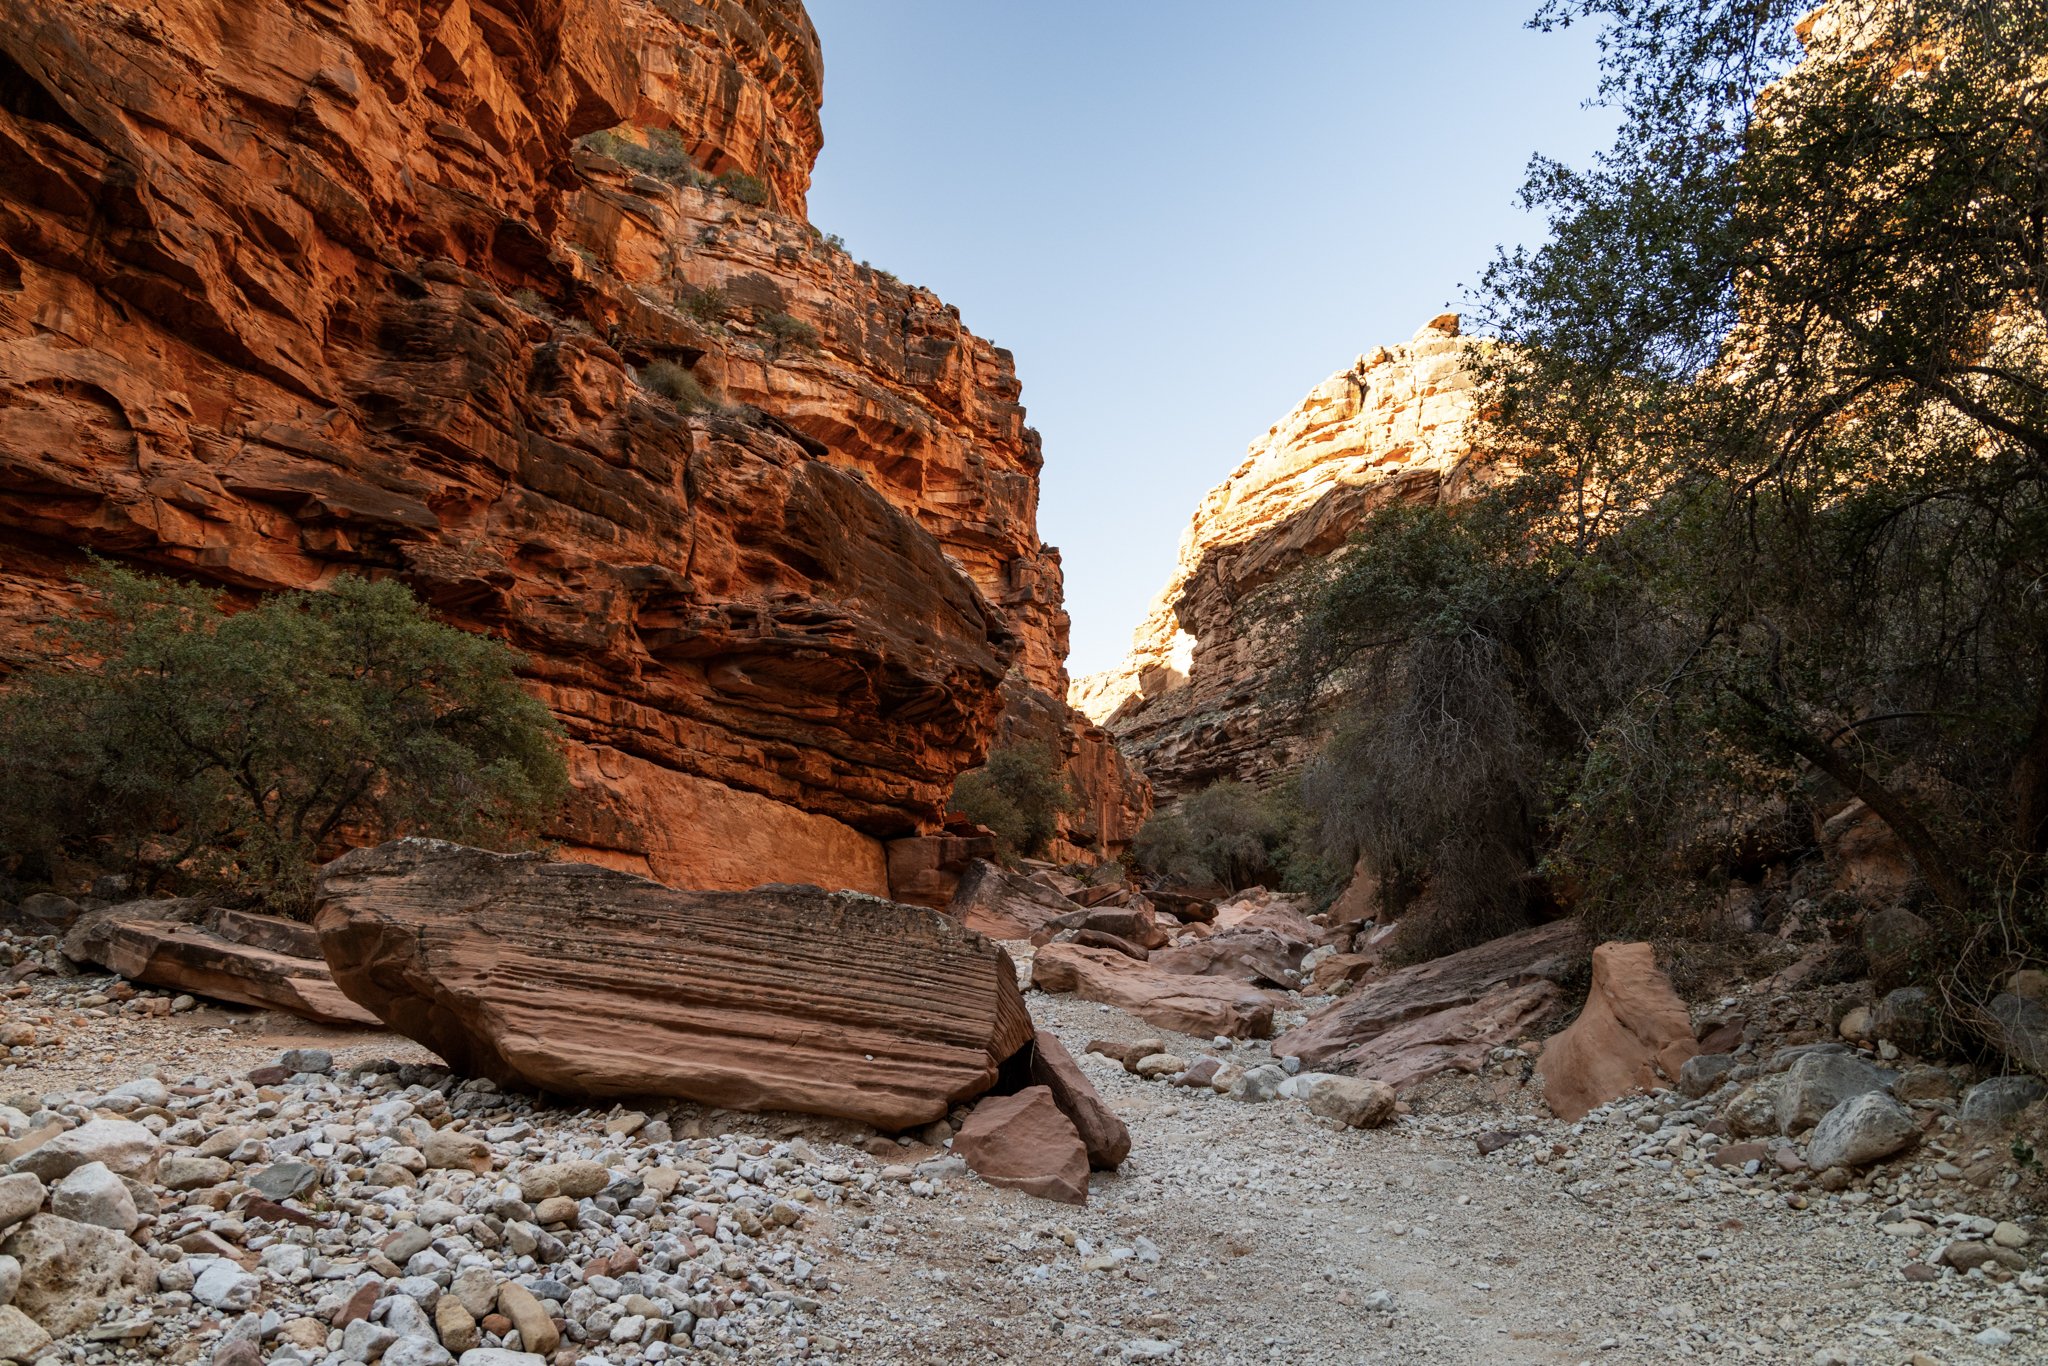
Understanding trail distances helps you plan pacing, hydration, and daily goals. The trail begins near the parking lot at the Hualapai Hilltop. From there it descends 10 miles to the campground with an elevation change of 2000ft. It begins/ends with 1 mile of switchbacks which are the most difficult part of the trail.
Sturdy footwear is highly recommended (boots) as the trail is rocky and sandy in most areas.
After 8 miles you will reach Supai Village which is where you would check in for lodges if that’s your accommodation choice. It also has a market and cafe (I wouldn’t rely on this market to purchase your food for the duration of your stay).
After you pass the village you will pass three waterfalls (Fifty-Foot Falls, Navajo Falls, and Havasu Falls) on your way to the campground. The campground is situated along the river bed.
Personal Note: The elevation change on this hike is mostly one way. The hike into the village and campground is largely downhill, while the hike out back to the trailhead is mostly uphill. Because of this, it can feel like two completely different hikes, especially once heat and water conservation come into play.
Pro Tip: If you’re like us and this is your first real backpacking trip, do yourself a favor: stop by an REI and talk to a backpacking expert. We hit the Phoenix location, and it was a game-changer. All three of us got a masterclass on the ergonomics of the pack—learning how to distribute the weight, adjust the (many) straps, and exactly where to allow slack for easier carrying. Even the right way to put on and take off a 40lb pack makes a massive difference over 10 miles. Don’t wing it; get fitted by a pro.
Trailhead → Supai Village → Campground
Trailhead → Supai Village: ~8 miles
Supai Village → Campground: ~2 miles
Total one way to Campground: ~10 miles
Total round‑trip: ~20 miles minimum (not counting exploration beyond camp).
Distances from Campground
Camp to Mooney Falls: ~0.5–0.8 miles (about a mile total walking depending on campsite)
Mooney Falls → Beaver Falls: ~2.1 miles one‑way (roughly 3 miles from camp to Beaver)
Terrain
Initial descent: switchbacks, rocky, sandy
Canyon floor: mostly gradual, sandy trail
Creek bed: wet, rocky sections for Beaver Falls
Elevation: ~2,000‑2,500 ft drop into canyon, ascent on hike out
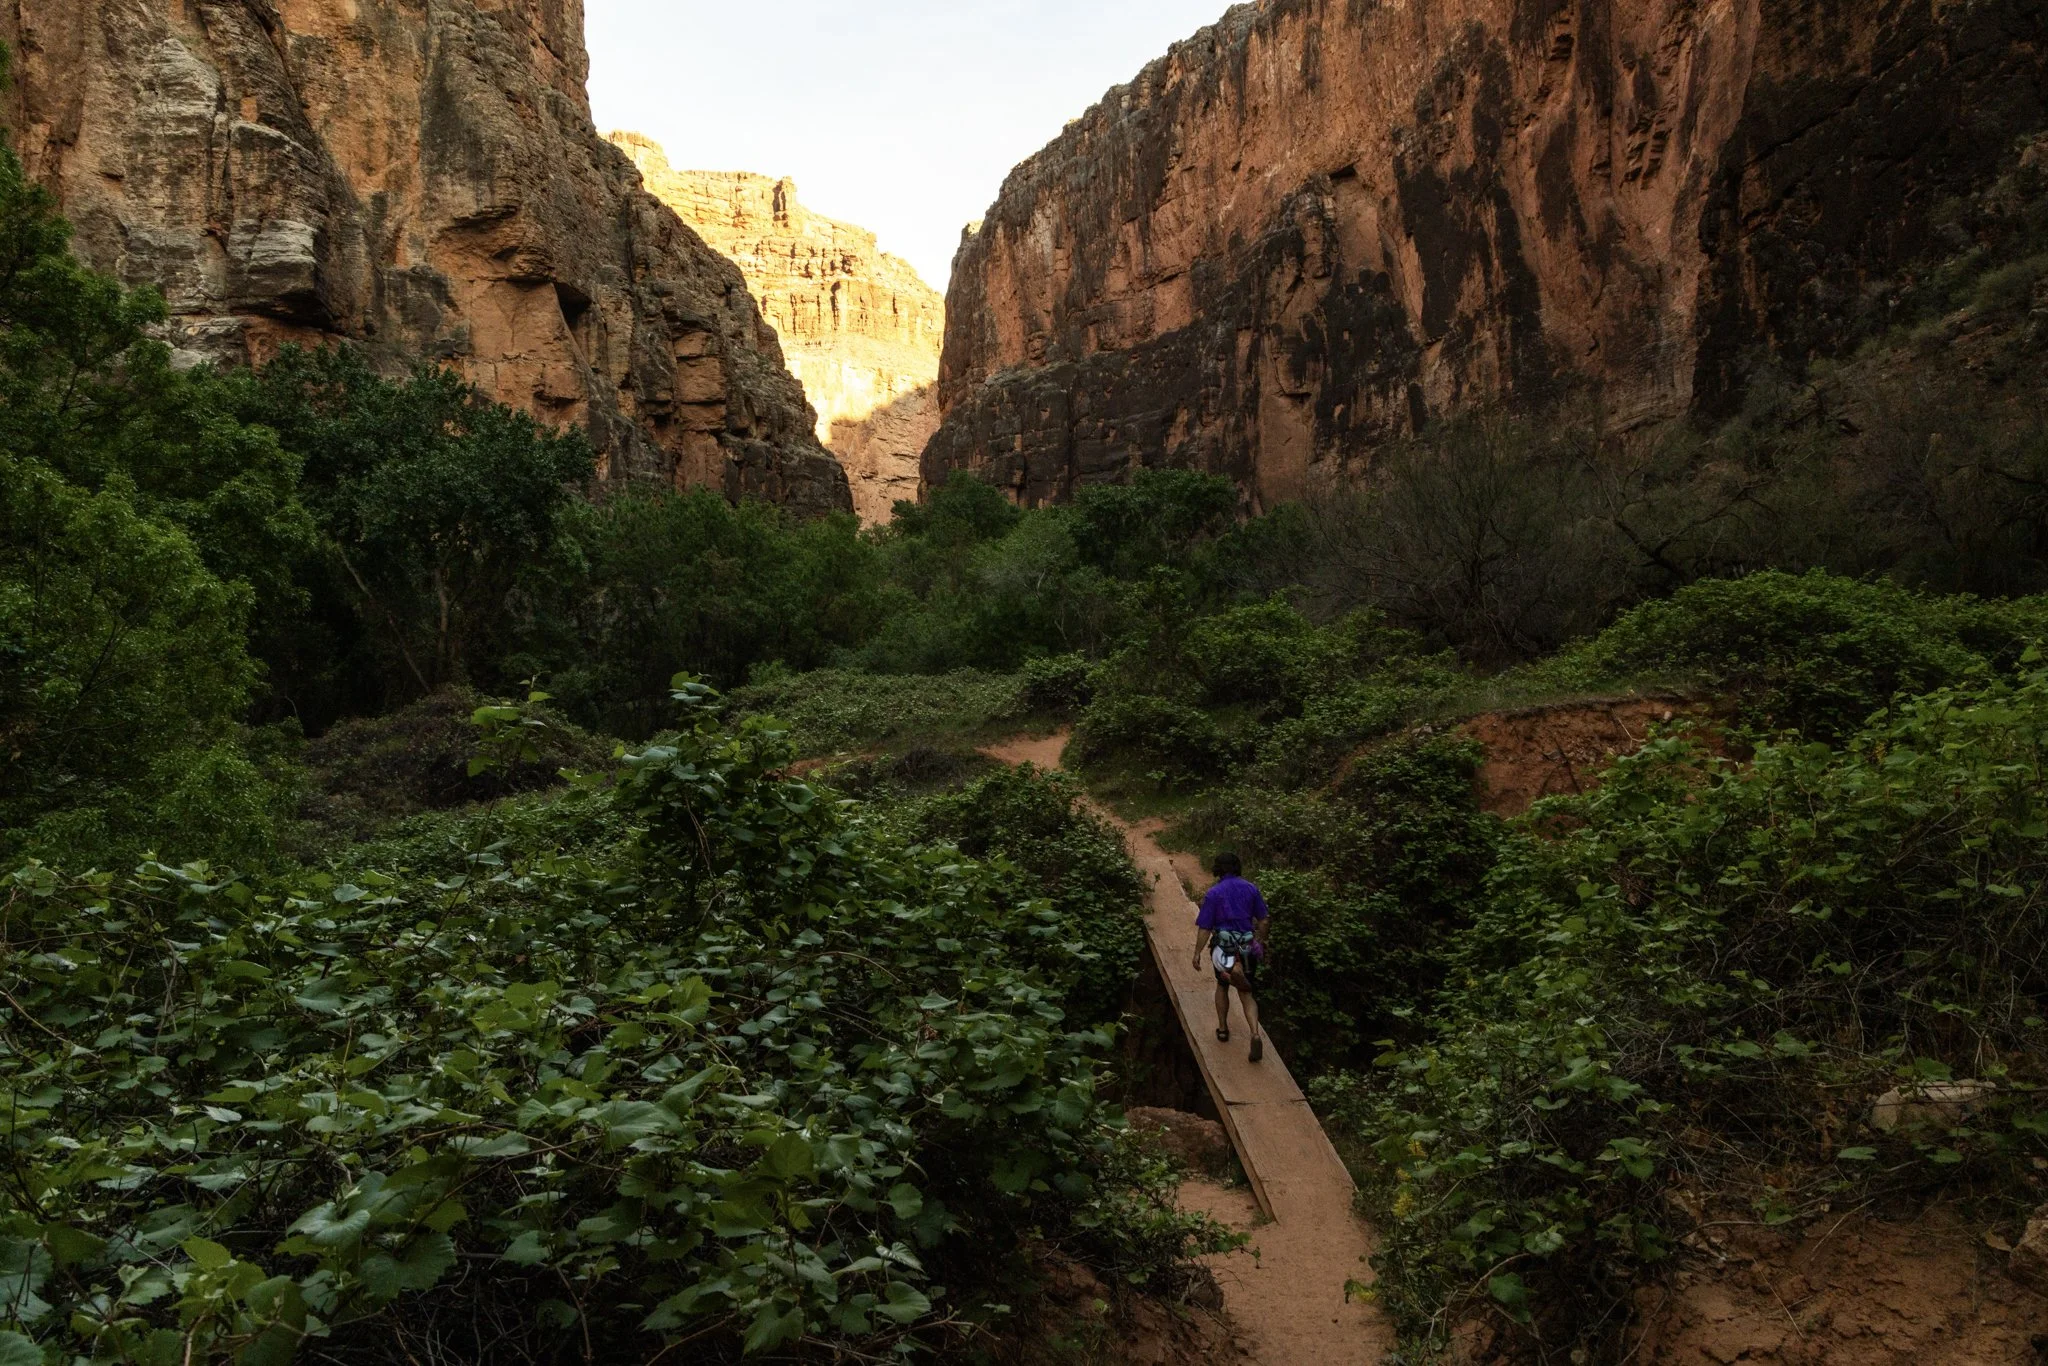
Havasupai Campground — Campsites, Rules & Setup Tips
There is no road access to the campground. Everyone must hike in or fly in from the trailhead.
The campground stretches about a mile between the ranger station near Havasu Falls and toward Mooney Falls. This is the designated campground, and you must camp only within this area.
The campground offers only basic amenities and is first-come, first-served. It is common for people to move sites on their second night as campers leave early for their hike out.
The campground features three composting toilet locations (beginning, middle, and end). Potable water is available only toward the front of the campground, so plan accordingly.
Campfires are NOT allowed. Use only camp stoves or Jetboil systems.
Personal Note: We filtered water directly from the river and had no issues.
Pro Tip: Walk farther toward Mooney Falls to camp. It’s less crowded and gives you easier access to Mooney and Beaver Falls.
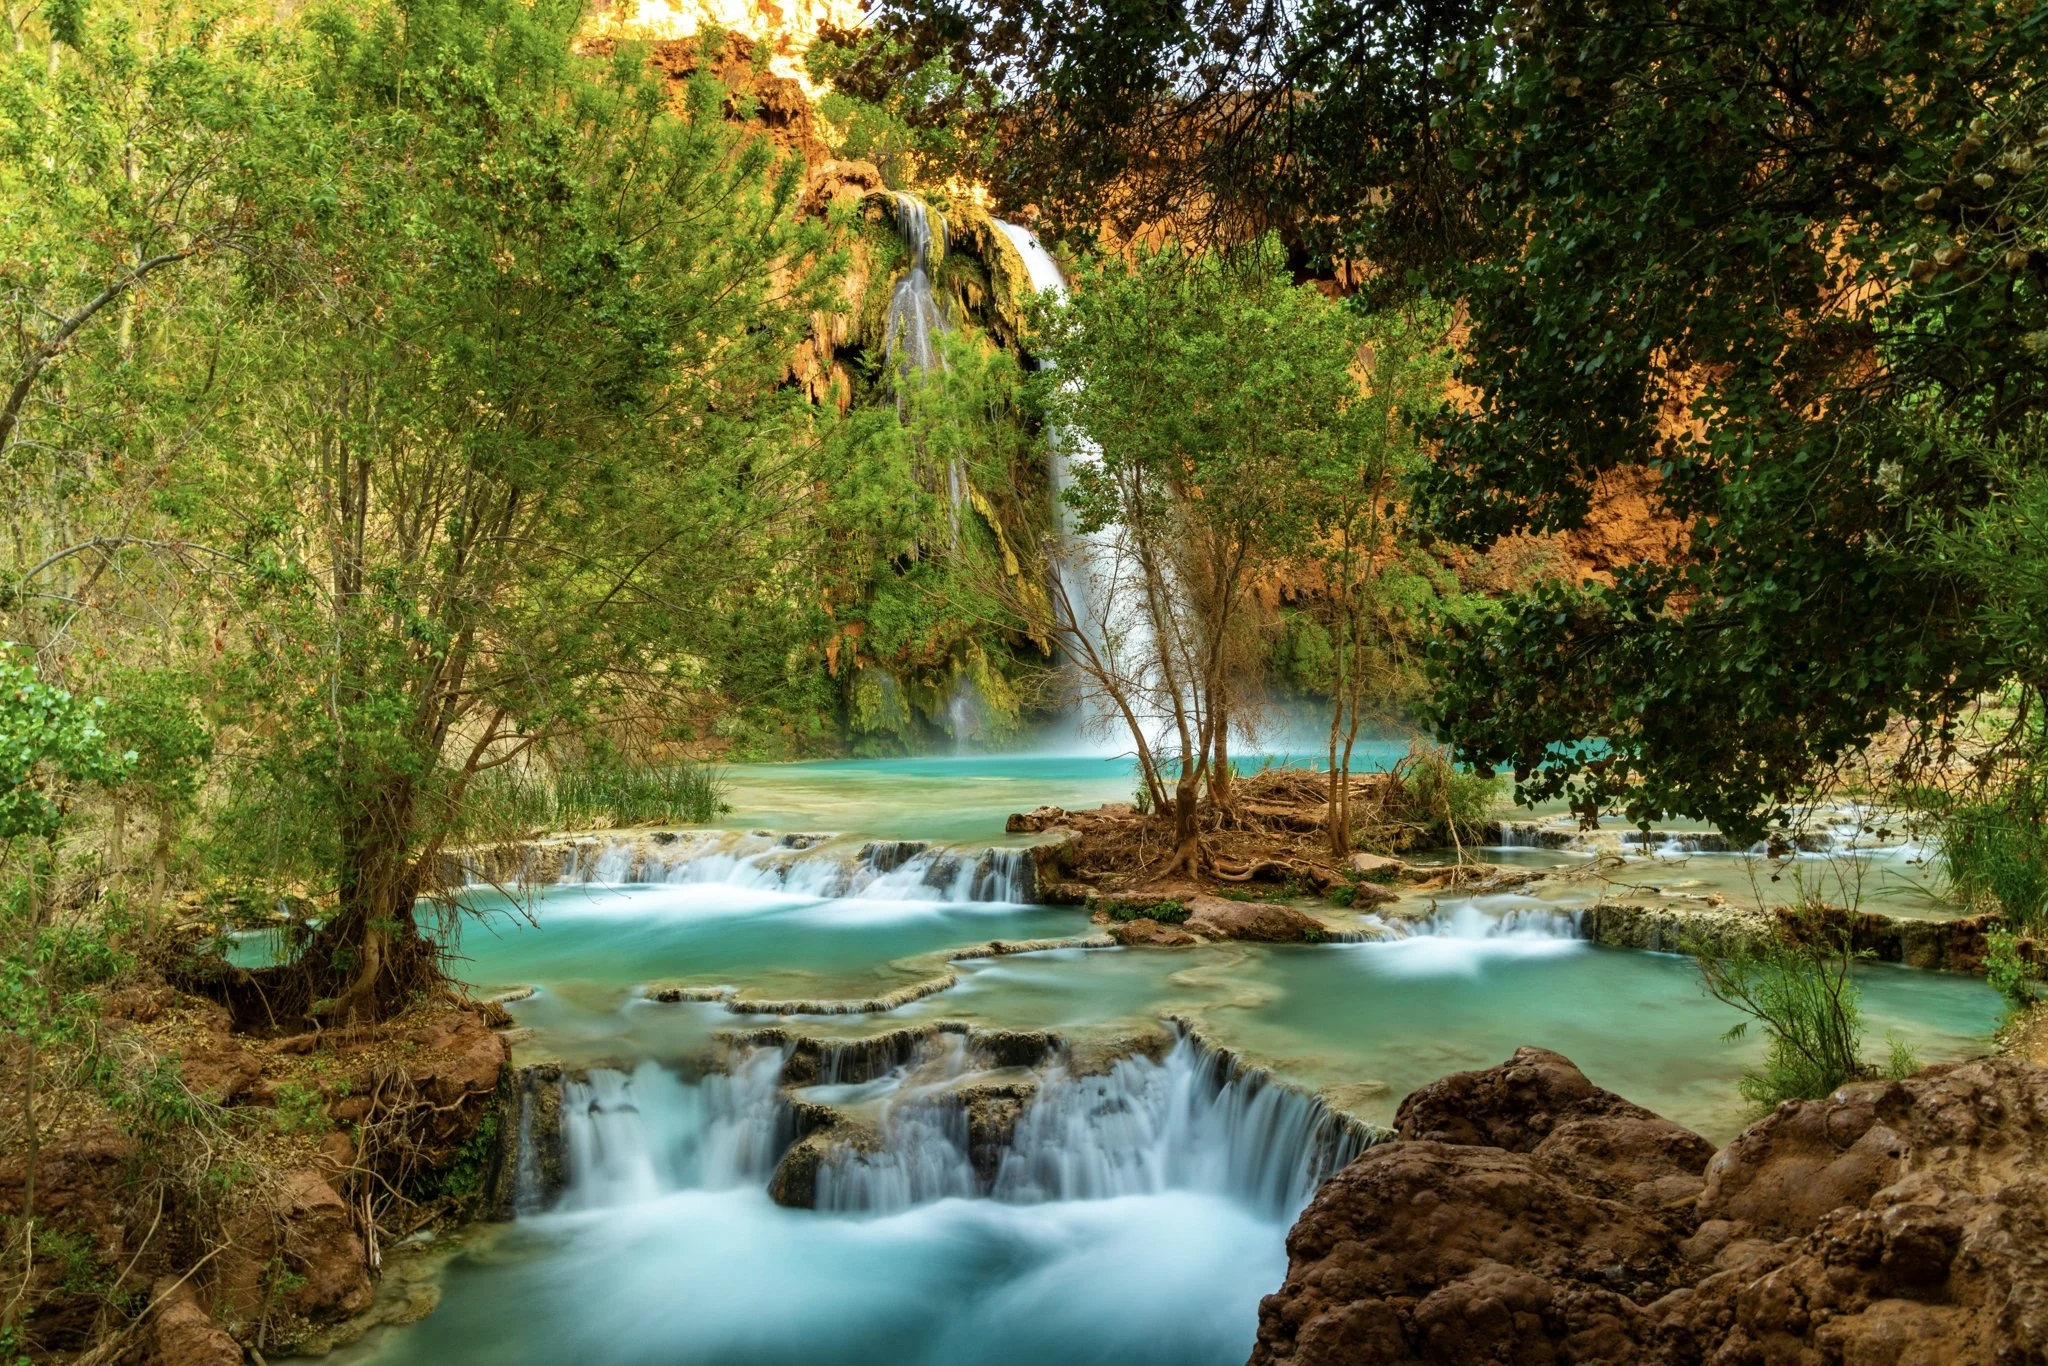
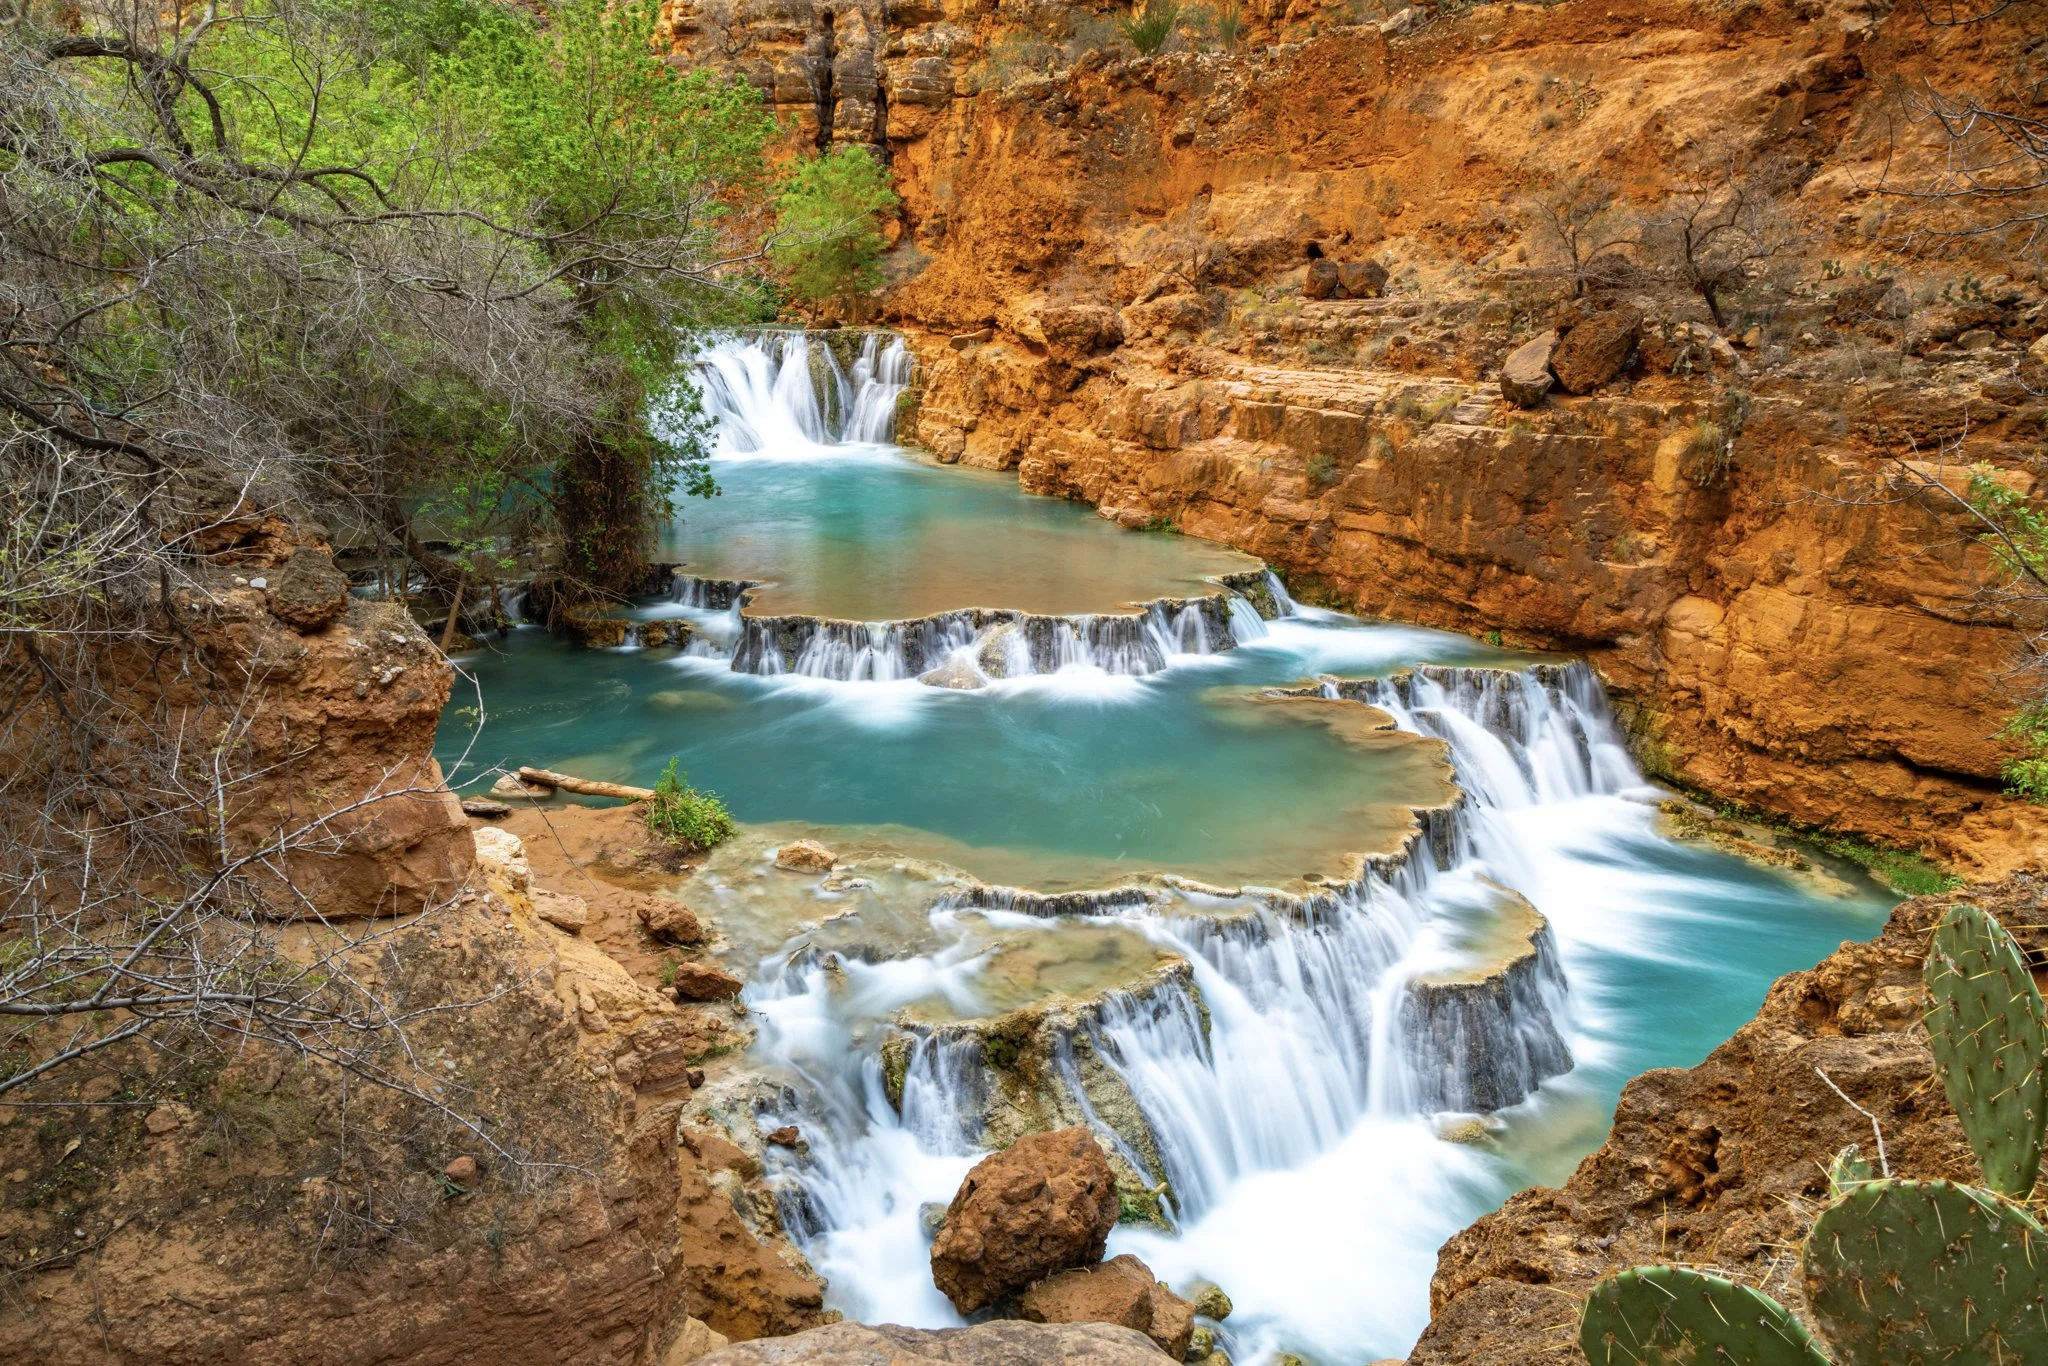
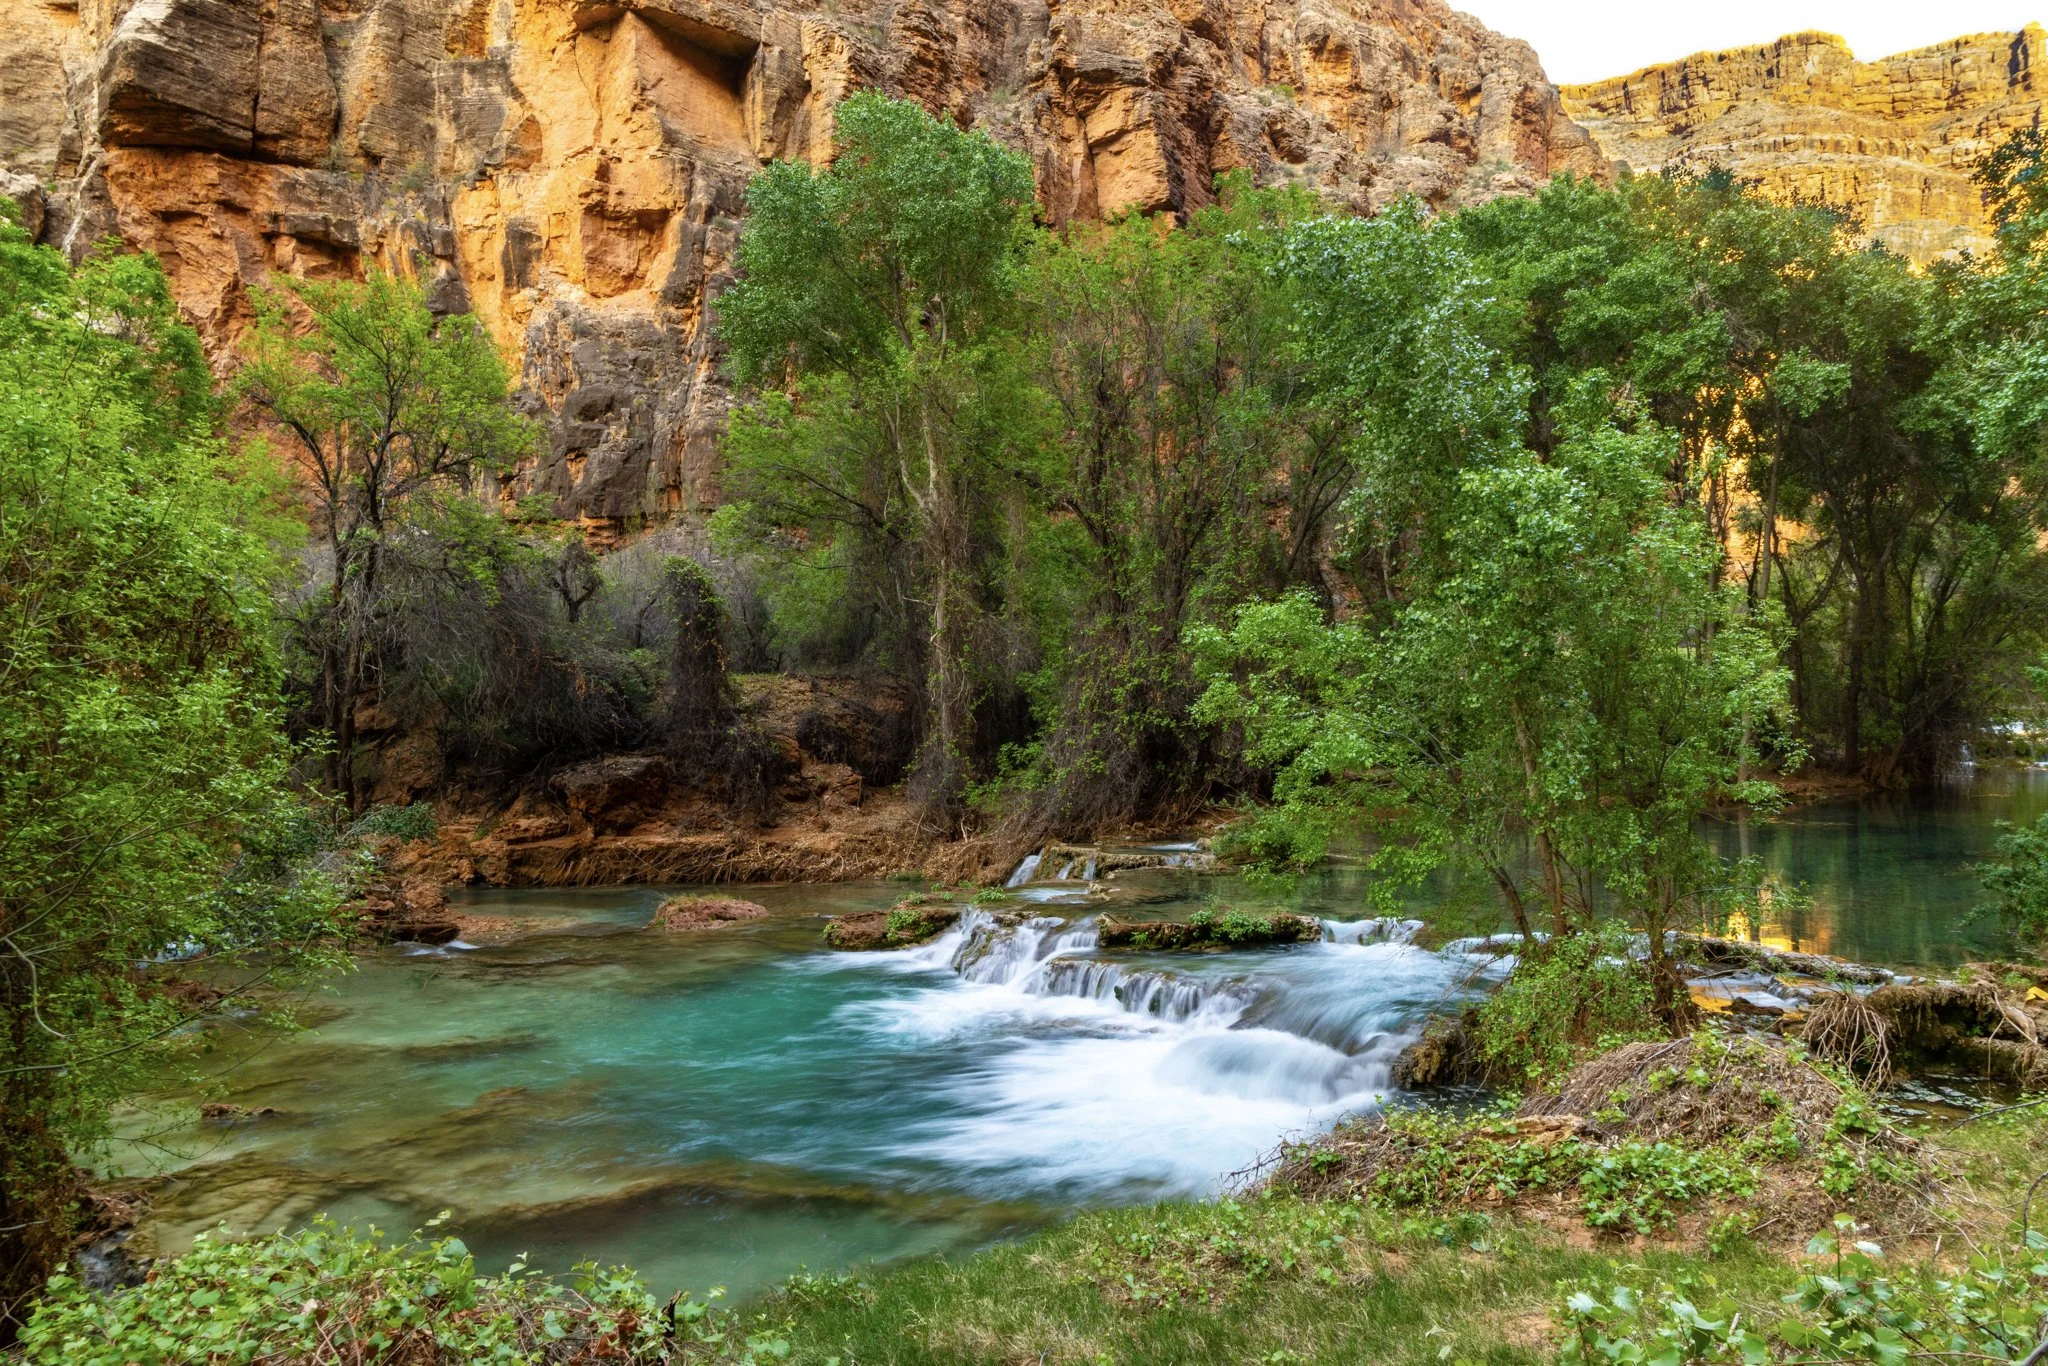
The Waterfalls of Havasupai
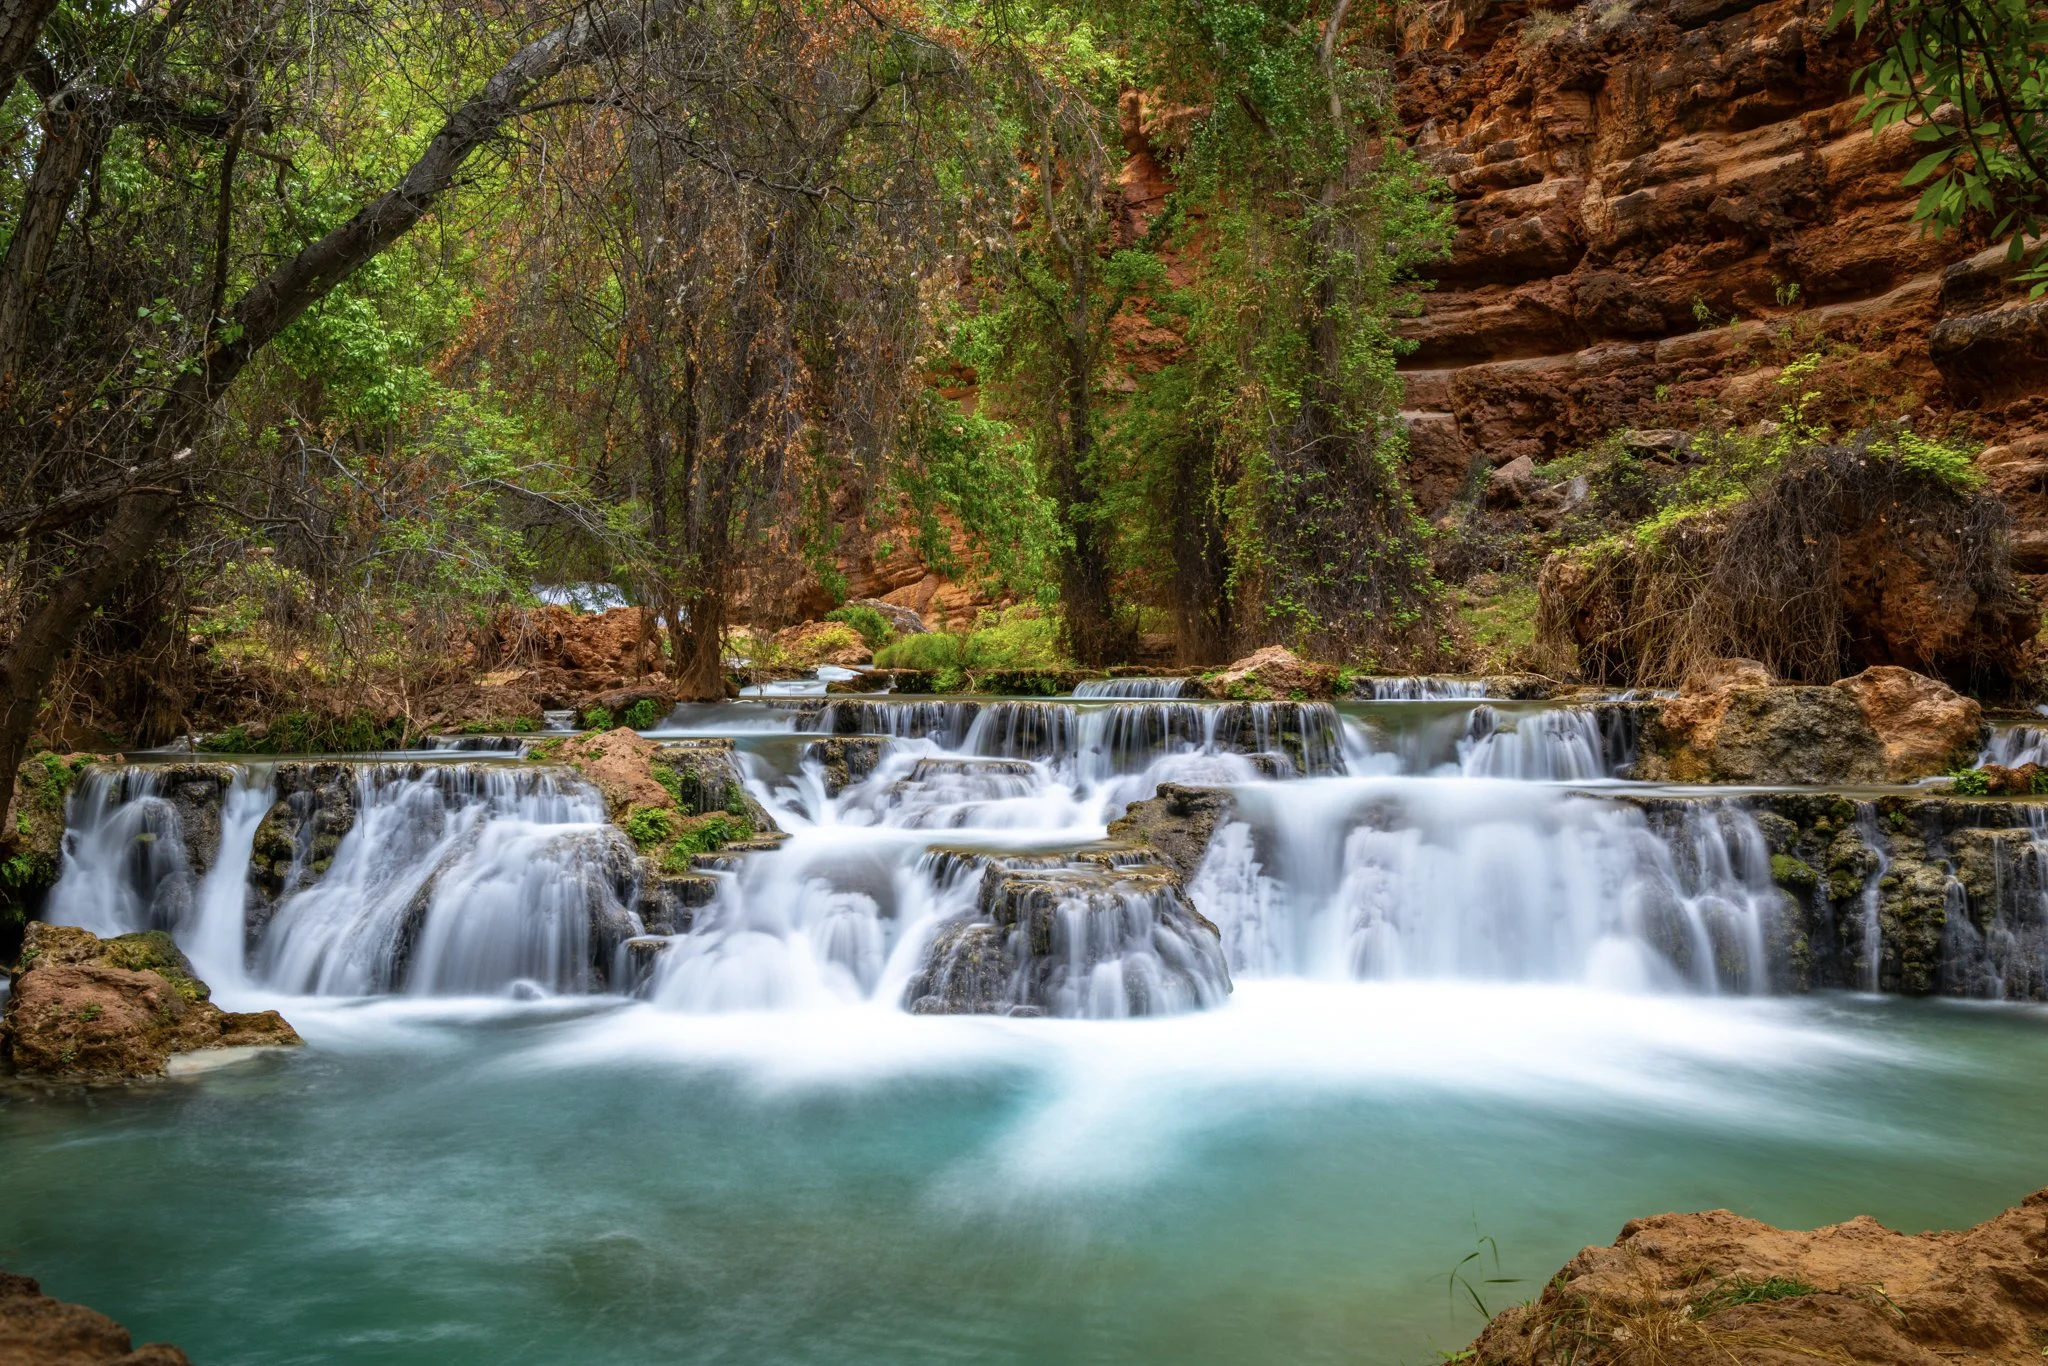
View of Beaver Falls from the riverbed ©Thomasformanjr
Havasupai’s magic lies in the surreal beauty of its waterfalls. These are the main event, each with its own character, color, and reward for the miles you hike. The turquoise water cutting through red rock creates a visual contrast so striking it feels dreamlike.
There are five major waterfalls to explore: Fifty Foot Falls, Navajo Falls, Havasu Falls, Mooney Falls, and Beaver Falls. Each one is unique in shape, flow, and swimming experience — from thundering drops to terraced cascades perfect for lounging. As you work your way deeper into the canyon, the waterfalls grow more adventurous and remote.
This section will break down each waterfall, how to reach it, what to expect when you get there, and a few personal tips from our trip. Whether you're after iconic photos, quiet swims, or adrenaline-fueled climbs, the falls of Havasupai deliver.
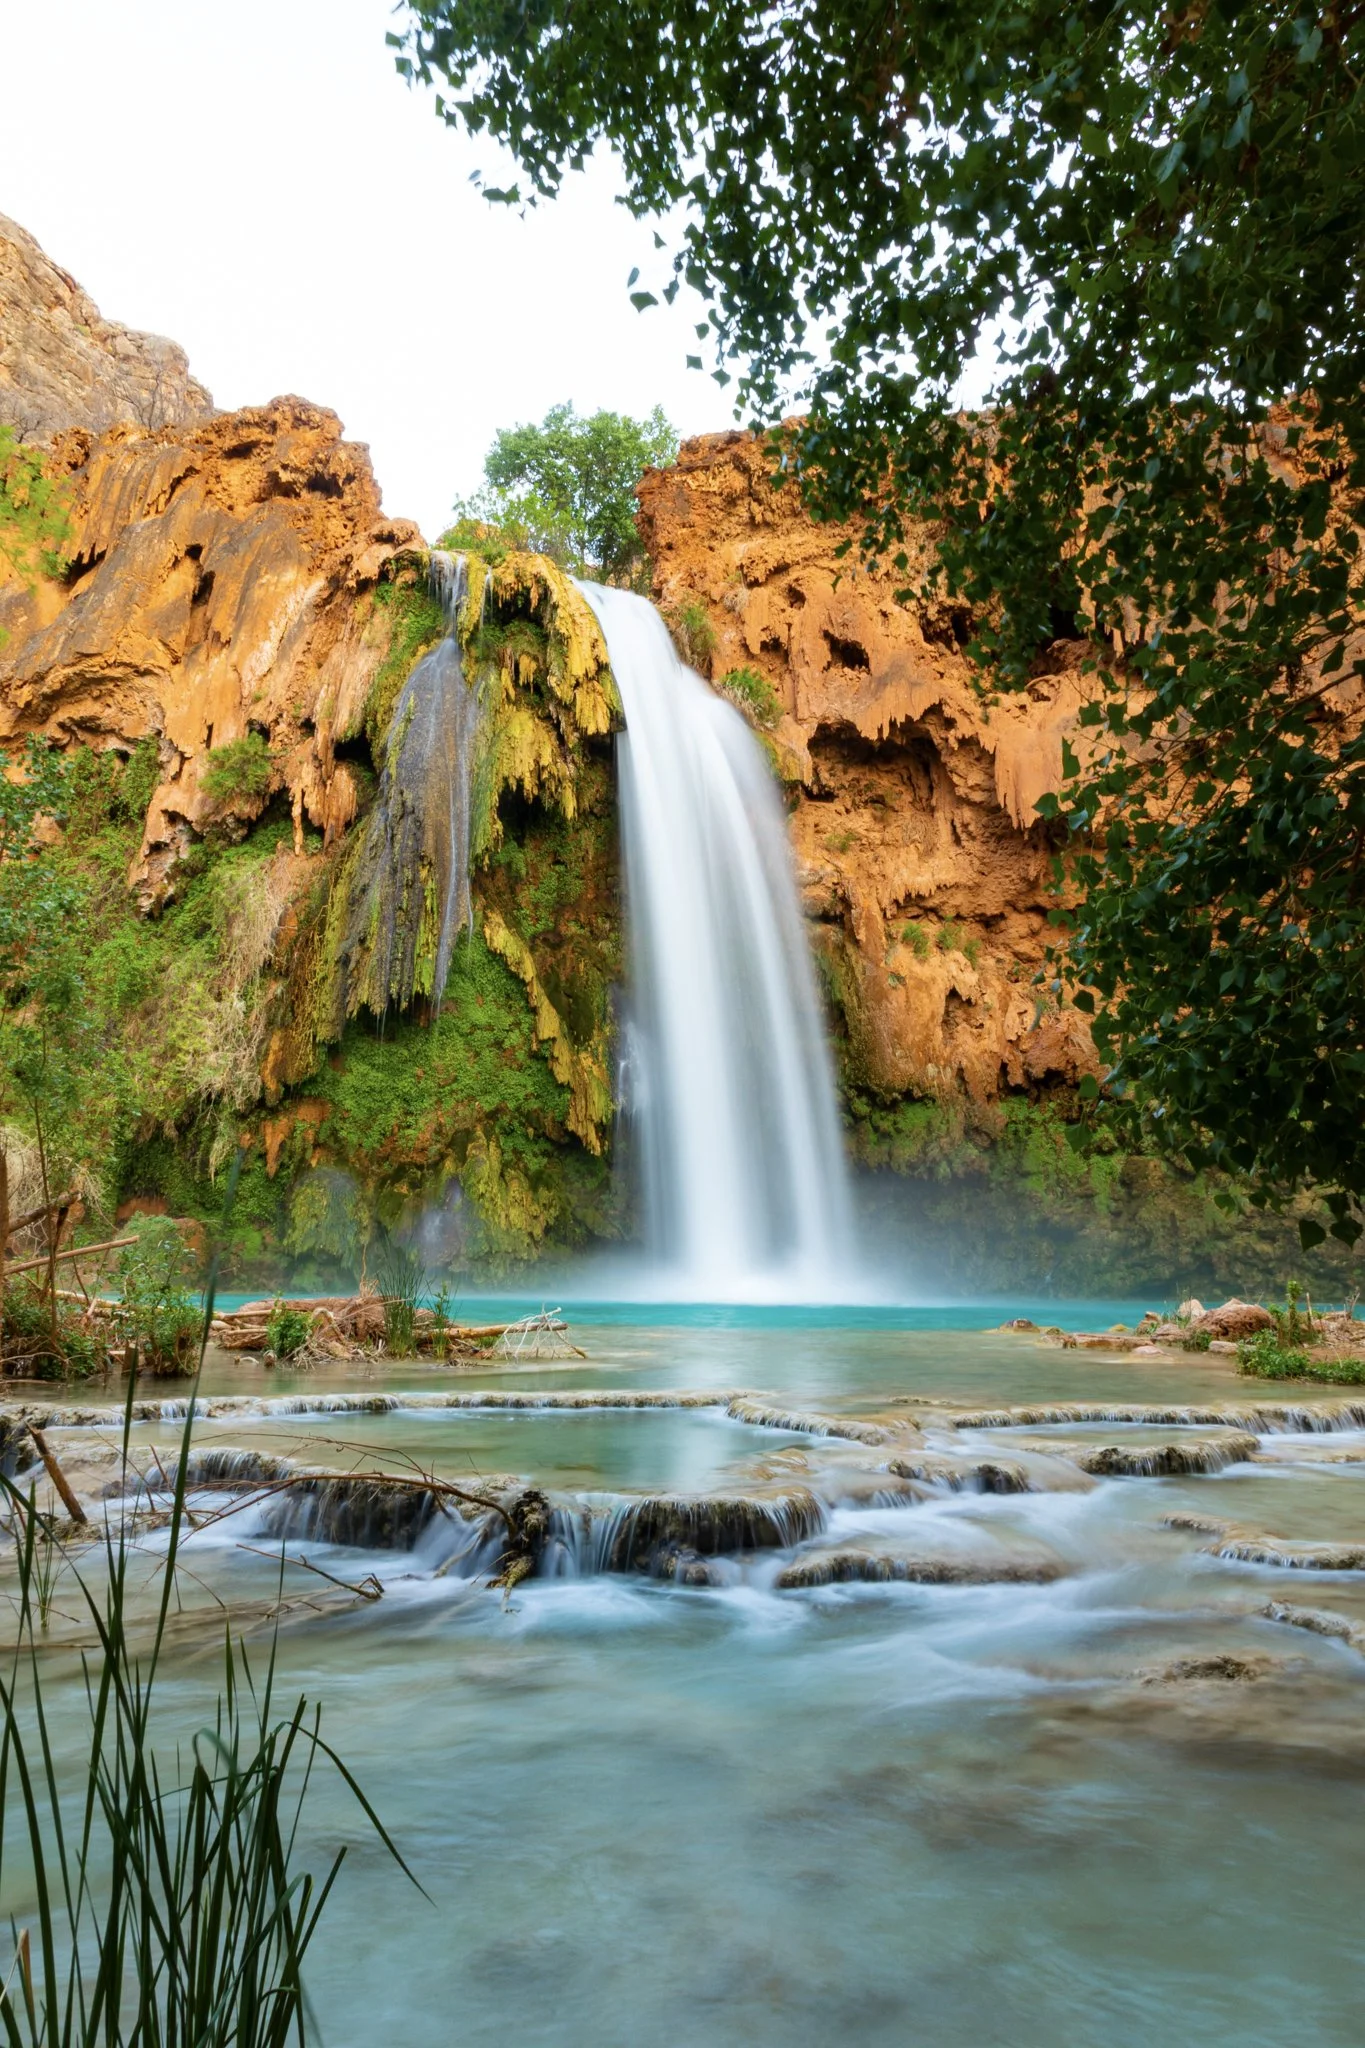
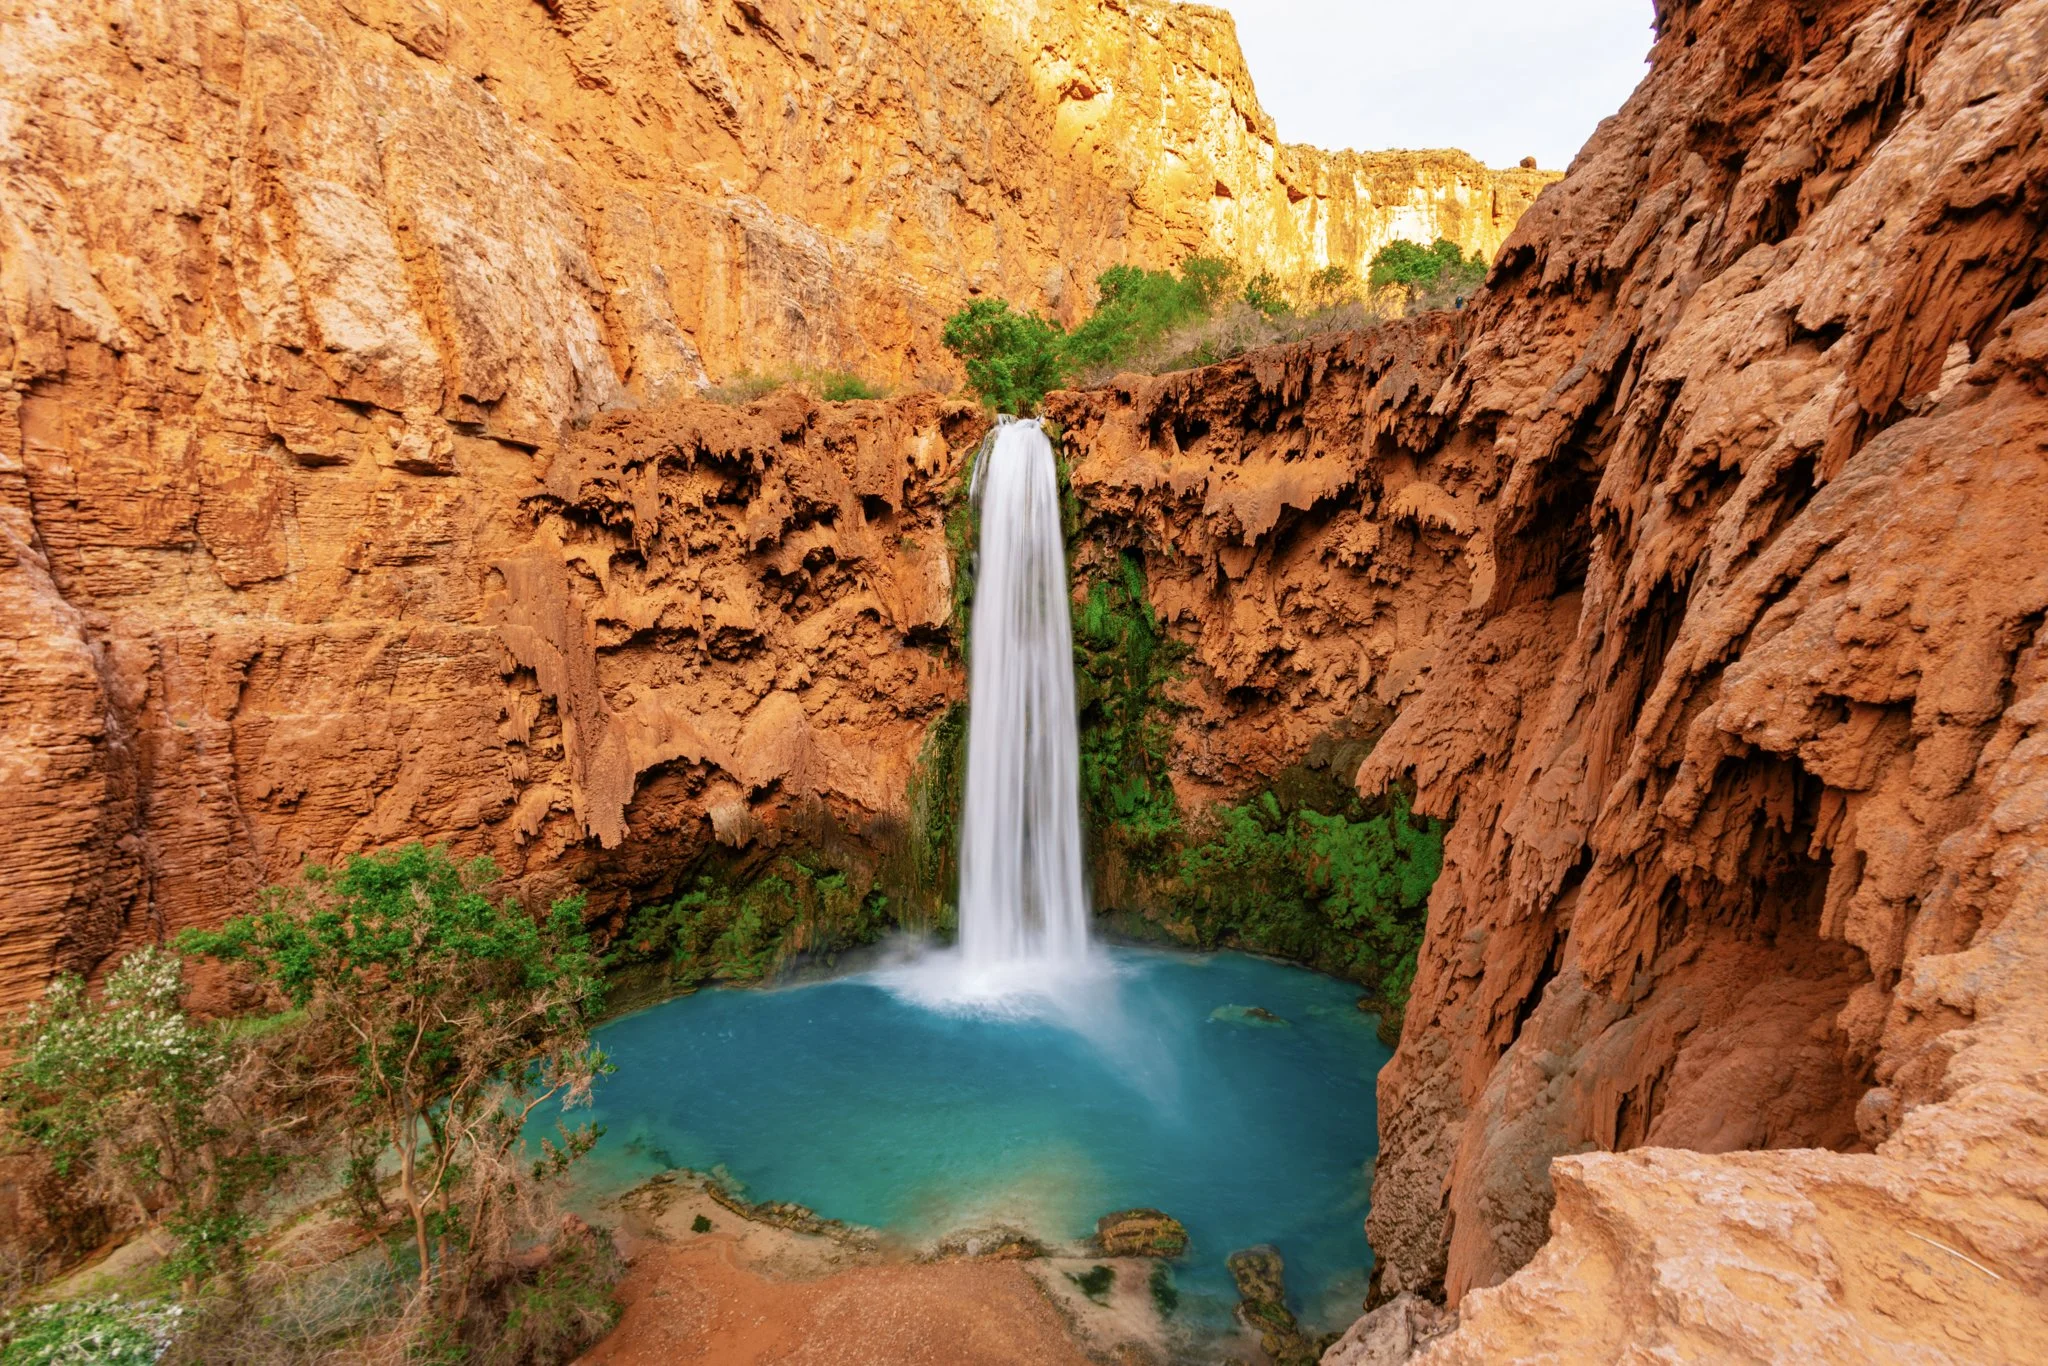
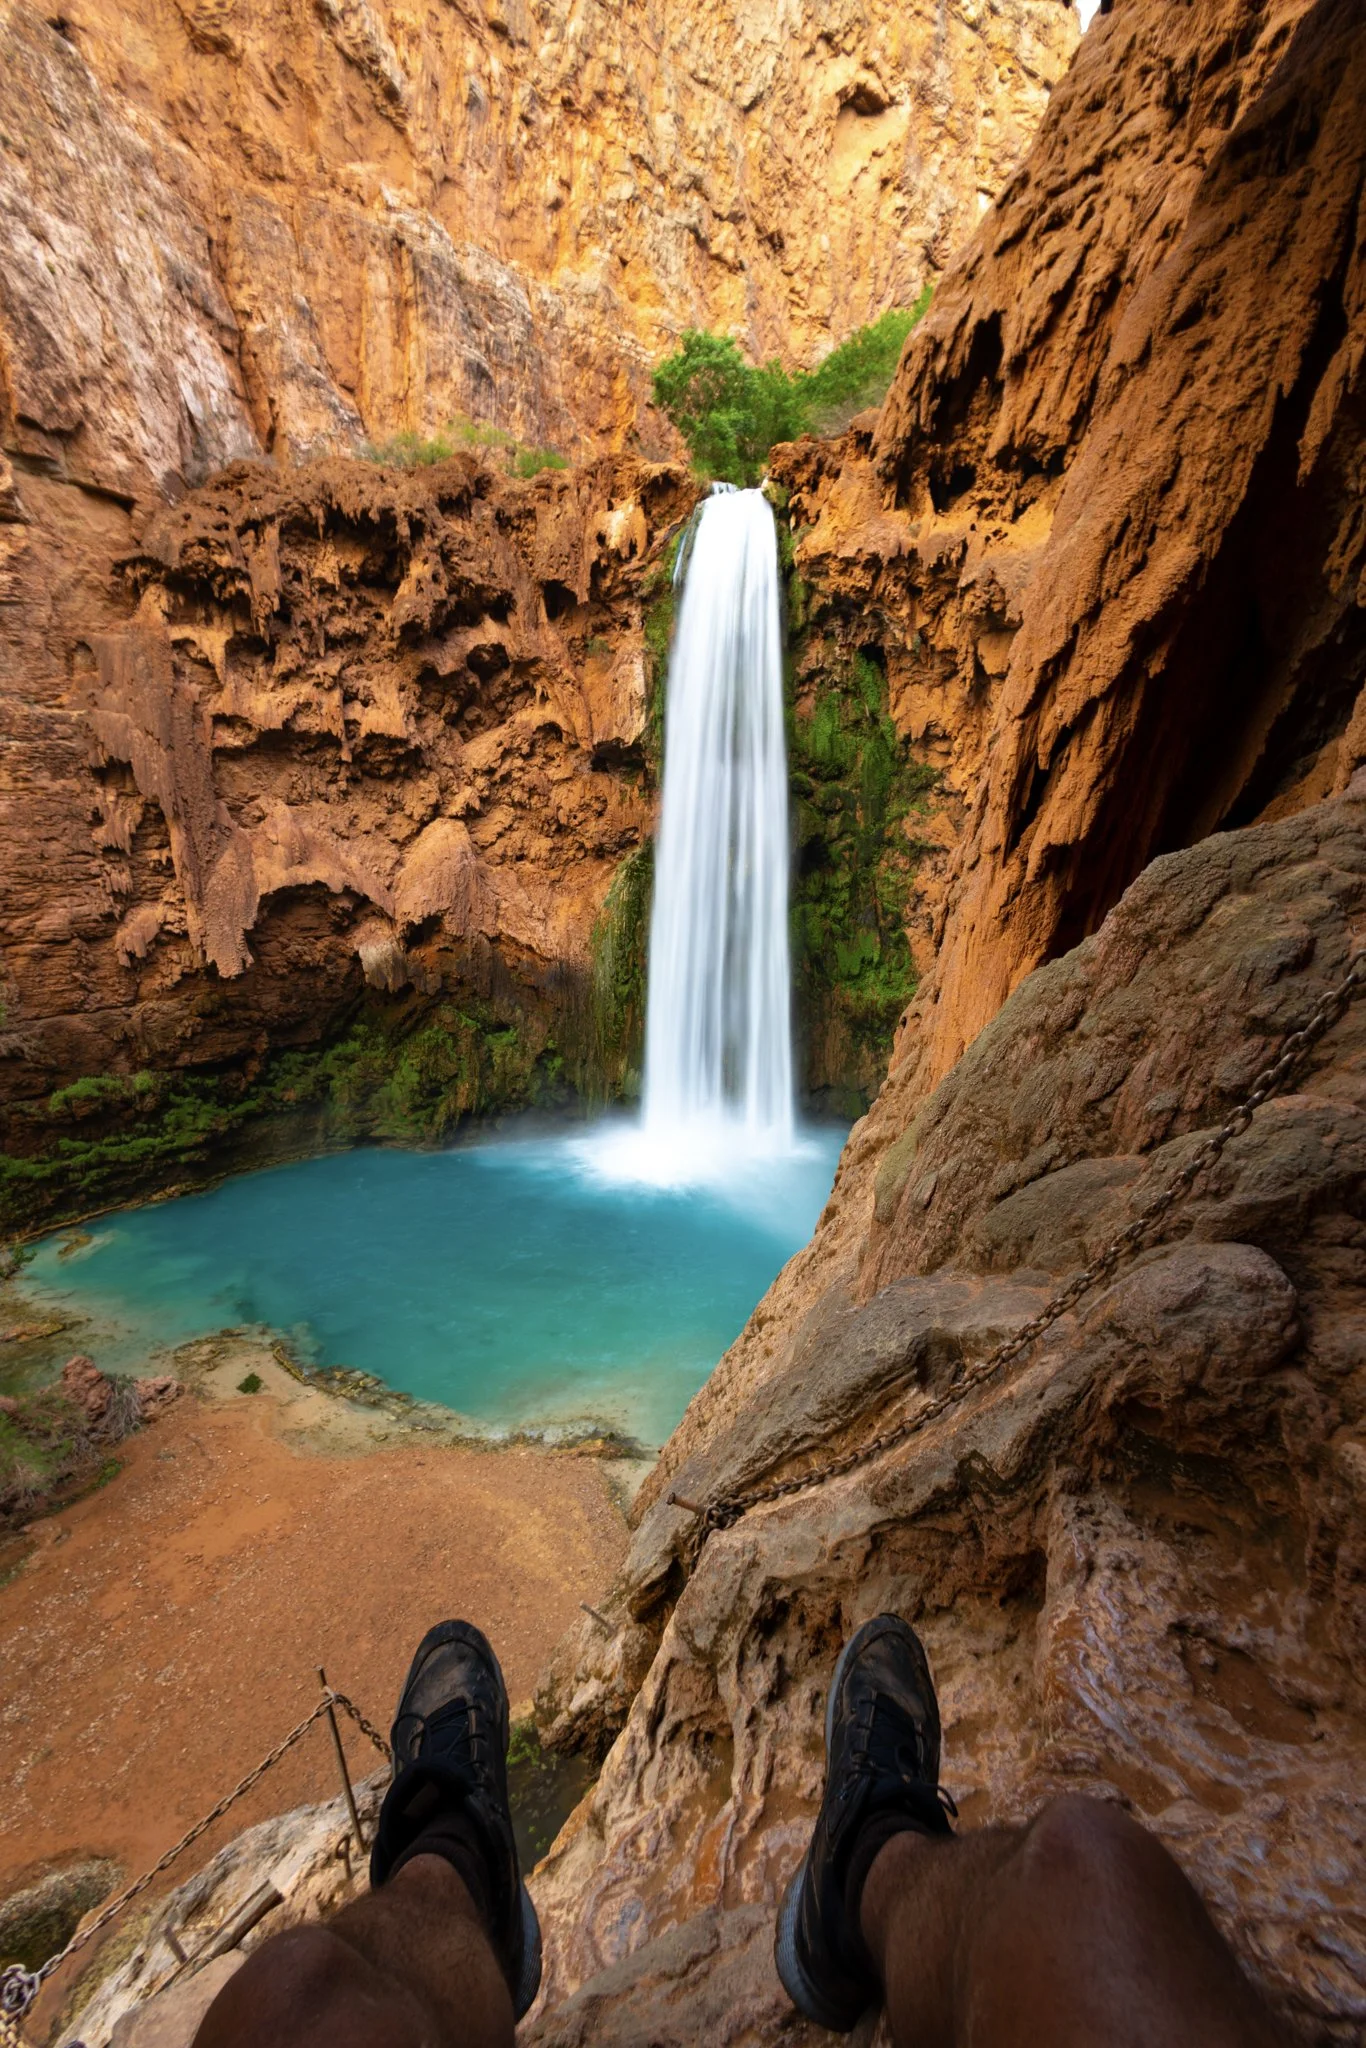
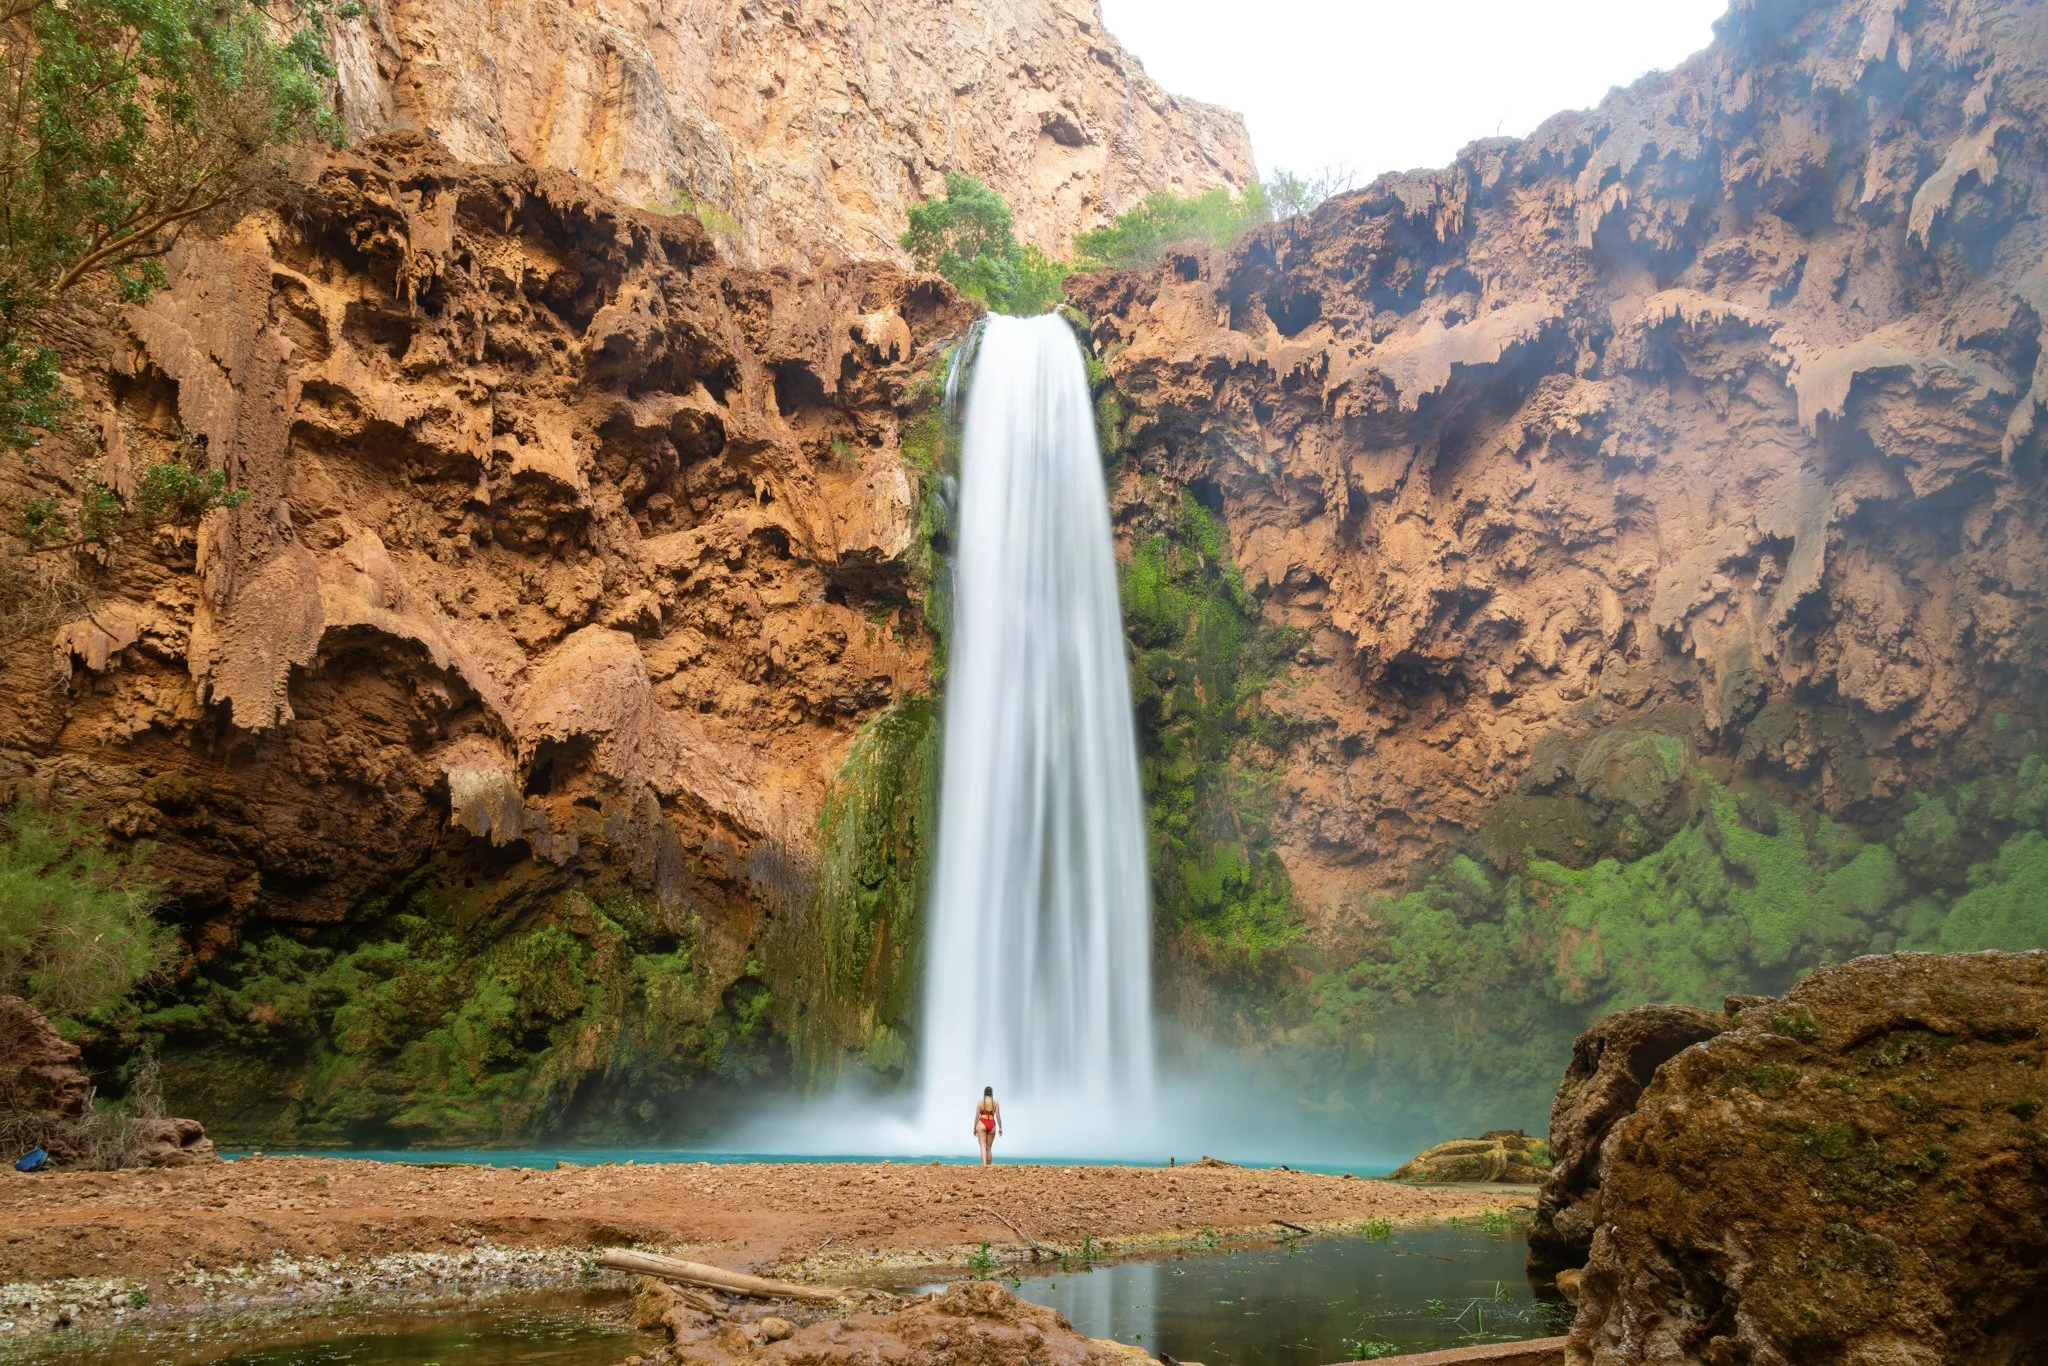
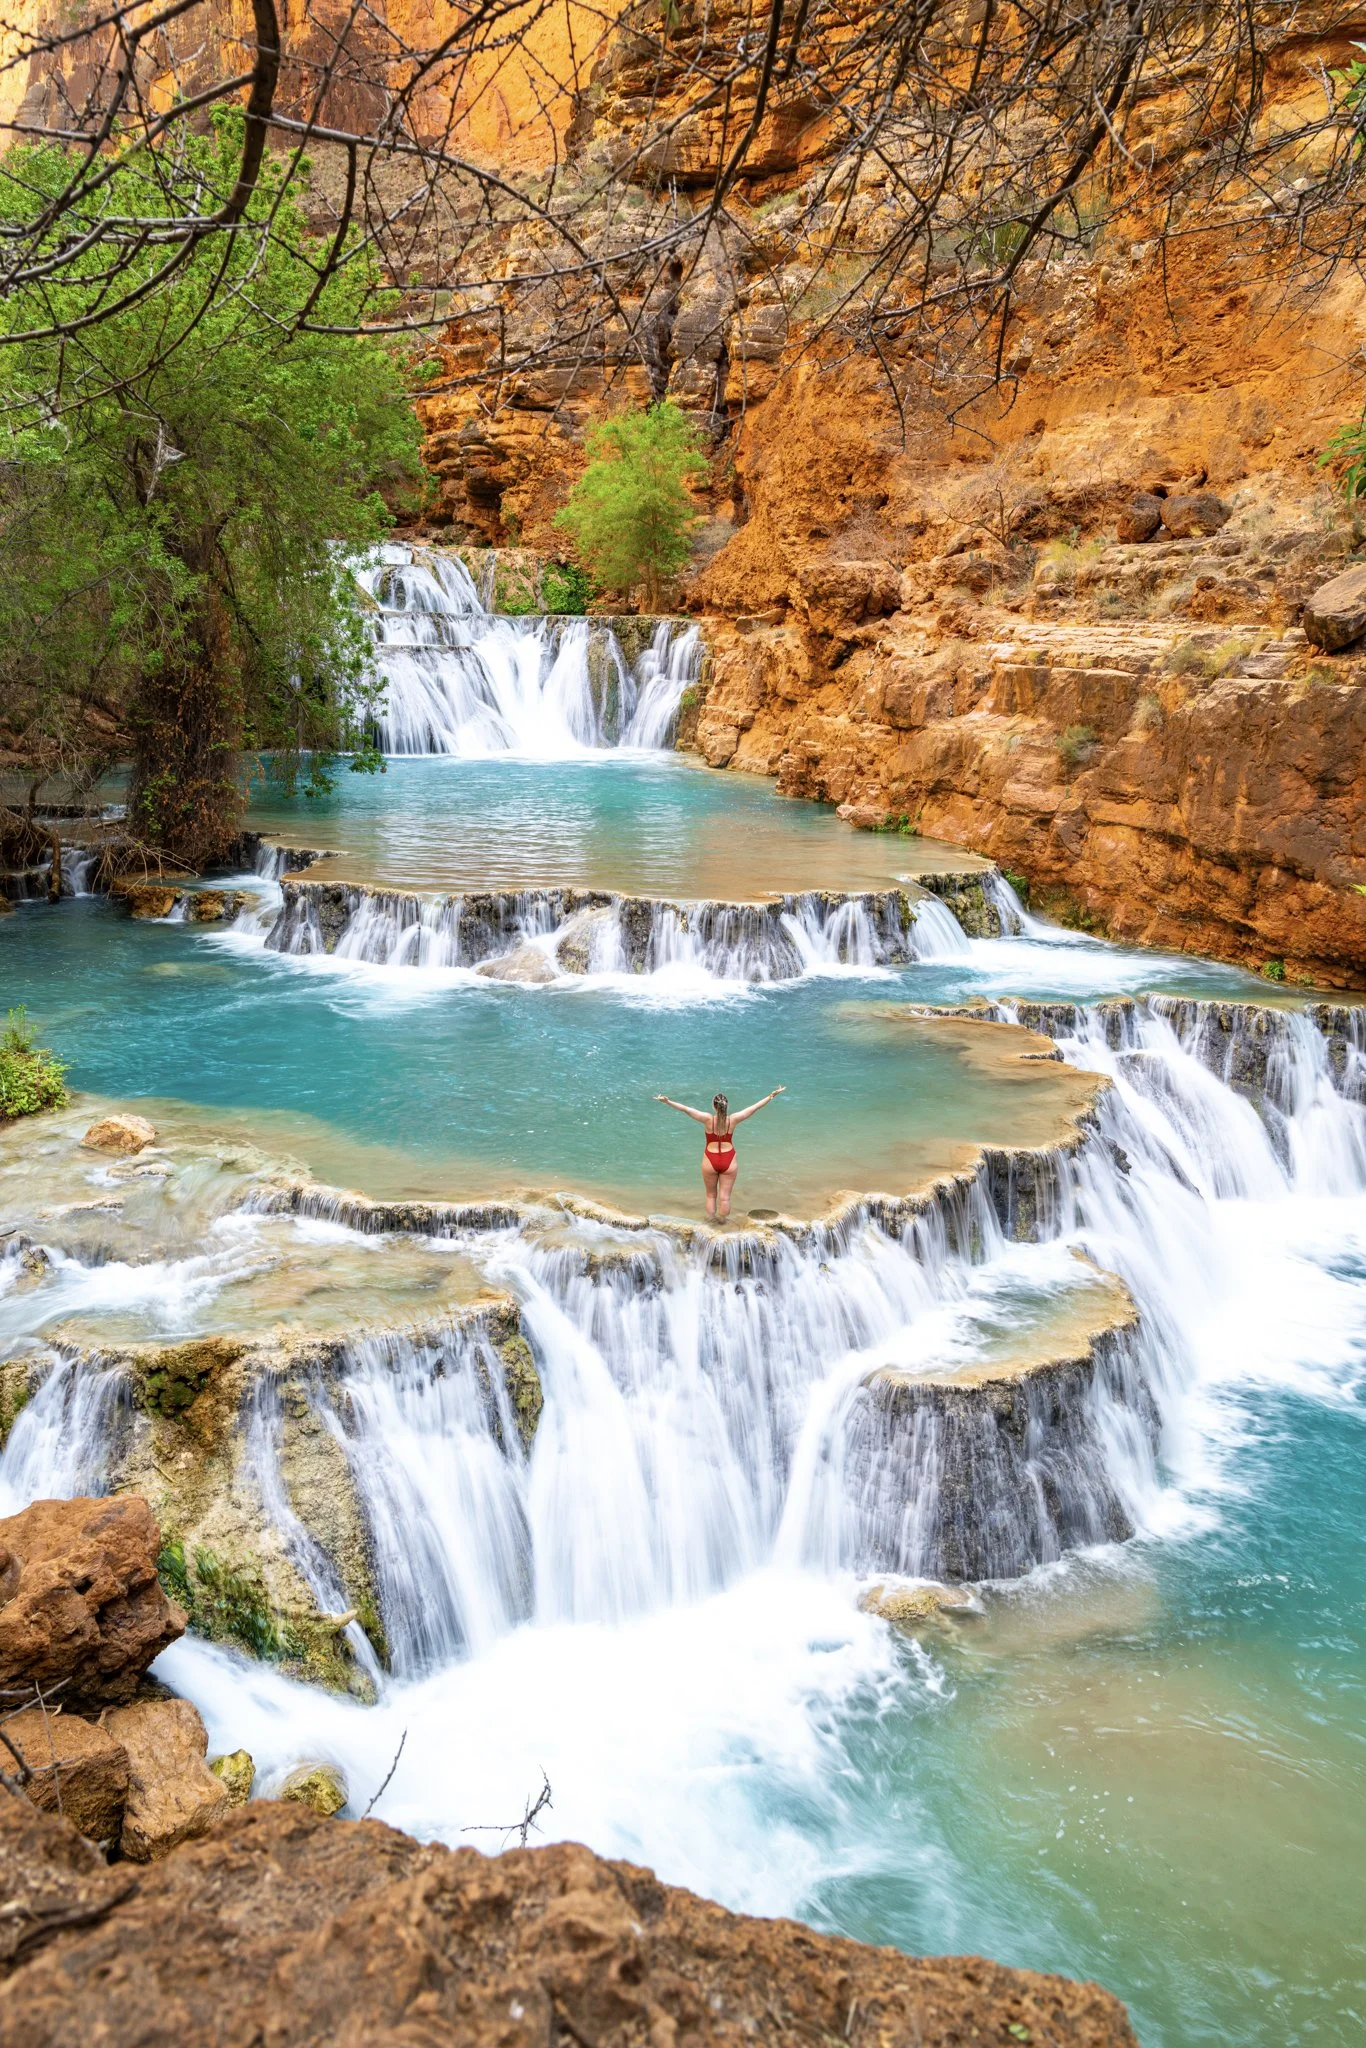
Havasu Falls
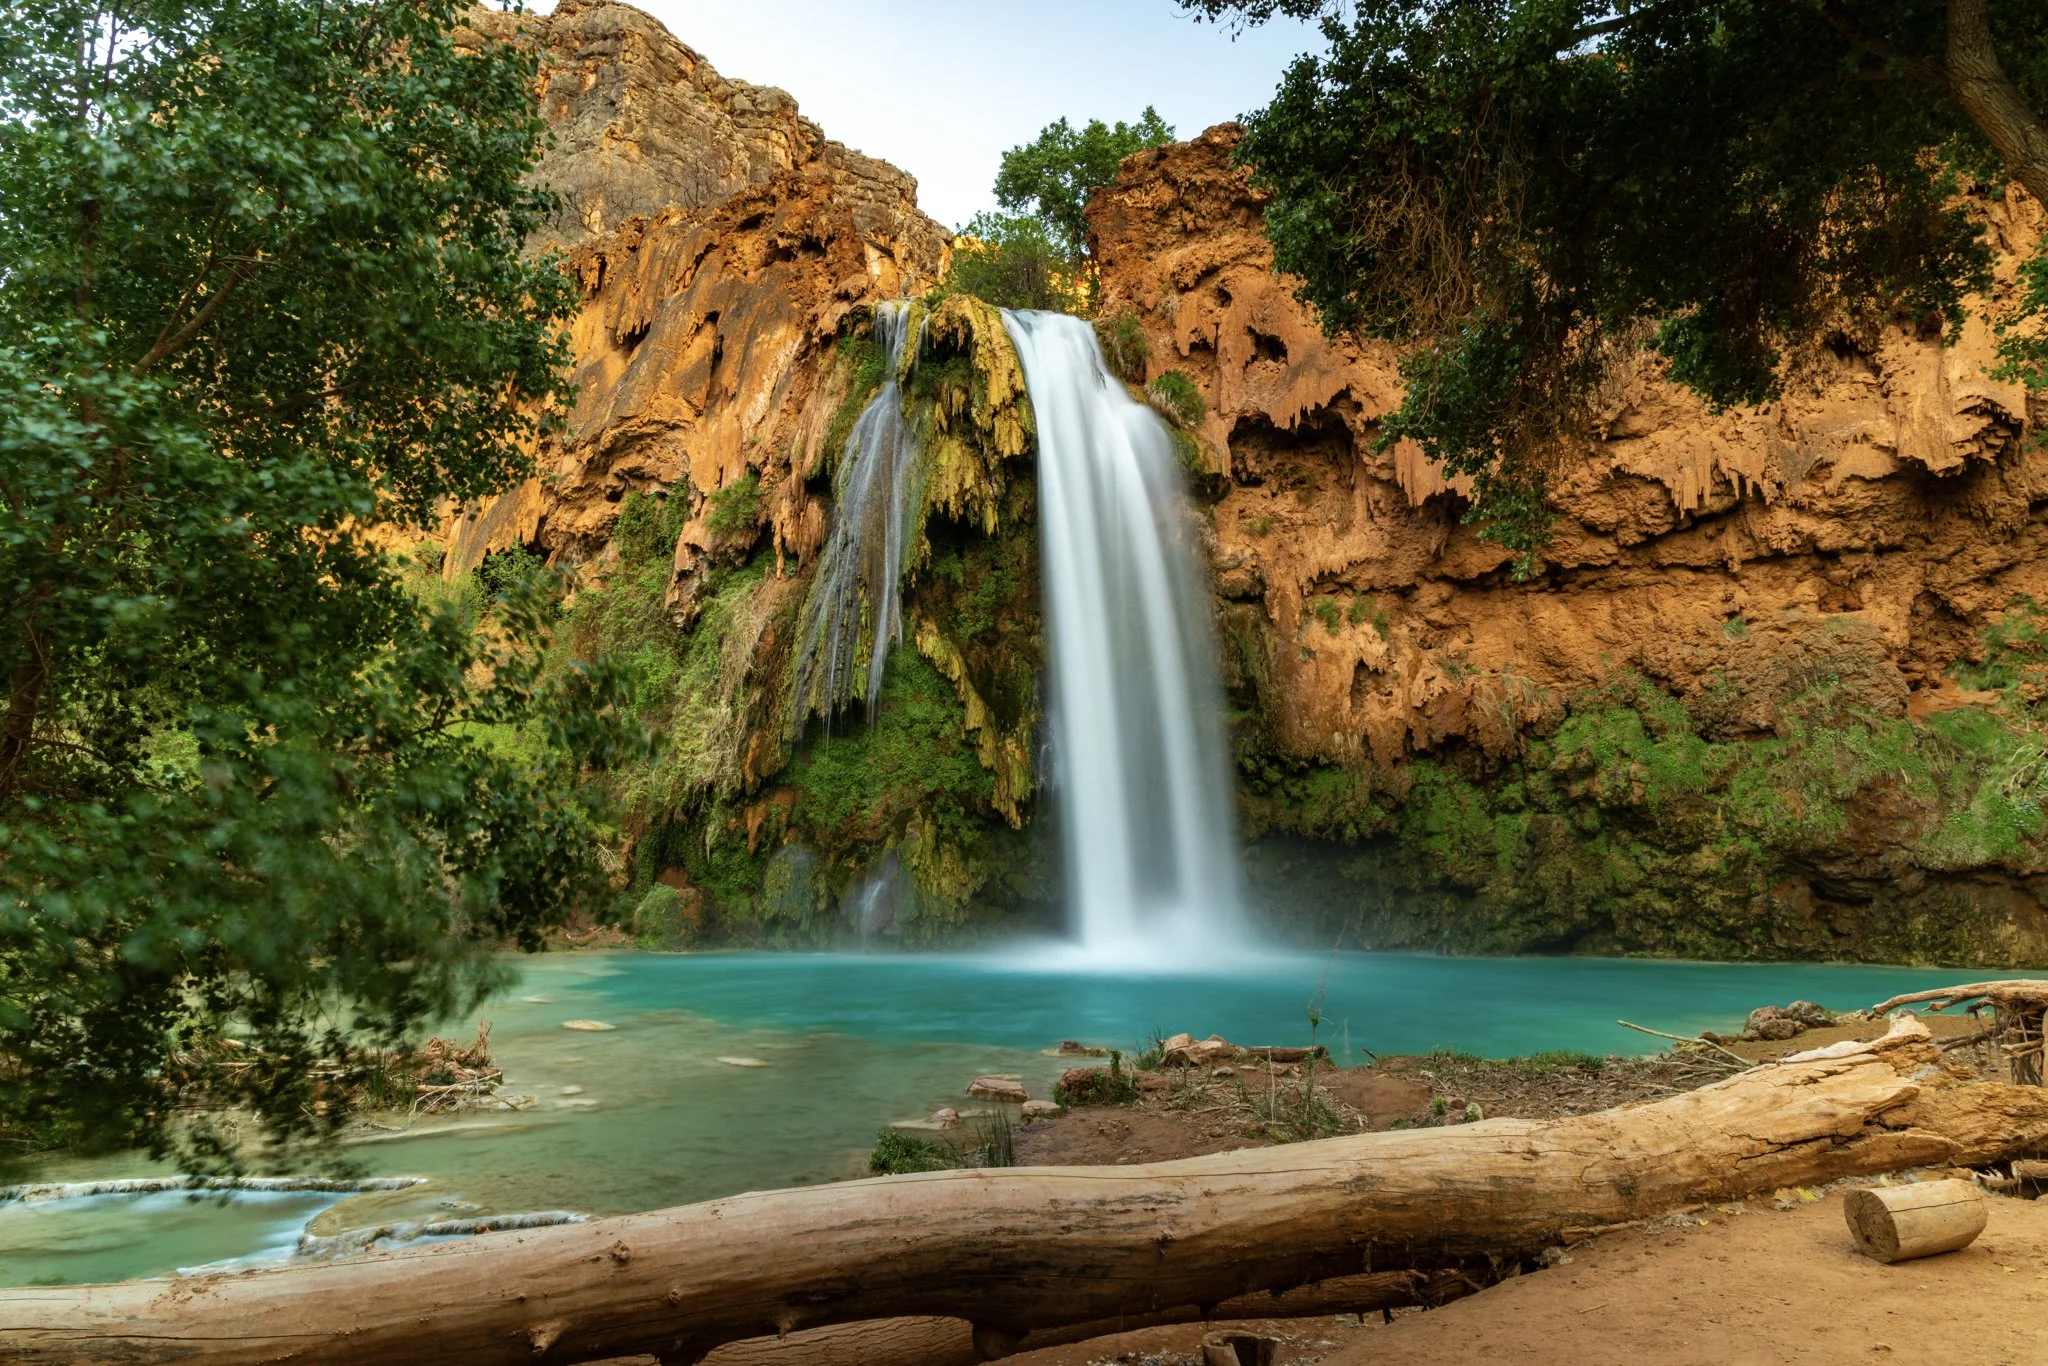
View of Havasu Falls from below ©Thomasformanjr
Havasu Falls is the crown jewel of the canyon. It’s the most photographed, most iconic, and usually the first major waterfall you'll experience after passing through Supai Village. The sound of it hits you before you even round the bend. The moment it comes into view, framed by red canyon walls and backed by that surreal turquoise plunge pool, it’s clear why this spot draws thousands of people each year.
But unlike a lot of hyped-up places, Havasu delivers. And then some. It’s massive, but calming. Accessible, but not overrun. And thanks to the large pool below, there’s plenty of space to swim, float, or just lay out and soak it in.
You don’t have to climb or descend anything technical to get to the water, you just follow the path from the village or campground and find a spot to drop your pack. The falls are about 100 feet tall and flow into a wide, photogenic basin surrounded by travertine rock formations.
View of Havasu Falls and it’s cascading pools ©Thomasformanjr
What to expect:
Distance from Camp: ~0.25–1 miles depending on your site
Access: Easy walk from the trail or camp, aka no ladders or chains
Swimming: Calm pool, good for floating and relaxing
Crowds: Can get busy mid-day; early mornings are more peaceful; bats come out after sunset which can be exciting
Pro tip: This is one of the best places to shoot sunrise or blue-hour photos. Bring your camera, a tripod, and ND filter for some truly amazing photos.
Personal Note: We spent a ton of time here on our last full day. After hiking to Beaver again in the morning, we returned to Havasu Falls in the afternoon to eat fry bread and just unwind. It felt like a “full circle” moment — the perfect way to end the trip.
Havasu Falls ©Thomasformanjr
Mooney Falls
View of Mooney Falls from above ©Thomasformanjr
Mooney Falls is infamous for many reasons, but the descent is what defines the experience. It is not simply a way down to the falls, it is a core part of the adventure itself. This is the kind of experience you only find on tribal lands or in extremely remote areas. There is no supervision, no guardrails in the conventional sense, and no one directing traffic. Once you begin the descent, you are fully responsible for your decisions and your footing. At this point, you are also roughly three miles from the village, which makes outside assistance or rescue extremely difficult. It demands respect, patience, and an honest assessment of your comfort level before committing
Highlights of the descent:
View of Mooney Falls right before the decent ©Thomasformanjr
The Tunnel: Carved rock passage leading toward the fall
Chains: Steep drop where metal chains are anchored into the cliff to assist hikers. As you approach the bottom it becomes slippery from water spray
Ladder: Near the base, a wooden ladder leads you into the mist of the falls
This section can be intimidating if you’re afraid of heights, but with careful footing and a patient pace, most hikers do it without issue…I saw grownups get scared causing lines to get backed up and I saw kids as young as 10 make it down with no issues.
Lower View of Mooney Falls ©Thomasformanjr
Beaver Falls
View of Beaver Falls from above ©Thomasformanjr
From Mooney Falls to Beaver Falls, the trail continues along Havasu Creek.
Beaver Falls is worth the trek as it features sunlit pools, cascading tiers, and plenty of places to rest, explore, and swim when it’s warm. It’s truly one of the most magical places I’ve ever been which is why we went multiple times. During the water crossings you have two options, either switch to sandals (with or without socks, wool will dry the fastest) or take off shoes and socks and put them back on at each crossing. I personally recommend switching to sandals w/socks (chacos or Teva’s) after the descent down mooney falls. This was the most comfortable and time saving for us.
What to expect:
Water crossings: 3+ creek crossings as you head toward Beaver
Trail surface: Sandy sections, rocky creek beds, occasional ladders/steps
Distance: ~2.1 miles from Mooney Falls (~3 miles from camp) one way
Pro tip: Pack waterproof blister tape. You will be very glad you did on the hike out.
Kristen standing in Beaver Falls ©Thomasformanjr
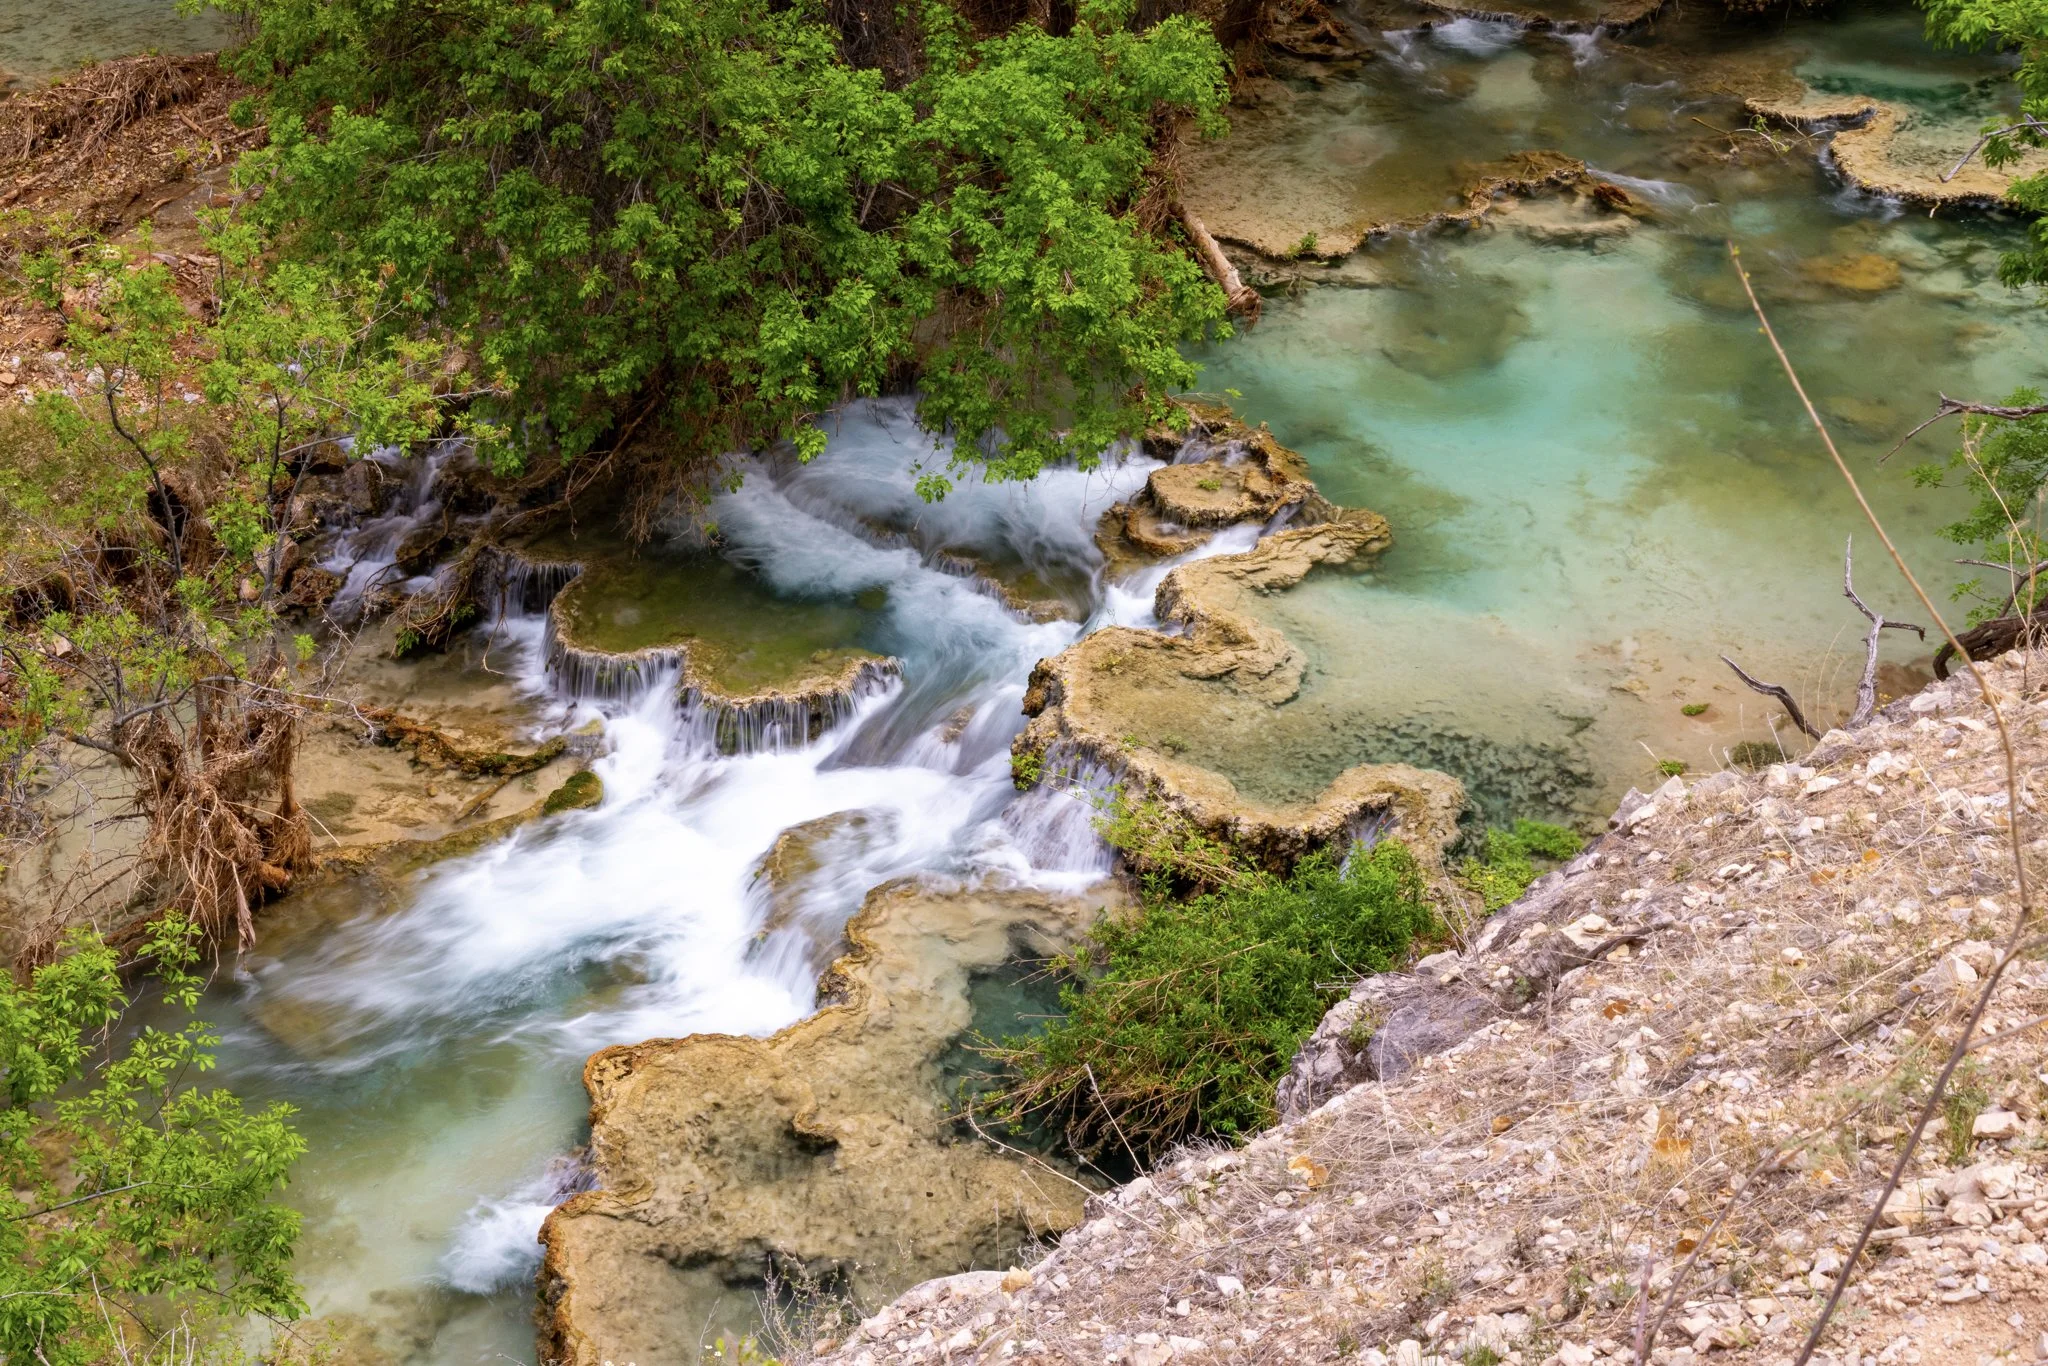
Navajo Falls & Fifty-Foot Falls
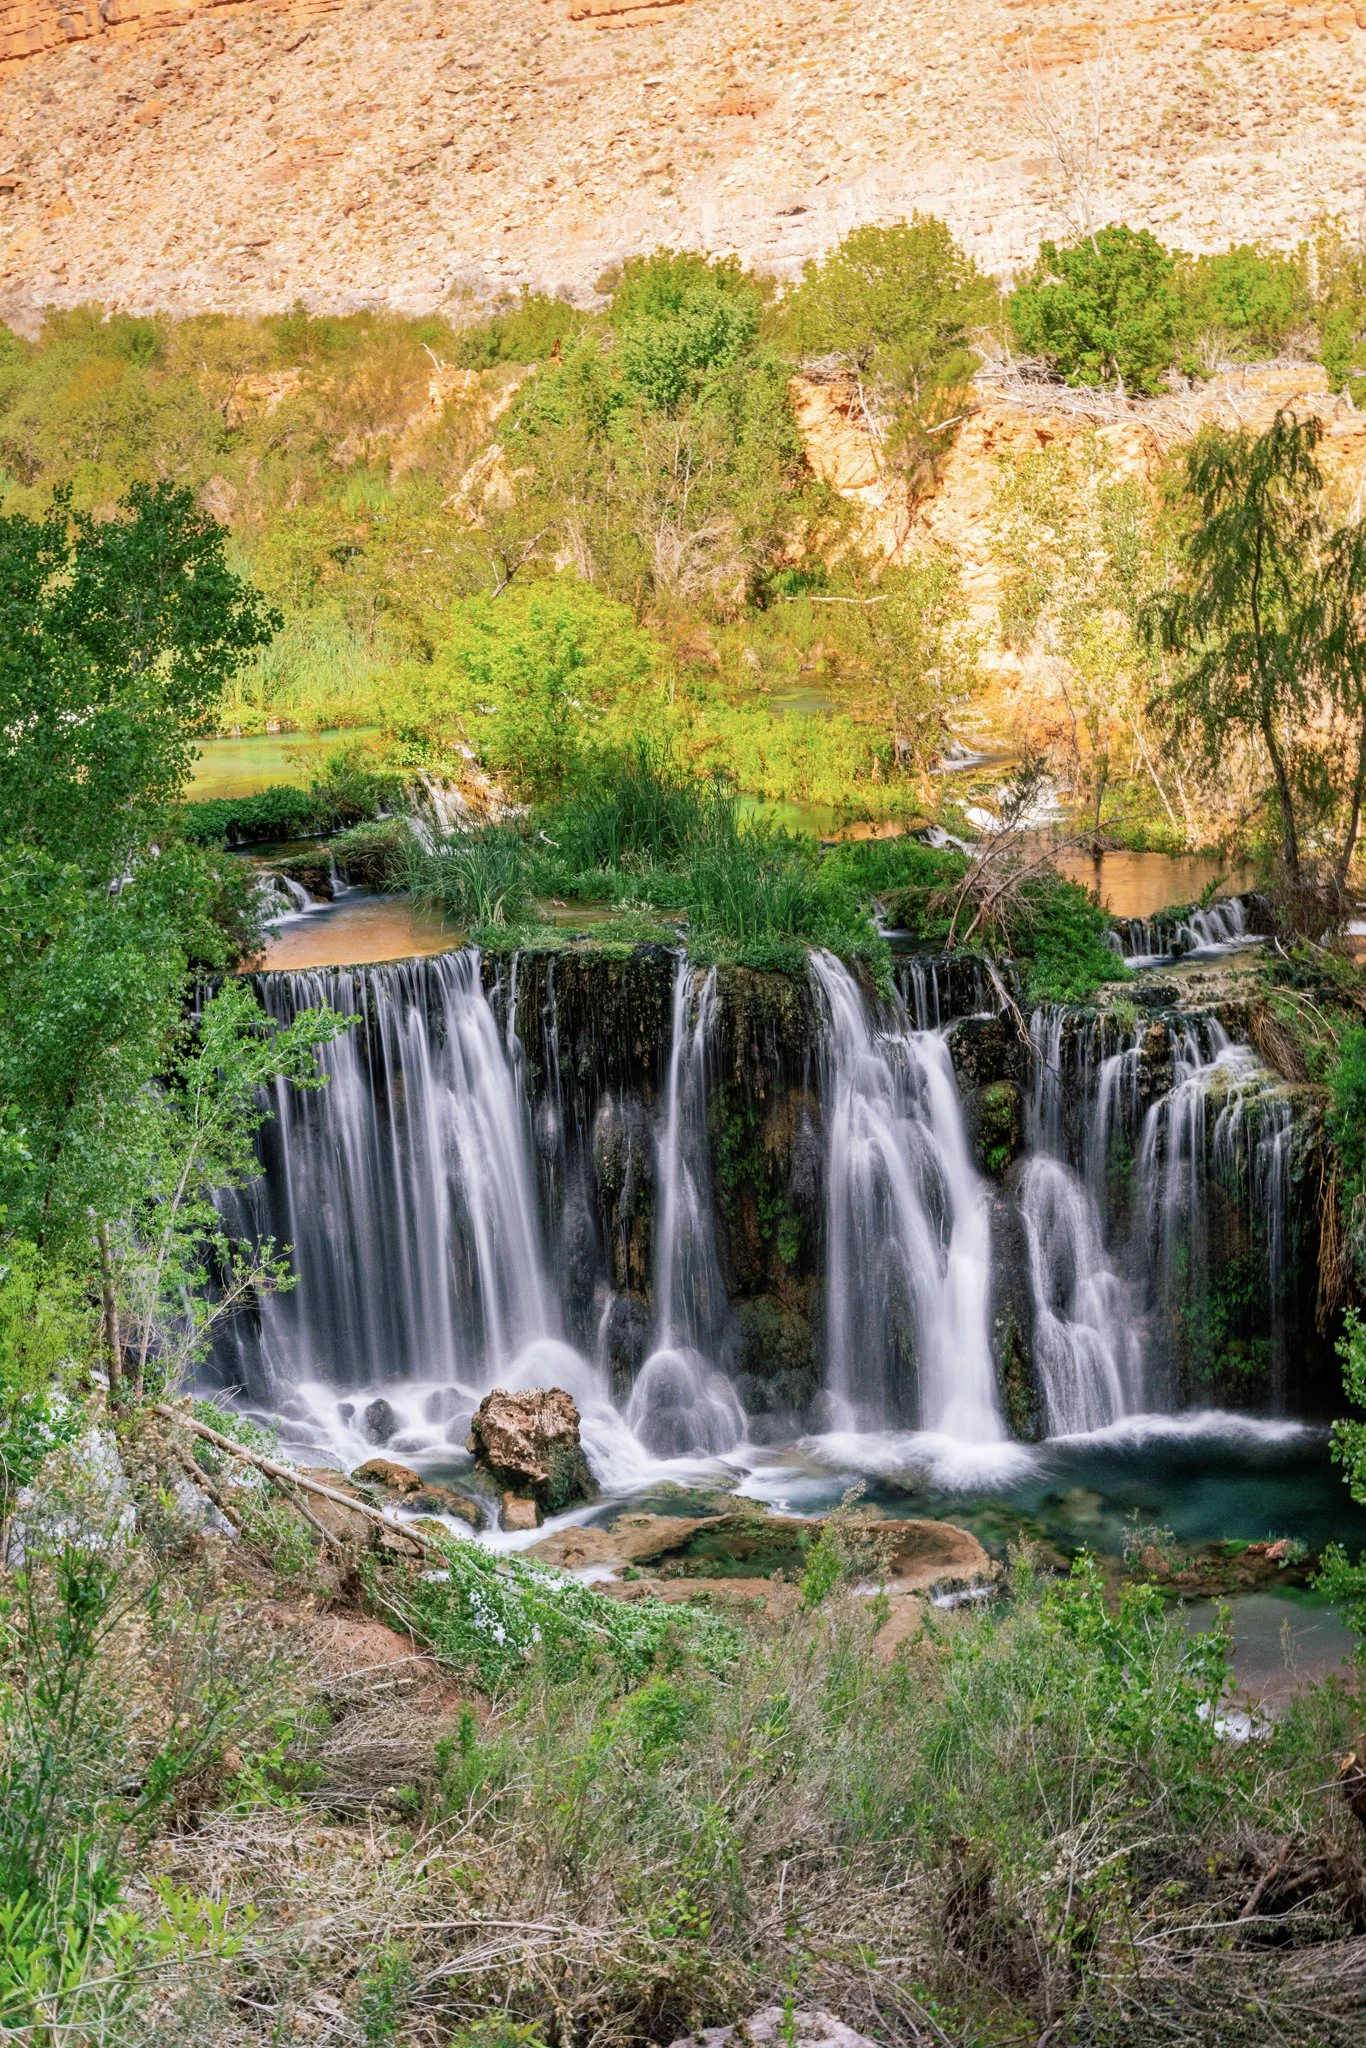
View of Fifty-Foot Falls ©Thomasformanjr
Just before you reach Havasu Falls, you'll pass two lesser-known waterfalls — Navajo Falls and Fifty-Foot Falls — both easily missed if you're not paying attention. Unlike the others, these falls require short offshoots from the main trail and don’t have big signs or crowds pointing the way. But that’s part of their magic. They feel like secret oases carved into the canyon walls.
Fifty-Foot Falls comes first, tucked behind some brush. It’s tall, dramatic, and more rugged than the others. Just downstream is Navajo Falls, which splits into multiple streams and forms terraced pools that feel like natural hot tubs (minus the heat). They’re surrounded by greenery and make for an excellent midday swim or rest spot.
What to expect:
Distance from Camp: ~1–1.5 miles
Trail Access: Look for small side trails between Supai Village and Havasu Falls
Swimming: Less crowded, shallower pools
Vibe: Peaceful, shaded, overlooked by many hikers
Pro tip: These falls get great golden light in the late afternoon. Bring water shoes, the rocks are slicker than they look.
Personal Note:
We hit these on the way out, and I regretted not stopping longer on the way in. They feel totally different from the other falls, much more intimate and wild. If you have time and aren’t racing to camp, these are absolutely worth a detour.
Water & Swimming Tips — Best Times & Safety
The water at the falls is cold but refreshing. It’s especially appreciated on hot midday hikes and isn’t as noticeable during the summer when temperatures reach yearly highs.. Beaver Falls catches more direct sun around 11 a.m.–2 p.m. due to canyon walls. Always test water depth and flow before wading. Wear water shoes for creek crossings and slippery surfaces.
Gear & Packing Strategy — What You Really Need
Kristen packing out all our trash (we took turns carrying it) ©Thomasformanjr
Below is a list of gear we used and meals we ate. We enjoyed our experience with all of these items.
Note: Some of the links in this post are affiliate links. This means that if you choose to make a purchase, I may earn a small commission at no extra cost to you. I only recommend gear and services that I’ve actually put to the test in the field and your support helps me keep creating content like this!
Essentials
Documents (Photo ID, Printed copy of your reservation, Cash for local purchases)
Backpack - We used Gregory Backpacks and loved them! I highly recommend getting fitted with expert help at an outdoor store. REI is a great location.
Food - We brought freeze dried meals by Peak Refuel and we also brought Huel (Complete nutrition shake made for convenience, energy, and balanced health) for our main food sources and we enjoyed all of our meals. We also brought a few snacks like trail mix.
Portable cooking system - We used a Jetboil System
Hammock (our choice) or light weight tent
Sleeping bag - We purchased super light and extremely packable sleeping bags before the trip to save space and they were probably the best purchases we made!
Water treatment/filtration- We used LifeStraw’s while on the move and a WaterDrop System at the campsite which was very nice to have!
Season appropriate clothing (We like layers… Base layers for cold, pants / shorts (convertible hiking pants are ideal), bathing suit, sandals (Chaco's or teva’s), quick drying towel.
Small first aid kit
Portable Charger
A Bear Canister or RatSack (made in flagstaff) – While there are NOT bears in Supai, there are plenty of other critters that will be relentless in their attempts to get into your food and trash. Small wild critters (mice, squirrels, etc.) will try to get to your food and trash (and anything else with an odor), and they will chew through your pack or tent. We saw this happen to multiple people. I highly recommend bringing a RatSack as they are lightweight and have many uses after your hike (trash can at campground, beer cooler attached to a kayak or in a river, etc...) We hung ours from a line in our campground. It’s also a convenient way to pack out all of your trash when you leave.
Optional but helpful
Trekking poles (especially during creek crossings)
Gloves for Mooney chains
Hammock (even if you’re sleeping in a tent, hanging out in a hammock by the creek is worth it)
Rope - For hanging clothes and anything else you may need to hang off of branches
Sample Itinerary
Here is a sample Itinerary that worked well for us! We did not do the hike to the confluence (big regret) but we did make the trek to all the other waterfalls including beaver falls twice.
4‑Day
Day 1: Hike in, set up camp and rest your legs from the trek in
Day 2: Mooney + Beaver
Day 3: Relax by your favorite falls, ours was beaver so we went back. We then also went to Havasu Falls afterwards to spend more time there and eat fried bread from the stand for dinner
Day 4: Wake up early to beat the heat and Hike out
Tips, Mistakes to Avoid & Trail Safety
Start your hikes before sunrise to beat heat
Hydrate often and carry enough water. Water is life down there, make sure you’re hydrated.
Respect tribal regulations. Follow all rules and respect the tribe. Alcohol is prohibited, you can live without drinking for a few days.
Frequently Asked Questions
How long is the Havasupai hike?
The hike from Hualapai Hilltop to the campground is approximately 10 miles one way, or 20 miles round trip, not including additional hiking to waterfalls like Mooney Falls or Beaver Falls.
How hard is the Havasupai hike?
The Havasupai hike is moderate to strenuous, depending on fitness level, pack weight, and weather conditions. The hike in is mostly downhill, while the hike out is largely uphill with significant elevation gain. Heat, sun exposure, and distance are the main challenges rather than technical terrain.
How long does it take to hike into Havasupai?
Most hikers take 4–6 hours to hike from the trailhead to the campground. Time varies based on pace, pack weight, rest stops, and weather conditions. The hike out often takes longer due to elevation gain and fatigue.
Is Havasupai worth it?
In my opinion, absolutely. The combination of remote desert hiking, vibrant blue-green water, massive waterfalls, and the sense of earning every mile makes Havasupai one of the most rewarding backpacking trips in the United States. No photos or videos fully capture the experience of being there in person.
Do you need hiking boots for Havasupai?
Hiking boots are strongly recommended, especially for the hike out. The trail is sandy and rocky, and sturdy footwear helps with stability and fatigue. Many hikers switch to sandals for creek crossings and waterfall hikes, particularly beyond Mooney Falls.
Is the water safe to drink at Havasupai?
Potable water is available at the campground, but it should be treated or filtered before drinking. Some hikers also filter water directly from the river. Always use proper filtration or purification methods.
Can you hike to Havasupai as a day hike?
No. Day hiking is not allowed. All visitors must have an overnight permit and stay for the duration of their reservation.
Are dogs allowed at Havasupai?
No. Dogs and other pets are not permitted on the Havasupai Reservation.
Is there cell service or Wi-Fi?
Cell service is extremely limited or nonexistent throughout most of the hike and campground. Do not rely on phone service for navigation or emergencies.
What is the best time of year to hike Havasupai?
Spring (March–May) and fall (September–October) are generally considered the best times due to cooler temperatures and more stable weather. Summer hikes are possible but require careful planning due to heat and monsoon conditions.
Can tourists take a helicopter into or out of Supai Village?
Yes. Tourists are allowed to purchase helicopter flights between Hualapai Hilltop and Supai Village on the day of travel only. Flights are first-come, first-served, and cannot be reserved in advance. You’ll pay at the landing zones at Hilltop or in Supai, using either cash or credit card.
How much does the helicopter cost?
The cost is $300 per person, one way, and includes all taxes and fees. Each passenger is allowed one personal pack. Additional bags will cost extra and must be paid for prior to boarding.
Who gets priority on the helicopter?
Tribal members, mail services, and medical/cargo flights are always given priority over tourists. Even if you’re in line early, you are not guaranteed a seat.
What is the helicopter schedule?
Flights generally operate on Sunday, Monday, Thursday, and Friday, but the schedule is subject to change without notice. Flights may be canceled due to weather, mechanical issues, or tribal needs.
Can I rely on the helicopter for my trip?
No. Tourists should not rely on the helicopter as a guaranteed form of transportation. Even if flights are running, tourist availability is not guaranteed.
Final Thoughts — Why Havasupai Changes You
Rugged Desert Trail Through the Havasu Canyon to Supai Village ©Thomasformanjr
Havasupai blends challenge, beauty, and unforgettable landscape. It’s one of those hikes that rewards effort with wonder and each waterfall feels special in its own way. From the starting location to the campground it is amazing to see the geographical changes. Whether you’re a seasoned backpacker or finally taking the leap, the planning only makes the experience richer. This is truly one of the most magical places on the earth and no photos or videos can recreate the in-person experience.